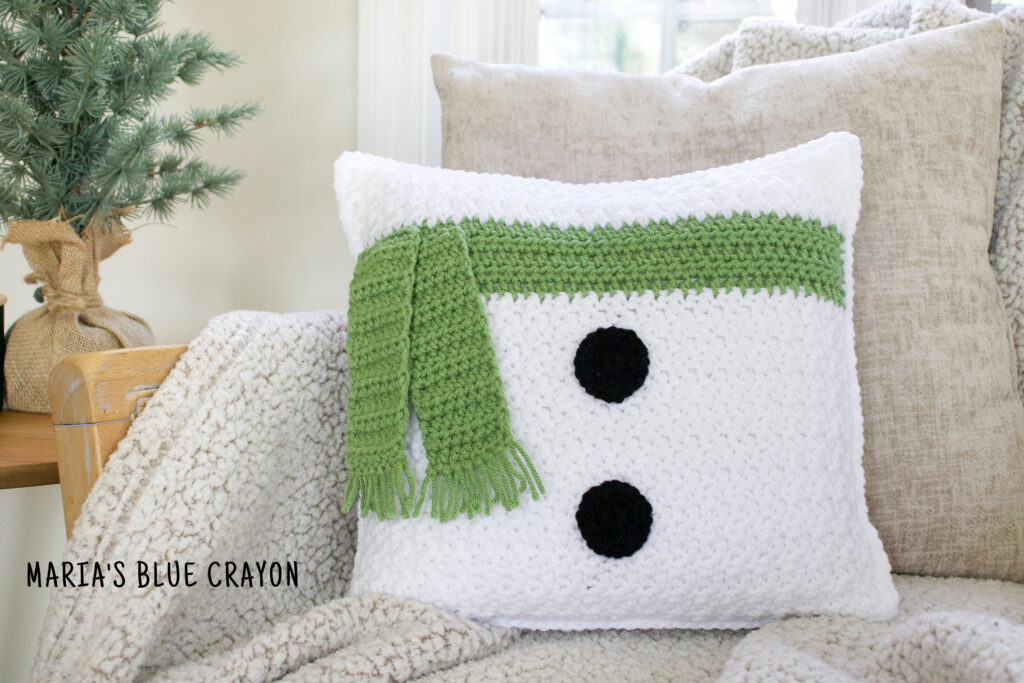
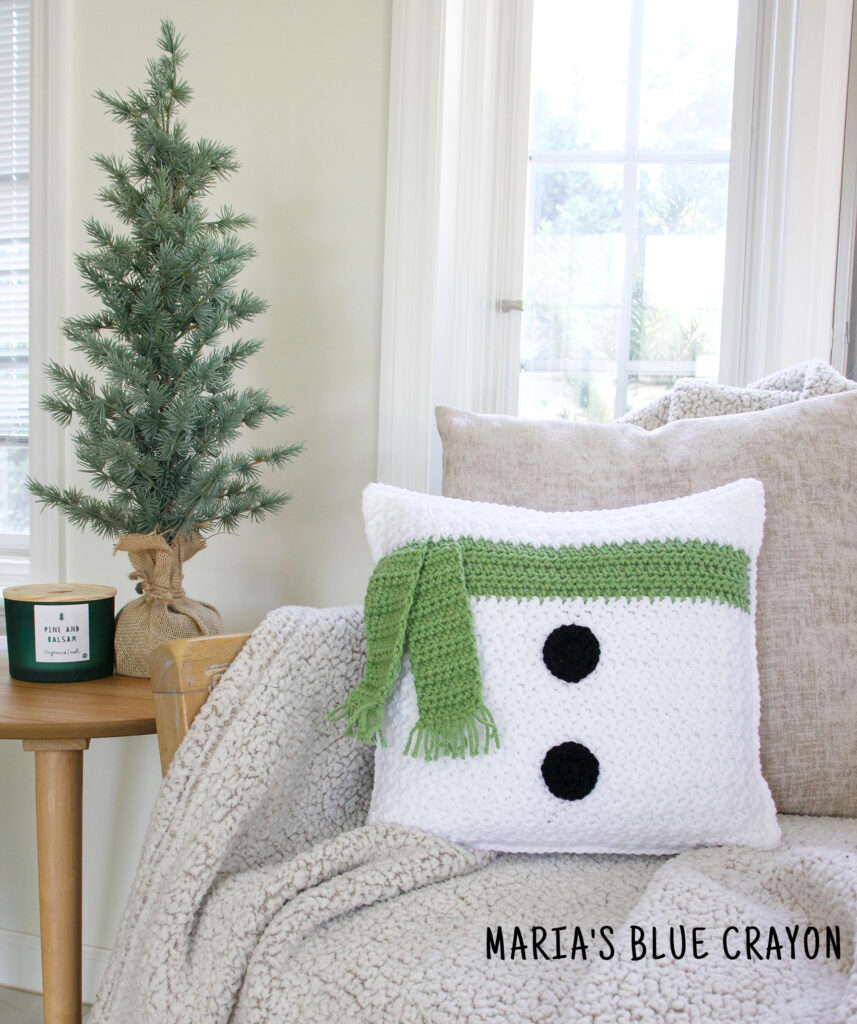
This easy to crochet snowman pillow pattern is perfect to add to your home decor during the winter and Christmas season.
- Grab the ad-free PDF printable/download pattern on Etsy or Ravelry.
- PIN it to your Pinterest boards for later.
- View the crochet pattern down below right here on my blog – video tutorial included.

Snowman Pillow Construction
Crochet pillows are typically comprised of two panels joined together, this one is no different!
For this snowman pillow, you will crochet two squares, add some crocheted embellishments to create the look of a snowman body then crochet the panels together to finish the pillow.

Beginner Friendly
If you know the basic crochet stitches, this snowman pillow crochet pattern is totally doable for you!
The griddle stitch is used for the front and back panels of the pillow to get that beautiful texture, but it is only comprised of single and double crochets.
This is a great project to expand your skills a bit depending where you are at on your crochet journey. For seasoned crocheters, this is a fun little project that you will be able to finish in a few sittings!

Crochet Snowman Pillow Video Tutorial
If you are not able to view the video below, temporarily disable your ad-blocker or you can also view the video on YouTube.
Crochet Snowman Pillow Pattern
Materials
Worsted weight acrylic yarn in white, black, green
(Yarn used in photo: I Love This Yarn! In White, Black, and Mid Green.)
J/6.00mm crochet hook
Tapestry/yarn needle
Scissors
Notes
Beginning chains do not count as a stitch.
The back panel is solid white. If you would like the scarf to look like it is wrapped around to the back, make two front panels.
Dimensions:
14” x 14”
Gauge: 4” x 4” ~ 12 stitches x 10 rows in alternating sc and dc (pattern of the front/back panels)
Abbreviations: (US terms)
Ch = chain, sc = single crochet, hdc = half double crochet, dc = double crochet, st = stitch
Pattern
Front Panel
Use white yarn.
Row 1: Ch 44, dc in 3rd ch from hook, sc in next ch, *dc in next ch, sc in next ch, repeat from * across, turn
Row 2: Ch 2, dc in first st, sc in next st, *dc in next st, sc in next st, repeat from * across
Repeat Row 2 until you have a total of 22 rows.
Switch to green yarn (or color of scarf you prefer).
Row 23-27: Ch 1, hdc in each st across, turn
Change to white yarn.
Row 28-34: Repeat Row 2
Fasten off.
Back Panel
Use white yarn.
Row 1: Ch 44, dc in 3rd ch from hook, sc in next ch, *dc in next ch, sc in next ch, repeat from * across, turn
Row 2: Ch 2, dc in first st, sc in next st, *dc in next st, sc in next st, repeat from * across
Repeat Row 2 until you have a total of 34 rows.
Fasten off.Scarf
Use green yarn or color of scarf you prefer.
Row 1: Ch 8, hdc in 2nd ch from hook and in each ch across, turn
Row 2: Ch 1, hdc in each st across, turn
Repeat Row 2 until you have a total of 14 rows.
Fasten off and leave tail for sewing.
Make 2 scarf pieces.
Add fringe to the end of each scarf piece – opposite the side you left a yarn tail for sewing.
Buttons
Use black yarn.
Round 1: Magic ring, ch 1, 10sc in magic ring, join to first st
Round 2: Ch 1, 2sc in each st around, join to first st
Fasten off, leave tail for sewing.
Make 2 buttons.
Assembly
Sew buttons and scarf pieces on front panel using the photo as a guide.
Hold front and back panel pieces together. Use white yarn to single crochet them together making 3 single crochets in each corner. Insert pillow form before crocheting together the last side. Join to beginning stitch. Fasten off. Weave in ends.

Leave a Reply