
This post may contain affiliate links. For more information, please see our disclosure policy.
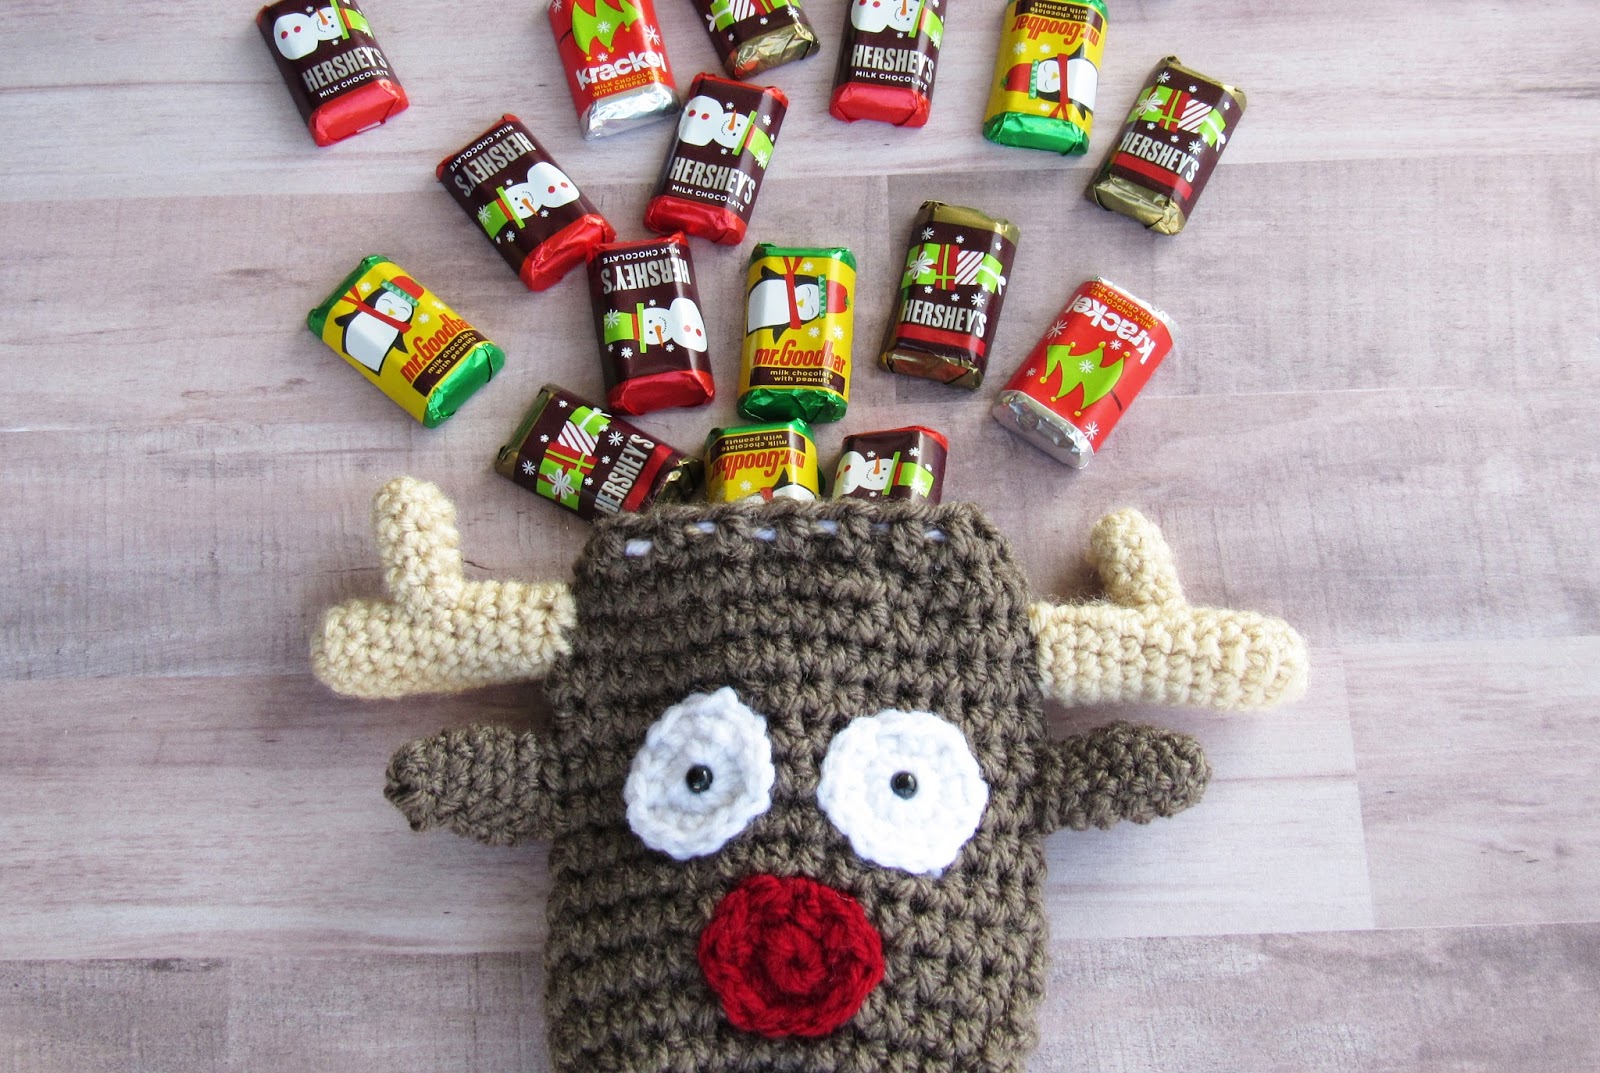
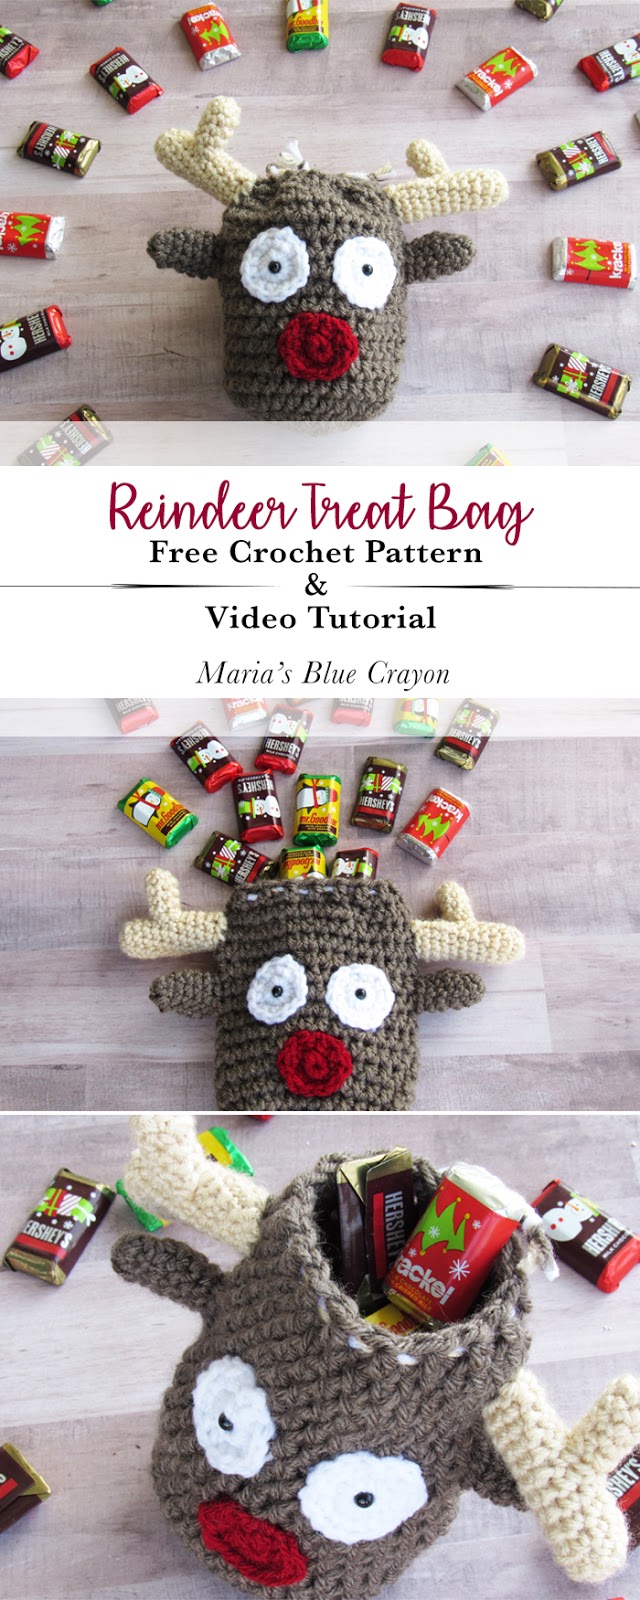
It’s the most wonderful time of the year.. to figure out gifts (if you haven’t already)! This is a great last minute gift to whip up for kids, teachers, co-workers, nieces and nephews. It’s a quick easy project and you can stuff it with what ever you’d like – I opted for candy!
- Purchase ad-free PDF download/printable on Ravelry or Etsy.
- PIN it to your boards on Pinterest.
- Scroll down to view the pattern right here on my blog along with the video tutorial.
This year, like most years, I’m making 80% of gifts to give away. Christmas just came way too early this year for me, and unfortunately my two hands can’t mass produce as quickly as I’d like them to, so I had to think of something small and simple.
If you have a few hours you can surely whip one up and put in some goodies! Candy, nail polish, chapsticks/lip balms, hand sanitizers, lotions, small toys, etc!

Video Tutorial
Materials
Worsted weight yarn in the following colors: brown, tan, white, and red
H/5.00mm hook
G/4.00mm hook
small amount of poly-fil
(2) 6mm safety eyes
Tapestry needle
Scissors
Pattern notes
The pouch will be made first then all the little parts will be made before assembly.
Pattern
Pouch – Use H hook and brown yarn
Row 1: Magic circle, chain 2 and make 10 HDC in the circle. Slip stitch to first HDC
Row 2: Chain 2, 2 HDC in each stitch around, slip stitch into first HDC
Row 3: Chain 2, *1 HDC in first stitch, 2 HDC in second stitch, repeat from * until you get to the last stitch in the round, slip stitch to first HDC
Row 4 -17: Chain 2, 1 HDC in each stitch around, slip stitch to first HDC
Fasten off and weave in ends.
Nose – Use G hook and red yarn
Row 1: Magic circle, chain 1, and make 8 SC inside circle and slip stitch to first SC
Row 2: Chain 1, SC into next two stitches, 2 HDC into next two stitches, SC in next two stitches, 2 HDC in next 2 stitches, slip stitch to first SC. Fasten off and leave a long tail for sewing.
Eyes – Use G hook and white yarn
Row 1: Magic circle, chain 1, and make 10 SC in magic circle, slip stitch to first SC
Row 2: Chain 1, *1 SC, 2 SC, repeat from * until you reach the end of the round. Slip stitch into first SC, fasten off and leave a long tail for sewing.
Make two eyes.
Ears – Use G hook and brown yarn
Row 1: Magic circle, chain 1, and make 4 SC in the circle. Slip stitch to first SC
Row 2: Chain 1, 2 SC in first stitch, 1 SC in second, repeat around. Slip stitch to first SC.
Row 3: Chain 1, 2 SC in first stitch, 1 SC in next two stitches, repeat around. Slip stitch to first SC.
Row 4 – 6: Chain 1, 1 SC in each stitch around. Slip stitch to first SC.
Fasten off, and leave long tail for sewing.
Make two ears.
Antlers – Use G hook and tan yarn
These antlers are made up of two parts, there is a long piece as well as a shorter piece that will be sewn on to the larger piece. Make two long pieces and make two short pieces.
Longer piece
Row 1: Magic circle, chain 1, and 8 SC into the circle. Slip stitch to first SC.
Row 2 – 11: Chain 1, 1 SC in each around, slip stitch to first SC.
Fasten off, and leave long tail for sewing.
Shorter piece
Row 1: Magic circle, chain 1, and 6 SC in the circle. Slip stitch to first SC.
Row 2 – 5: Chain 1, 1 SC in each stitch around. Slip stitch to first SC.
Fasten off, and leave tail for sewing.
Assembly
Stuff each antler (small and large piece with a small amount of poly-fil (or cotton balls or scrap yarn, what ever you have available). Sew the smaller piece onto the larger piece (about 3 rows down from the tip of the larger piece).
Sew the antlers onto the pouch 1 row down from the top.
Sew on the ears, leaving 1 row between the antlers and ears.
Take your 6mm safety eyes and place them in the center of the white crocheted eye. Attach eyes between rows 5&8 (counting from the top of the pouch down).
Skip a row down from the eyes, and sew on the nose.
Draw string
Using brown, white, and tan, cut a 22″ piece of yarn of each color and braid. Knot at each end, leave a few inches after the knot at one end so you are able to thread it through a needle.
Weave back and forth through the HDCs at the top of the pouch. Once you’ve done that, you can cut the ends evenly. Pull tight to close the pouch.
I just started the reindeer pouch! I love the idea! Thank u!
I absolutely Love ALL your patterns ! Thank you for sharing your beautiful & also fun crochet patterns…A.P.