This granny square afghan uses double crochets and chains to make filet stitches between solid rows to make a unique, modern looking granny square.
- Purchase the ad-free PDF download/printable on Etsy or Ravelry.
- PIN it to your boards for later.
- Scroll down to view the crochet pattern right on my blog for free supported by ads.
Granny Square Blankets
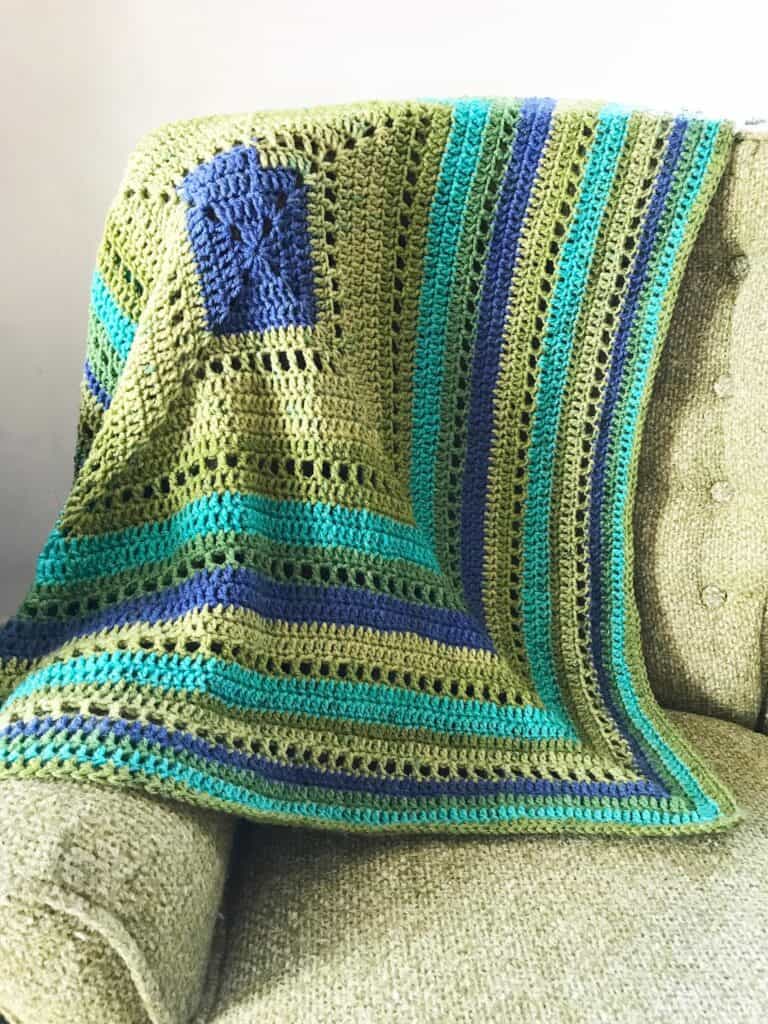
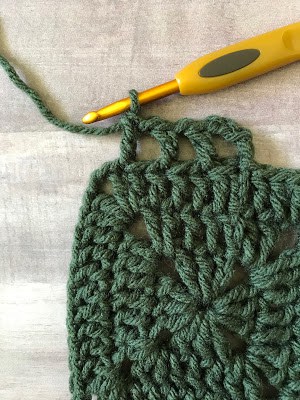
Isn’t this just the most simple yet perfectly detailed blanket?! I love love love blankets made out of one large granny square, so I made one with a little twist.
For this afghan, I created a large solid granny square with rows of filet to keep it a bit breezy. I love the little detail of the little blocks. I think it makes it look very pretty and delicate.
When I first started this project, I made the little filet squares between only two solid rows but I found that too “hole-y” for my taste. However, that may be right up your alley if you’re looking for a very light afghan!
Once you get going on this project, it’s a very easy and mindless project that you can do while relaxing and/or watching one of your favorite shows. I worked on this project intermittently between other projects. It was very much my go-to project when I wanted to do some mindless stitching.

Blanket Sizing and Yarn
The best thing about this afghan is that you can make it as large or as small as you’d like. The pattern is a five-row repeat and once you get past the first few repeats, you won’t need to look at the pattern anymore.
This blanket comes out to be a square. 36″ x 36″ is a great size for a baby blanket and a 60″ x 60″ makes a great size for a throw.
I found that using just two of the regular Caron cakes, it made a nice sized baby blanket (36″ square). I had 3 Caron cakes in the Blueberry Kiwi color that is now discontinued, so I used all 3 to make a good sized blanket for my 6 year old son.
When using Caron cakes, the color can change mid-round which may not be favorable but I was okay with that. If do not like your color running together mid-round, I have seen some projects where you cut and attach as needed to make your color changes a little more structured.
Blocking Your Blanket
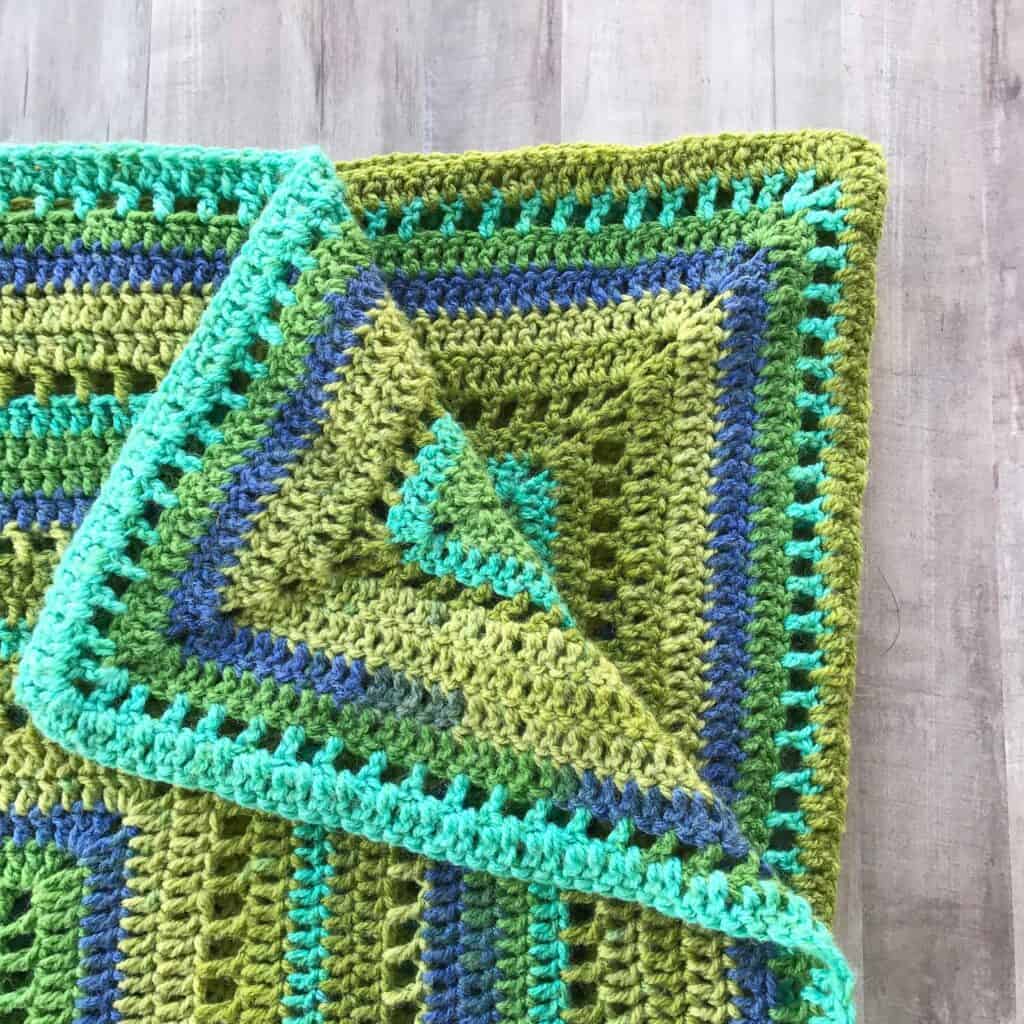
Fair warning here – you will have to block your finished project! The larger you make the square, the more it will tend to curl up on the edges and look a bit uneven.
I was told this is the nature of very large squares and although I tried changing up my stitch counts and used different yarns – the verdict was I had to block the project. So keep that in mind!
The lazy way to block a blanket is to throw it in the washer and then lay it flat to dry. I just make sure to arrange it to be a perfect square and let it air dry. 9/10 it works for me!
Granny Square Filet Afghan Pattern
- Add it to your favorites or purchase the ad-free PDF on Ravelry.
- Purchase the PDF ad-free pattern on Etsy here.
- PIN it to your Pinterest boards
Notes
Chain 3 in the beginning of the rounds count as a stitch, when making the next stitch be sure to crochet into the next space and not the same space as the Chain 3.
“Corner” is referring to the chain 2 spaces in each corner of the square.
You may use any type of yarn, just make sure to adjust hook size as needed.
You will need to block your project after completion.
Blanket shown was made with 3 Caron cakes and came out to be approximately 47” x 47” once blocked.
Stitch counts for sides:
*Count your stitches, it may be easy to miss stitches when making a solid granny square especially if you crochet tightly*
Row 1: 3 stitches per side
Row 2: 7 stitches per side
Row 3: 11 stitches per side
Every row after should have 4 stitches more than the last. Filet rows – count DC and chains
Abbreviations:
MR – magic ring
DC – double crochet
Ch – chain
Gauge: 4″x4″ ~ 12st x 7rows in DC
Materials
Worsted weight yarn
H/5.0mm hook
Tapestry needle and scissors
Pattern
Round 1: MR, work the following in the ring: Ch3, 2DC, Ch 2, 3DC, Ch 2, 3DC, Ch 2, 3DC, Ch 2, join to beginning Ch 3
Round 2: Ch 3, *DC in each stitch across until you get to the corner, (2DC, Ch 2, 2DC) all in corner, repeat from * , join to beginning ch 3
Round 3-4: Repeat Round 2
Round 5: Chain 4, skip one stitch, DC, *Ch 1, skip one stitch, DC until you get to the corner, (Ch 1, DC, Ch 2, DC, Ch 1) all in corner.
Start next side by working DC into next stitch and then repeat from *
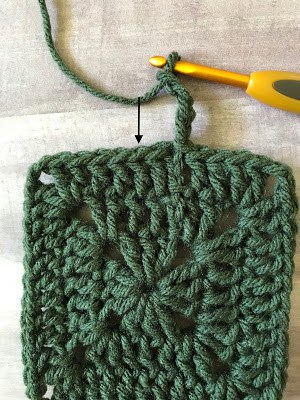
until you get back to beginning of round, join to the 3rd space up from the beginning chain
Round 6: Ch 3, *DC in each chain space and DC across until you get to corner, (2DC, Ch 2, 2DC) all in corner, repeat from *
DC until you get back to beginning of round, join to 3rd space up from the beginning chain
Repeat Rounds 2-6 until desired size of blanket is acquired.
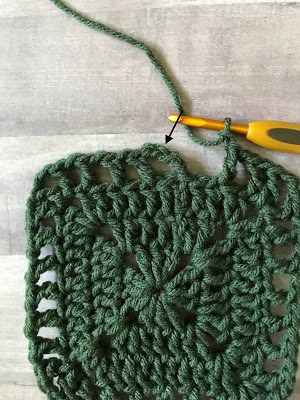 |
| Filet rounds are joined to the 3rd space up from the beginning chain |

Suggestions for blocking a larger item like this? If I use the carpet/floor it would involve moving furniture.
I do mine on a guest bed. I've had 1 or 2 cases where I have to block it folded in half because it wouldn't fit, in which case I stick something tubular (like a pool noodle) in the fold so it doesn't crease.
That's a great idea! I am just starting mine. But, I usually go big.
I can't for the life of me figure out why my sides are longer than my top and bottom and it's bugging me. They were all equal until the first round of filet stitches, then my next round of dc and my sides are both 1 stitch longer than my top and bottom. I have undone and redone several times and i cant find my mistake. Any ideas?
I'm wondering if it would not curl up and look uneven if you would turn at the end of each round. I did a very large afghan once (of my own design) with just straight across and back. When I put the edge around it, I didn't turn at the end of the rows and it curled up. On smaller designs, I tried turning at the end of rows and it didn't curl. Just a thought…
I am having problems with stitch count to for Row three. It's stated 12 but I keep getting 11. 7+4=11 and I count 11 in the screen shots too. What is the correct number please. Is this a typo in pattern instructions?
Thanks for the pattern! Mine turned out great. I ended the pattern with 2 rows of single crochet to add an edge to it. This was a fun blanket to make!