
This post may contain affiliate links. For more information, please see our disclosure policy.
- Purchase the ad-free PDF download/printable on Etsy or Ravelry – includes instructions to make custom sized pumpkins with any yarn.
- PIN it to your boards for later.
- View the pattern below on my blog supported by ads.
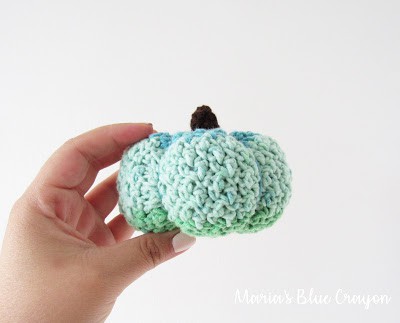

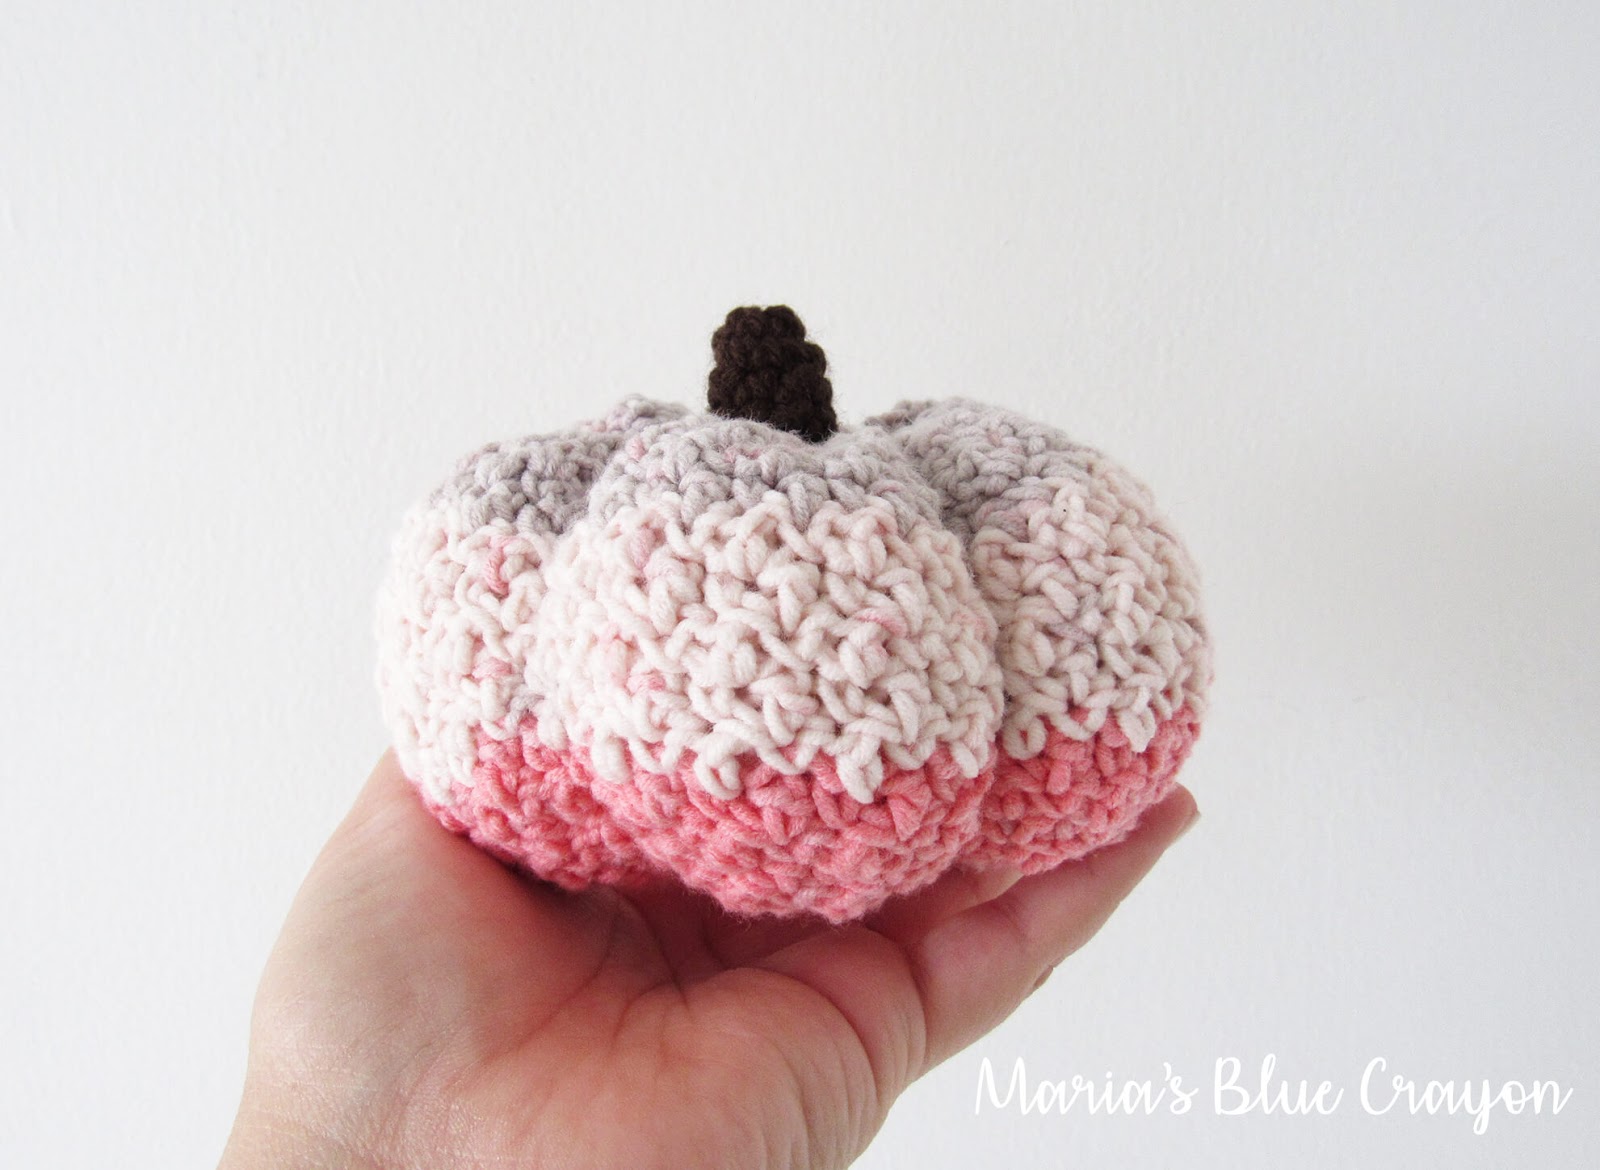
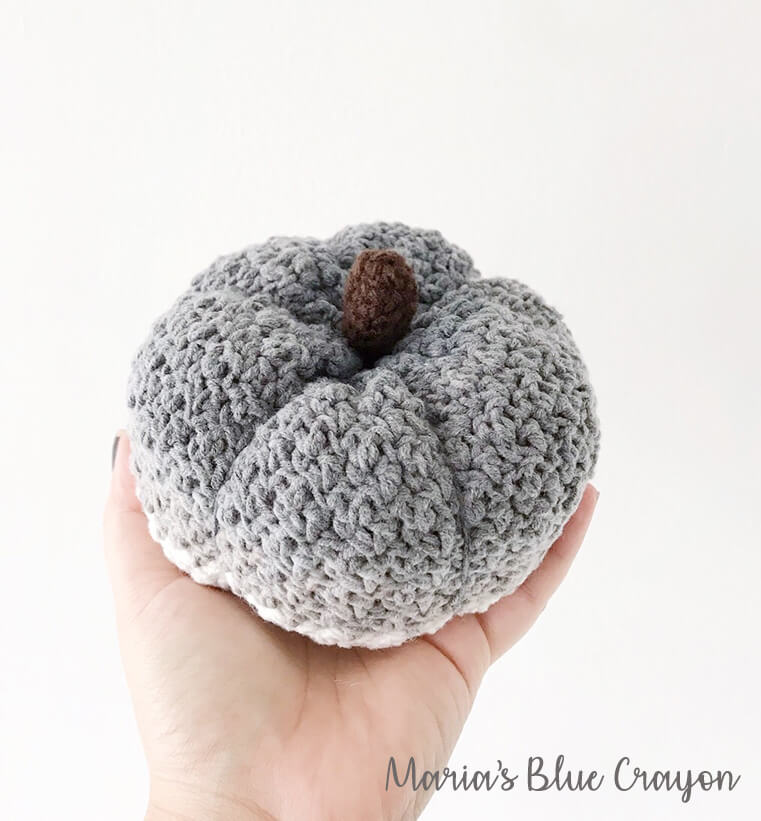
Crochet Lil Dollip Pumpkins Pattern
Materials
1 skein Yarn Bee Lil Dollop (Applessence, Watermelon Whisper, Midnight Truffle – 92yards each)
Small amount dark brown worsted weight yarn for stem
G/4.00mm hook
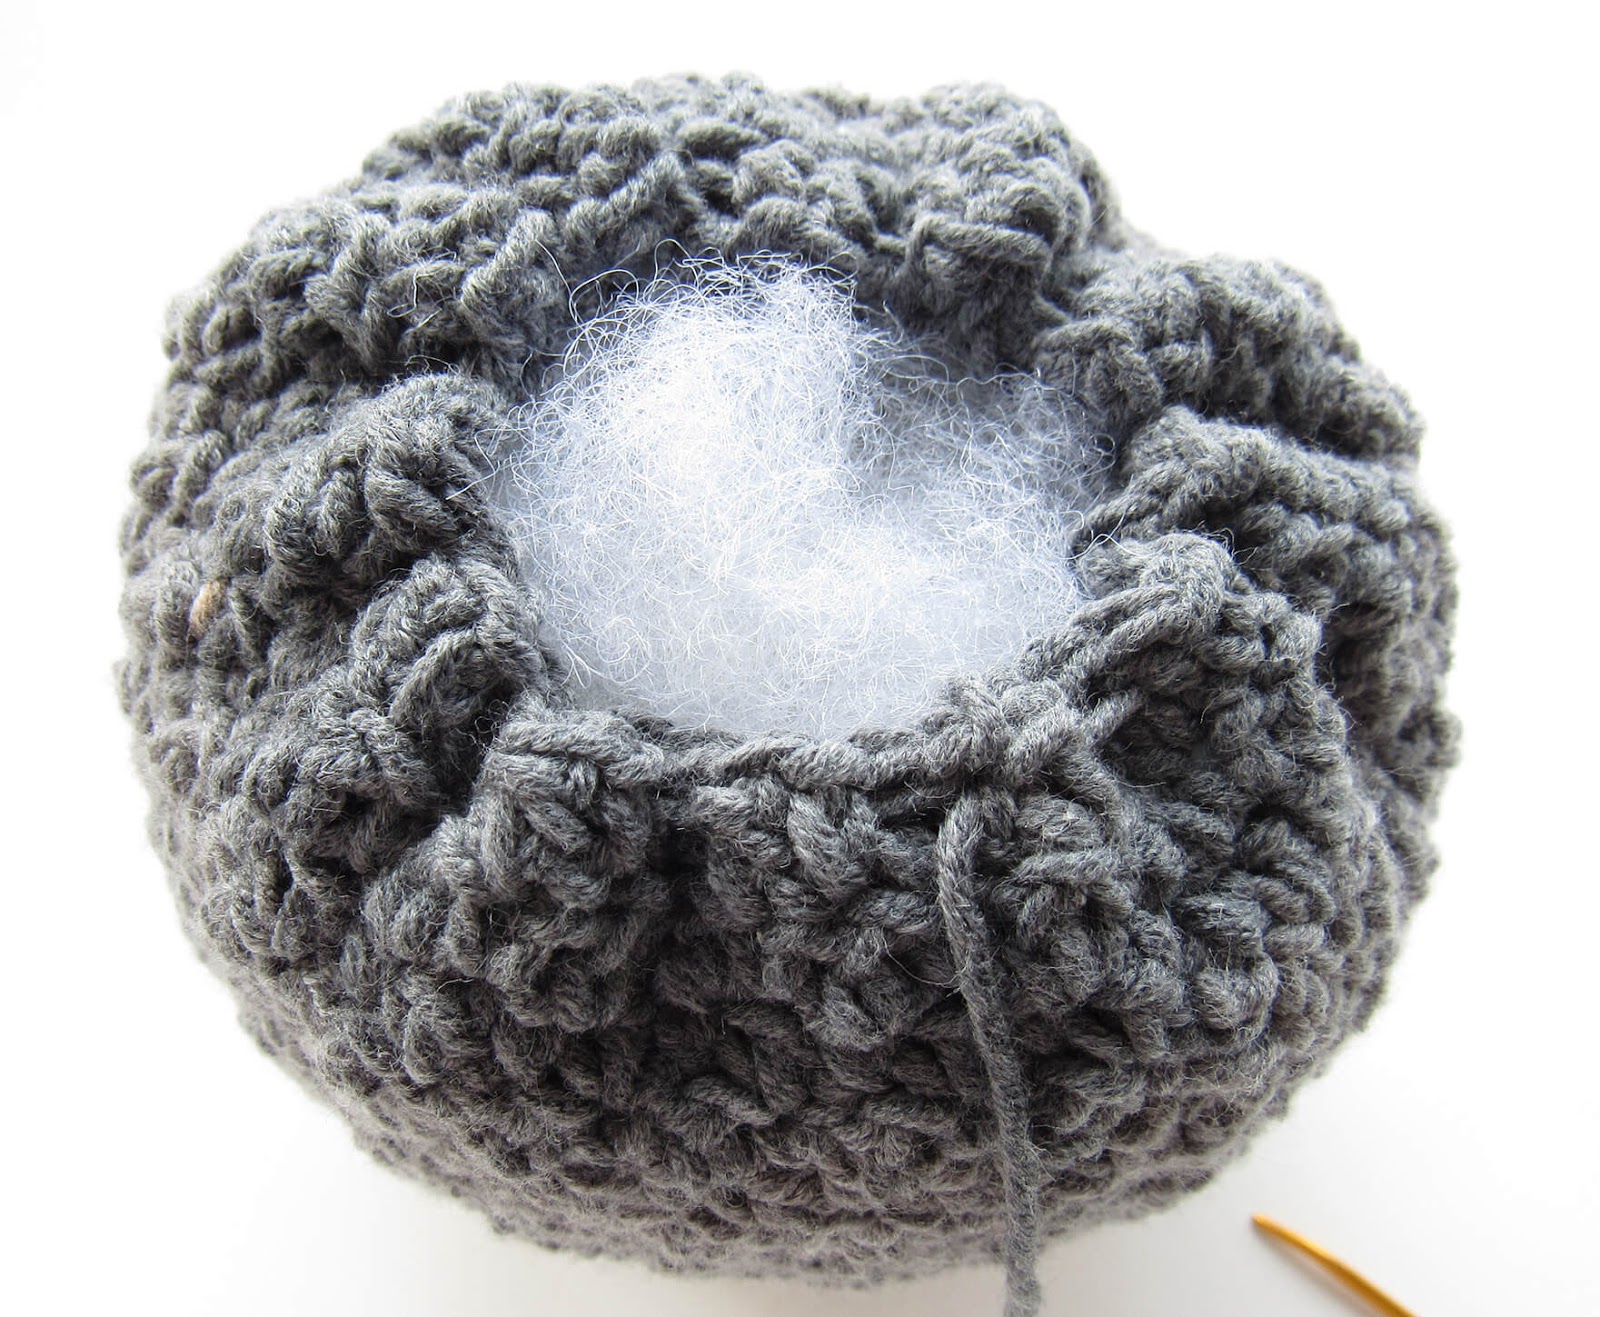
Poly-fil stuffing
Tapestry needle
Scissors
Pattern notes
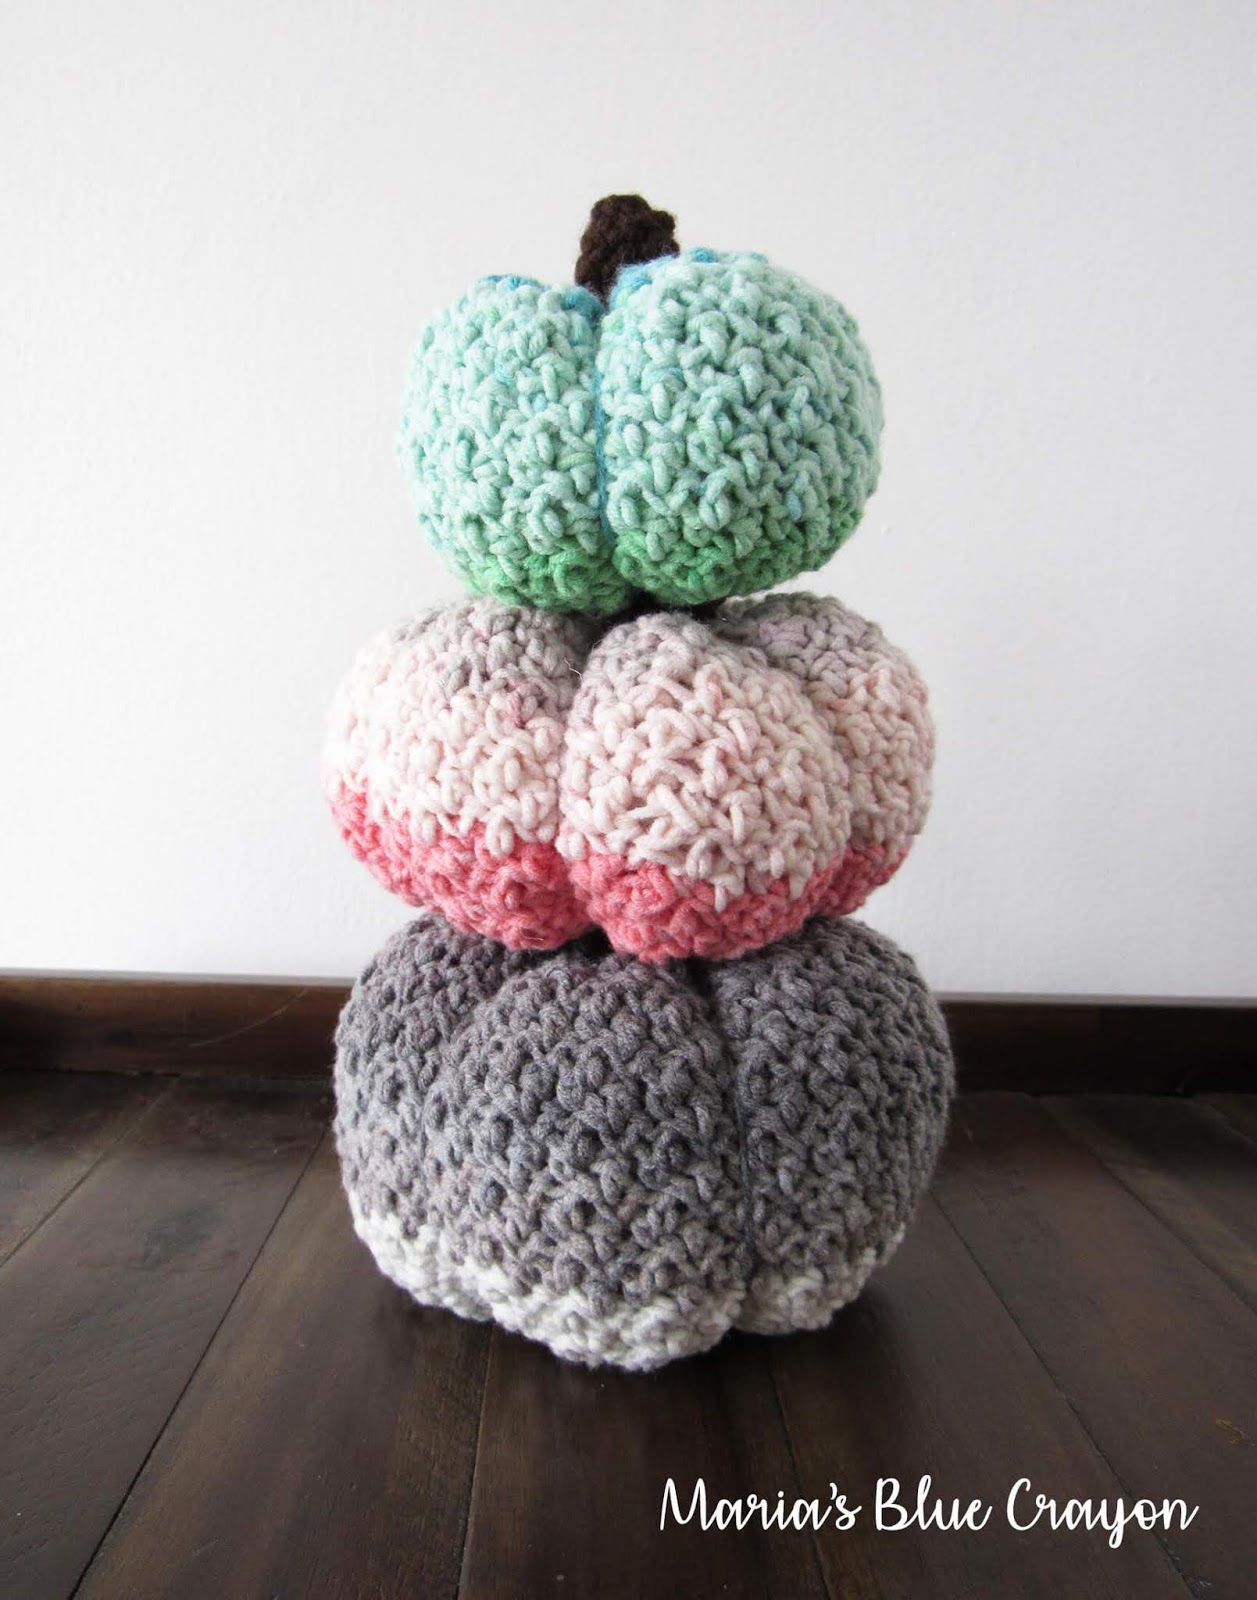
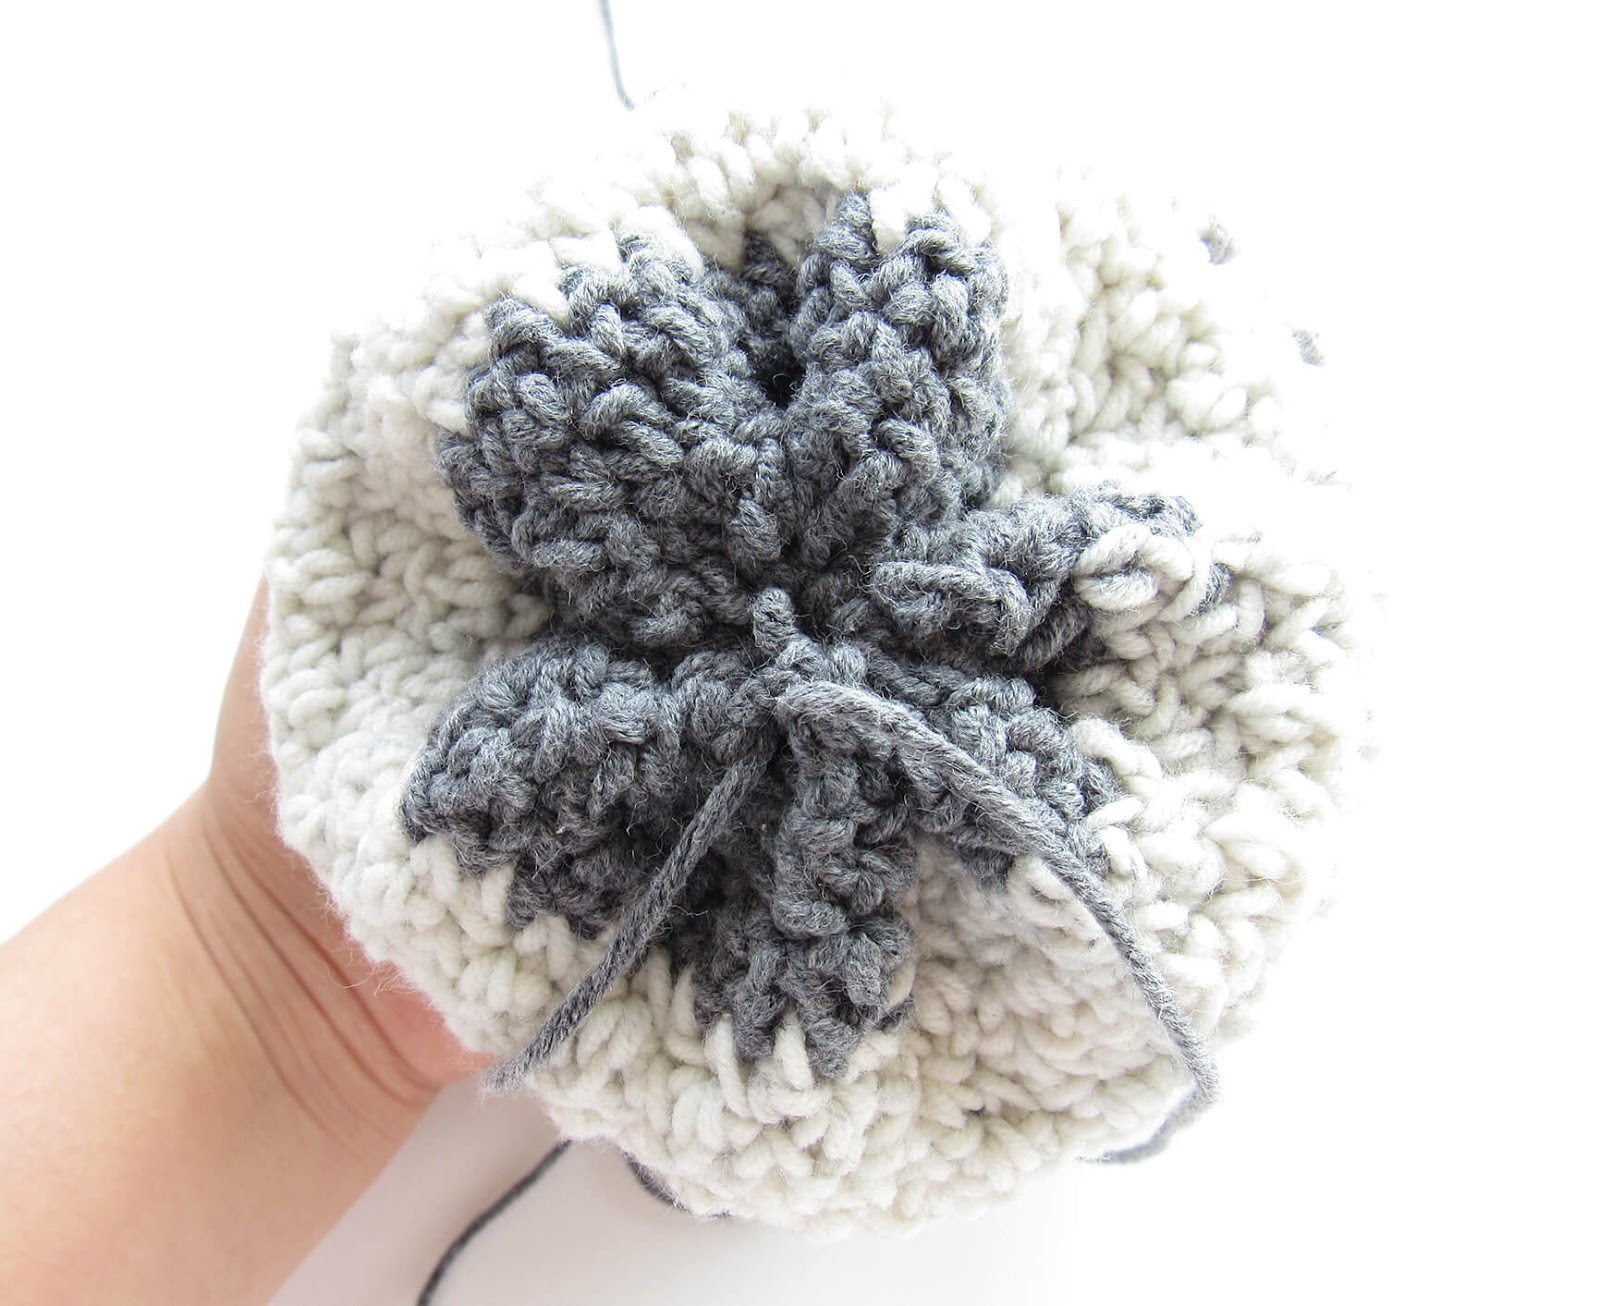
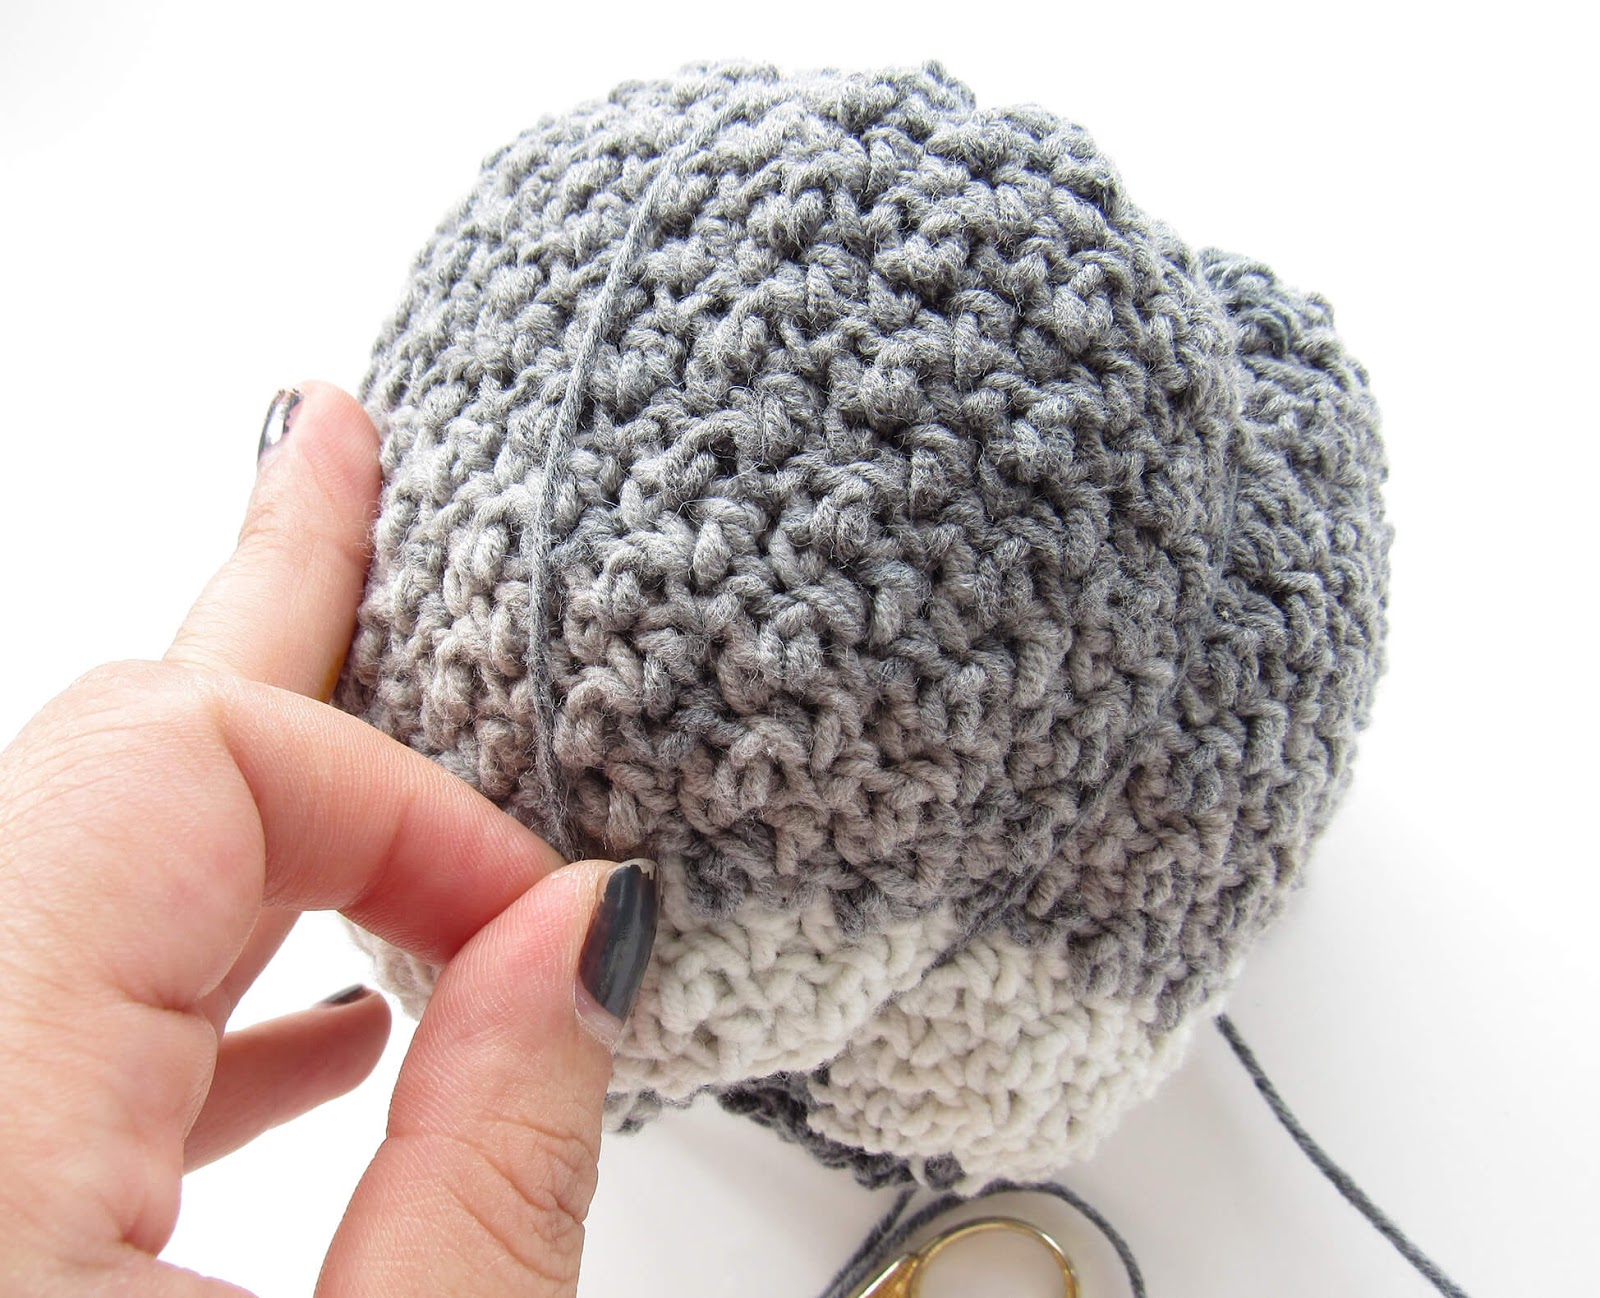
The pumpkin will be made by working in the round then sewn and cinched up at the top and bottom to create the sphere. We will additionally add grooves to the side with yarn and needle.
Beginning Chain 2 does not count as a stitch.
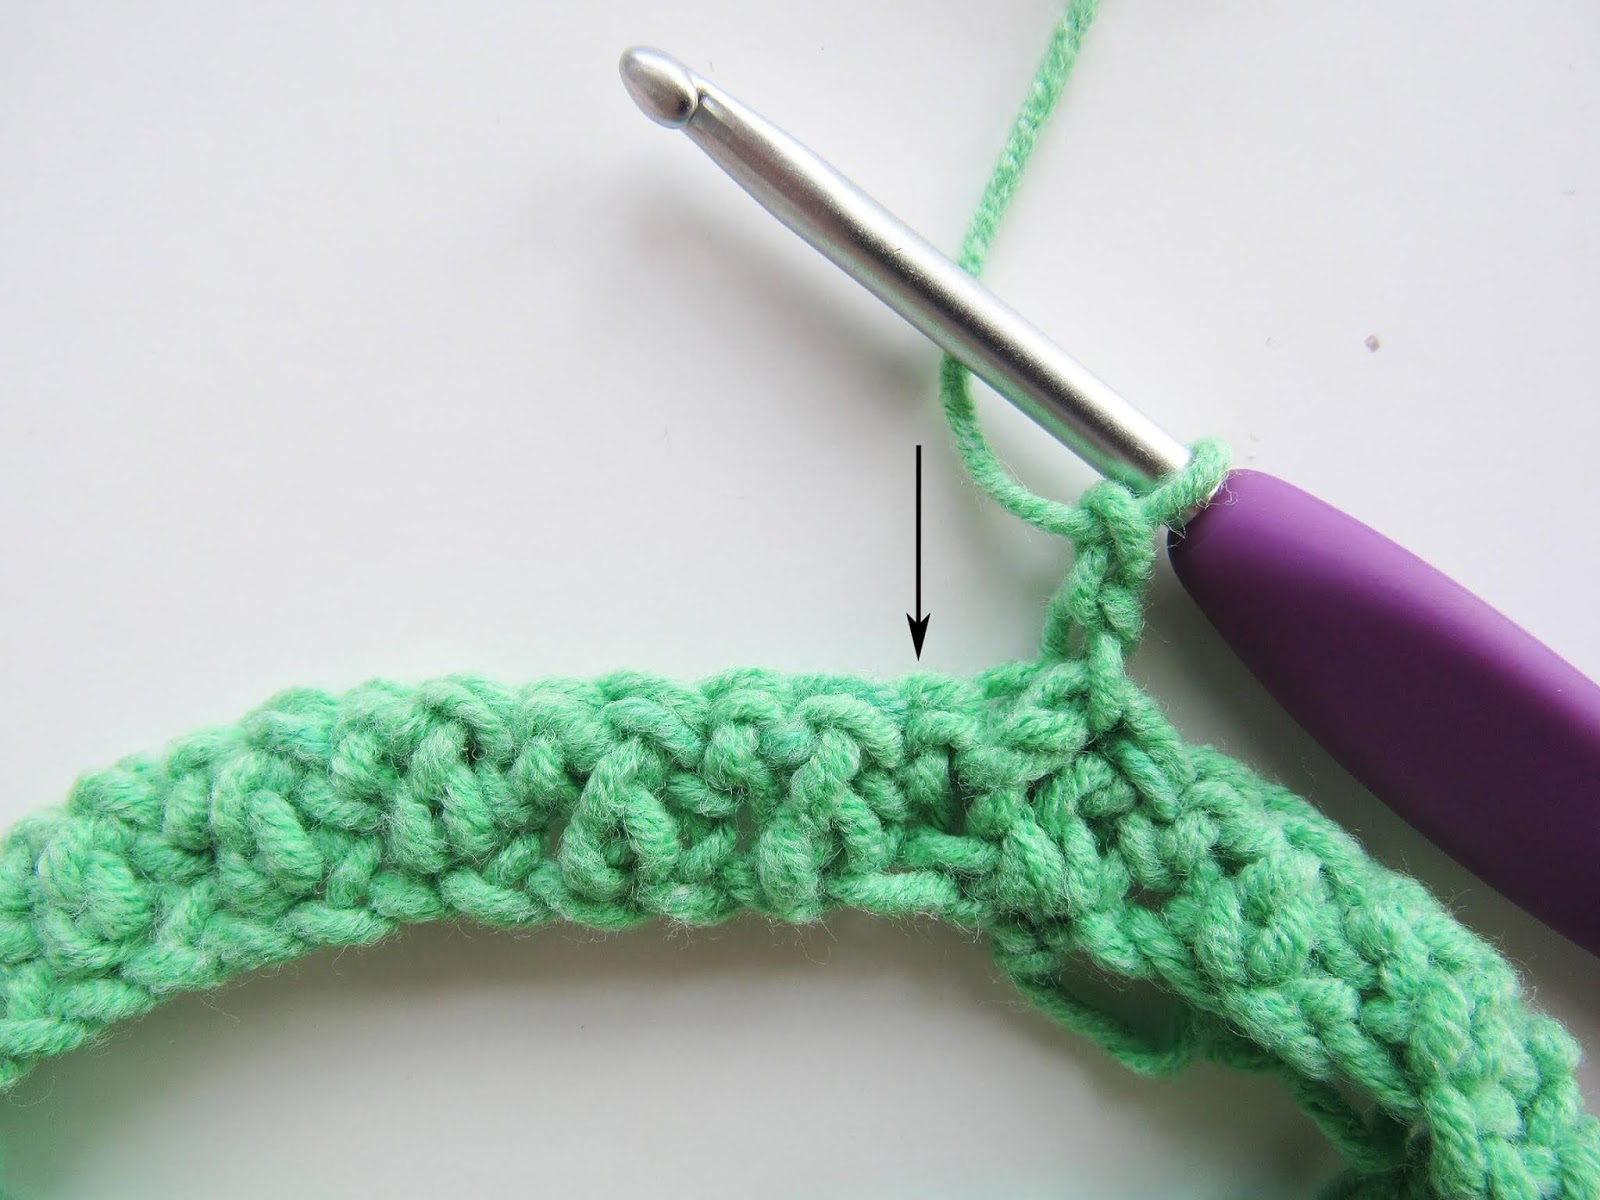
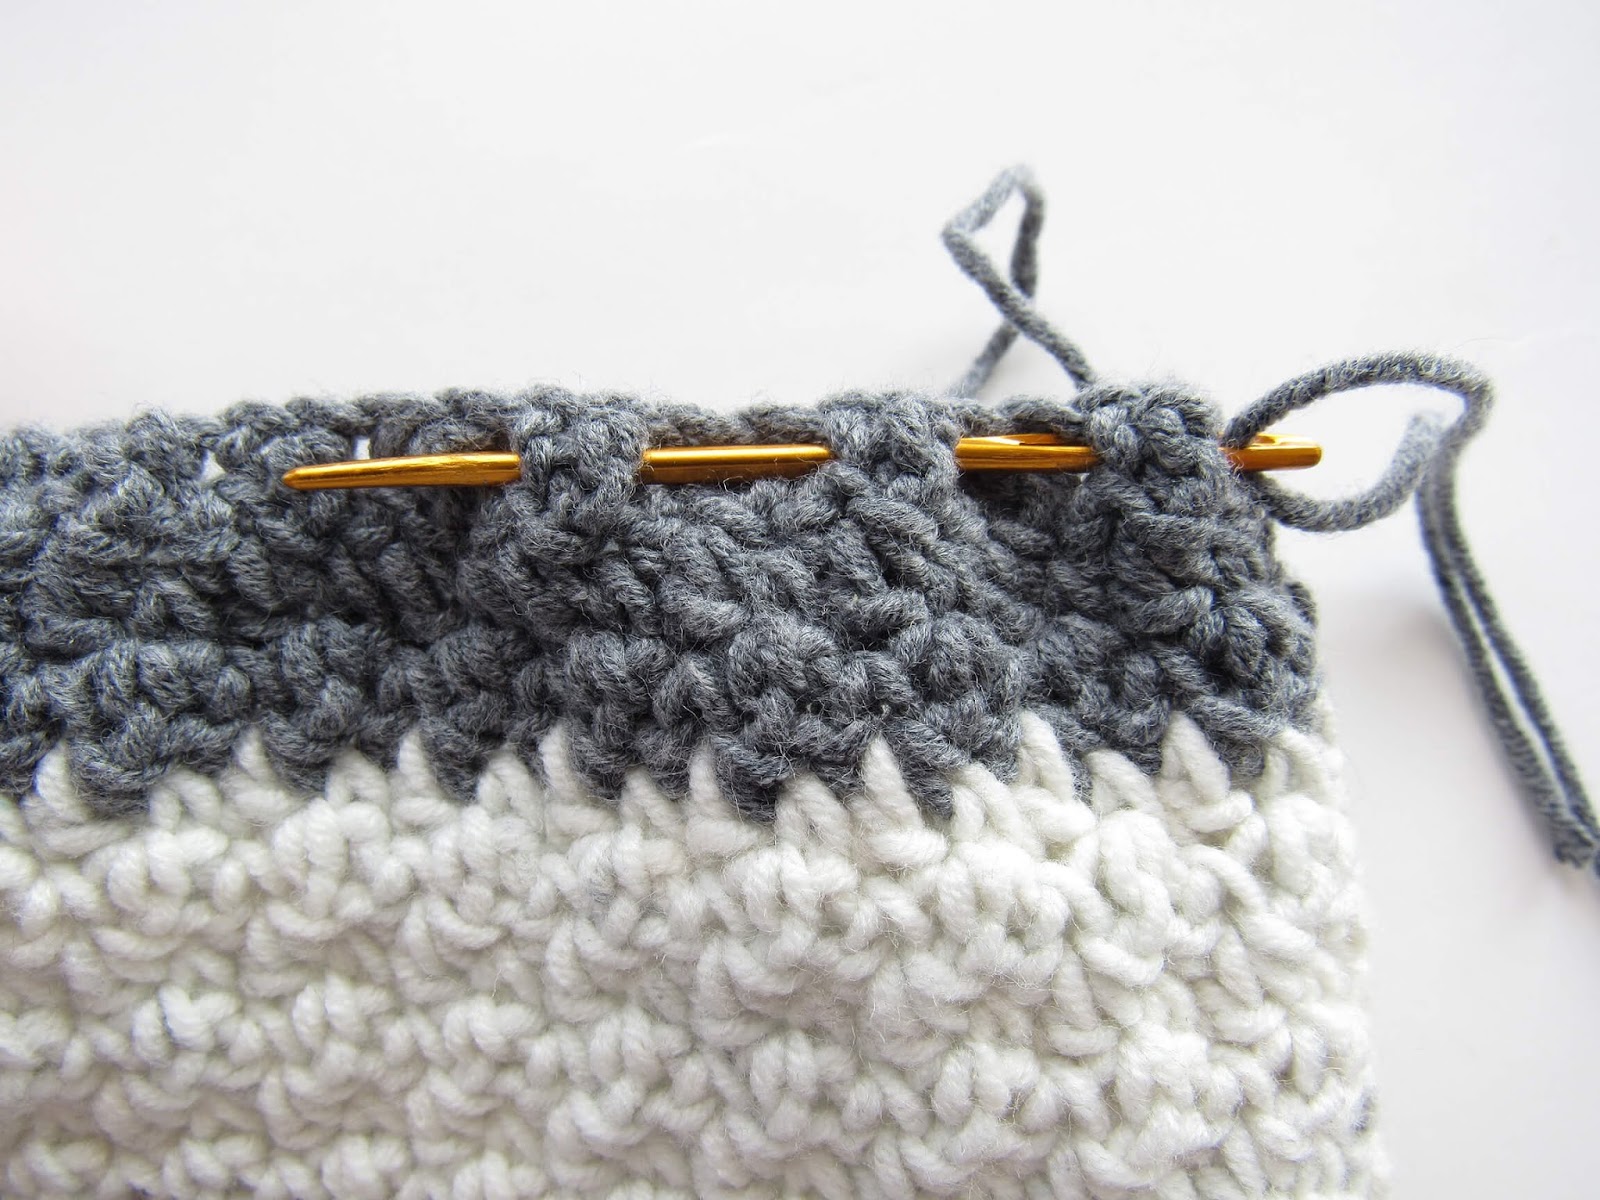
We will be working in the round as well as turning our work after each round. Note that when we turn our work, the first stitch we will be working into is as shown in photo. We will always work into that single crochet from the previous row. (This DOES NOT apply to the first round 2 as we have no turned yet, in that case we will work into that very first stitch).
Abbreviations (US terms):
Ch = chain, sc = single crochet, dc = double crochet, st = stitch(es)
Small: 4” diameter x 3” high
Round 1: Ch 30, join to first ch careful not to twist
Round 2: Ch 2, *dc, sc, repeat from * around, join to first dc, TURN (30)
Repeat round 2 until you have a total of 16 rows
Fasten off and leave a very long tail (~3-4 ft) and follow the assembly instructions below.
Medium: 5” diameter x 4” high
Round 1: Ch 50, join to first ch careful not to twist
Round 2: Ch 2, *dc, sc, repeat from * around, join to first dc, TURN (50)
Repeat round 2 until you have a total of 20 rows
Fasten off and leave a very long tail (~3-4 ft) and follow the assembly instructions below.
Large: 5” diameter x 5” high
Round 1: Ch 50, join to first ch careful not to twist
Round 2: Ch 2, *dc, sc, repeat from * around, join to first dc, TURN (50)
Repeat round 2 until you have a total of 25 rows
Fasten off and leave a very long tail (~3-4 ft) and follow the assembly instructions below.
Stem – use dark brown yarn
Round 1: Magic ring, ch 1, 4sc in ring, join to first sc
Round 2: Ch 1, 2sc in each st around, join to first sc
Round 3-5: Ch 1, sc around, join to first sc. Fasten off and sew onto top of pumpkin.
Assembly Instructions


Thank you for the pattern. I LOVE these and can't wait to finish other projects so I can get them on my hook.
Thank you! I can't wait to make these.
So cute!!
Thank you for the pattern. I love this yarn as well. I used it to make myself the best steering wheel cover ever. It took just slightly more than a skein. Can't wait to find more reasons to use it.
This is so cute! I love this yarn and the colors are really nice.