
This post may contain affiliate links. For more information, please see our disclosure policy.
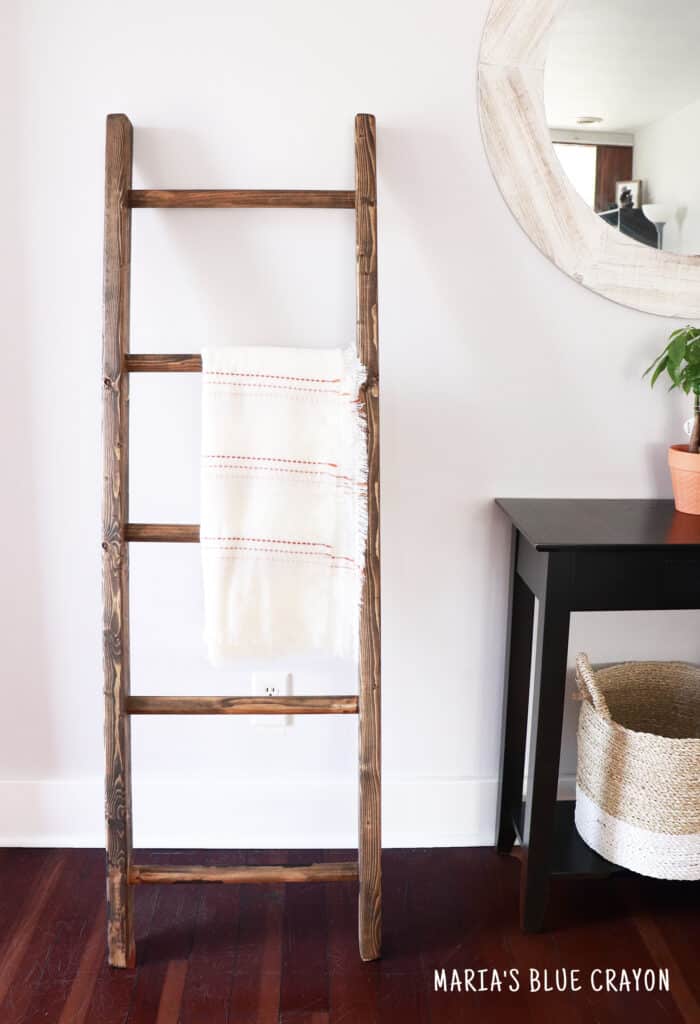
DIY tutorial on how to make your own blanket ladder with some 2x3s and dowels.
I thought a blanket ladder would be perfect for my (many) crochet blankets and to have as a prop for photos on my blog.
My boyfriend got supplies to make one and it was really easy to do! It was also a fun Sunday afternoon project for us to work on together.
DIY Blanket Ladder Tutorial
For this 5 foot blanket ladder, we used circle dowels and cut out notches of the 2×3’s to attach the dowels. This made for a smooth finish all around.
You can use this tutorial step by step or use it as a guide and tweak what you’d like. For example, if you want a taller or shorter ladder or want to use thicker/skinnier wood pieces, you can definitely do so!
I posted some bits and pieces of videos/photos (many that you see below) on my Instagram if you’d like to see that. You can find it in my “highlights” under Blanket Ladder.
Materials
(2) 2×3 wood cut to 5 feet
(5) 1.25″ dowels cut to 17″ pieces
Power drill
1 1/4″ butterfly drill bit
Gorilla Wood Glue
Hammer
Power Sander
Stain in the color Jacobean (gloves and an old t shirt/rag to apply)
*Tip on picking out wood. Be sure the 2×3’s you pick out are nice and straight. We sifted through quite a few until we found some that weren’t bowed. You may also want to look at the knots on them to see which pieces you prefer.
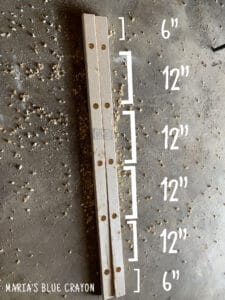
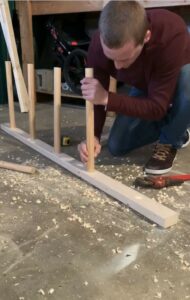
Step 1
Mark your 2×3 pieces where the dowels will go.
You can see the measurements we marked in the photo below.
Step 2
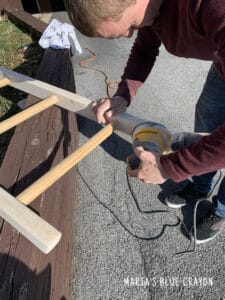
Use you power drill and butterfly bit to cut out notches. We cut 3/4″ deep notches.
Do this for both 2×3 wood pieces.
Step 3
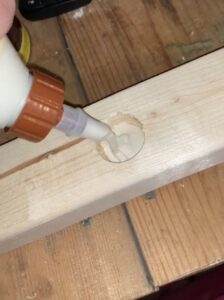
Fill the notches on one of the 2×3 pieces with Gorilla wood glue. Fill it up half way.
Step 4
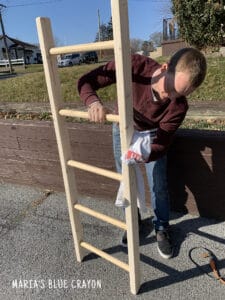
Fit the dowels into the notches. They will be a really tight fit. Hammer them down until they are secure.
Step 5
Fill the notches on the other 2×3 piece with wood glue. Place the other side of the dowels onto the 2×3. Hammer down to secure.
Step 6
Cut off a portion of the bottom of the 2x3s at a 22.5 degree angle slightly offset from the corner.
This will be the bottom of the ladder. This angle doesn’t have to be exact – you can cut it how you’d like. We have it offset so the legs have something to stand on versus a sharp point.
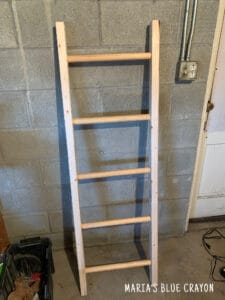
At this point, your ladder is done! You can stain and paint it however you would like.
Staining the Blanket Ladder
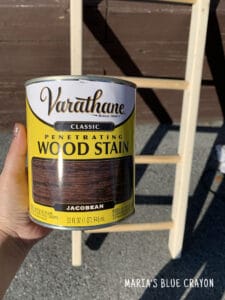
If you are using a different stain than I am, be sure to read the instructions on the label.
I have never stained anything before but it was pretty simple.
Be sure to sand the ladder really well. I recommend using a power sander since it makes is easier and quicker to sand it down really well.
After sanding, be sure to wipe all of the excess dust with something that won’t leave fibers behind. I used an old t-shirt.
I recommend using gloves once you start staining so your hands won’t get stained.
I used an old t-shirt and simply dipped it into the stain and wiped it all over the wood. For the stain I was using, it said to apply two coats letting it dry 2 hours in between.
I’m super happy with the results! I didn’t get every crack and crevice but I really like how it looks. To get a more even coat and to get every little crevice, I think a paint brush would have done a better job for that.
Leave a Reply