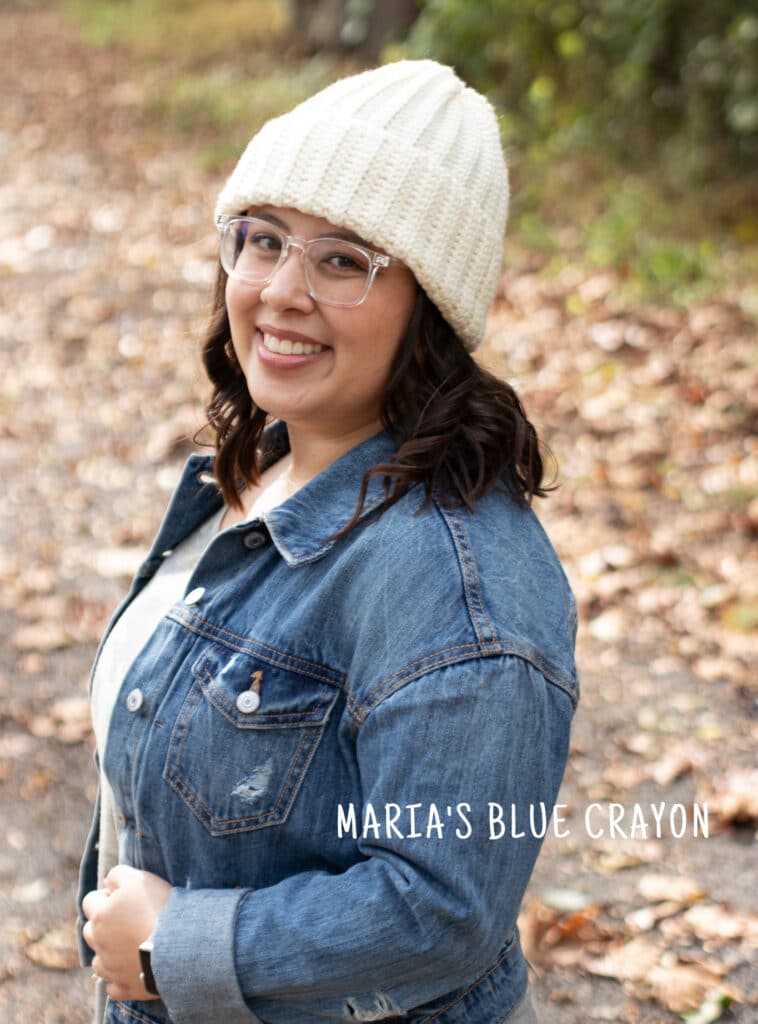
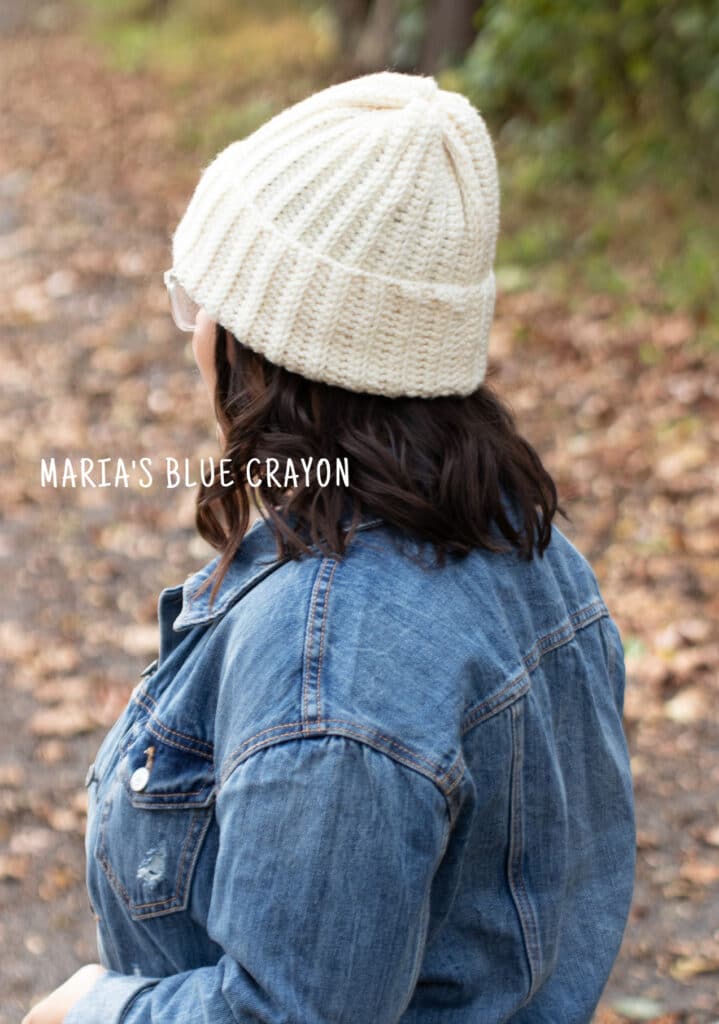
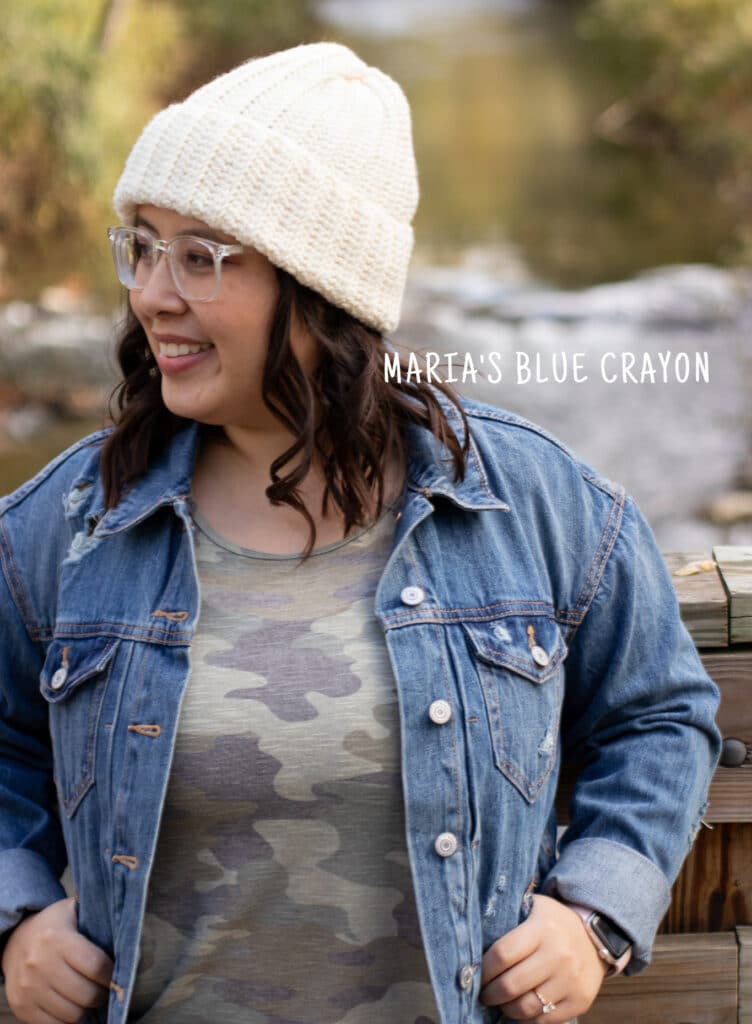
The double brim ribbed crochet beanie gives you a classic beanie look. This can be easily made for anyone – add a pom pom or a patch to the brim to customize!
- Grab the ad-free PDF download/printable on Ravelry or Etsy – includes baby to adult sizing.
- PIN it to your boards for later.
- View the pattern below for the adult size right here on my blog supported by ads.

Crochet Ribbed Texture
The ribbed texture on this beanie is created by crocheting in the back loop only. If you’re new to crochet, it’s not as scary as it sounds! Once you can identify where you are crocheting, it is very easy.
The video tutorial below will show you each step of the way to create this ribbed textured beanie.

Tips and Tricks for this Crochet Beanie Pattern
Working in the back loop only often leads to a slightly scalloped or imperfect edge. Because I wanted this to be a brim that folded up, I wanted to be sure the edge looked flawless.
To make that perfect edge, I did NOT chain at the beginning of each row. Sounds unheard-of, right? It is possible to not chain at the beginning of a row before you start it. You just need to make sure the loop on your hook isn’t super tight once you begin the next row.
I also stitched as normal in the first and last stitch of each row instead of only stitching in the back loop only. I think this is what helps the most!

Crochet Beanie Video Tutorial
If you are unable to view the video below this message, you can also watch it on YouTube.
Crochet Double Brim Ribbed Beanie Pattern

Materials
Worsted weight yarn
H/5.00mm hook
Tape Measure
Scissors & Tapestry needle
Overview: This beanie will be made by crocheting a rectangle. You will then crochet the first and last rows together to form a tube. Last, sewing up one side of the tube will create the top of the hat. Fold bottom of the beanie up for a double brim.
Notes
– You will notice in the pattern that there are no chains in the beginning of each row. When beginning each row, be sure the loop is a bit loose before making the first stitch.
- Since this hat is made based off of measurements versus stitch count, you can use any yarn/hook combination you would like.
- You can substitute the half double crochet foundation chains with chaining and then half double crochet into the 2nd st from hook and across.
- When working the rows, the first and last stitch will be a regular half double crochet, in between the half double crochets will be worked into the back loop only.
Abbreviations (US terms)
Hdc = half double crochet, BLO = back loop only, st = stitch
Pattern
Row 1: Half double crochet foundation stitches until it is 12″ in length
Row 2: Hdc into first st, hdc in BLO across until last st, hdc in last st, turn
Repeat Row 2 until the height of the rows measures 18″
Slip stitch last and first row together. You will now have a tube. Fasten off and leave tail.
Weave in and out of stitches about 1” apart around one side of the tube. Pull tight to cinch it together. Knot and weave in ends.
Optional: Add patch or pom pom to beanie.

Leave a Reply