
This post may contain affiliate links. For more information, please see our disclosure policy.
This post will show you how to construct your Woodland Afghan. There are multiple methods to joining granny squares, so please choose the technique you prefer! I initially tried to whip stitch the squares together, but because of each square being next to a different color, the outcome did not look as clean as I would have liked. I ultimately used the single crochet joining technique. Below I have provided pictures and an explanation of how I joined my afghan.

First thing will be to lay out your squares in the layout I have provided or the layout you prefer. You will notice not all of my squares have animals on them when I joined these. I joined them before I had all the animals designed. In your case, you will probably have all the animals together by the time you join your squares. In fact, I suggest that. Sewing on the animals after the afghan was joined proved to be very difficult and time consuming. The layout I provide is in this post here.
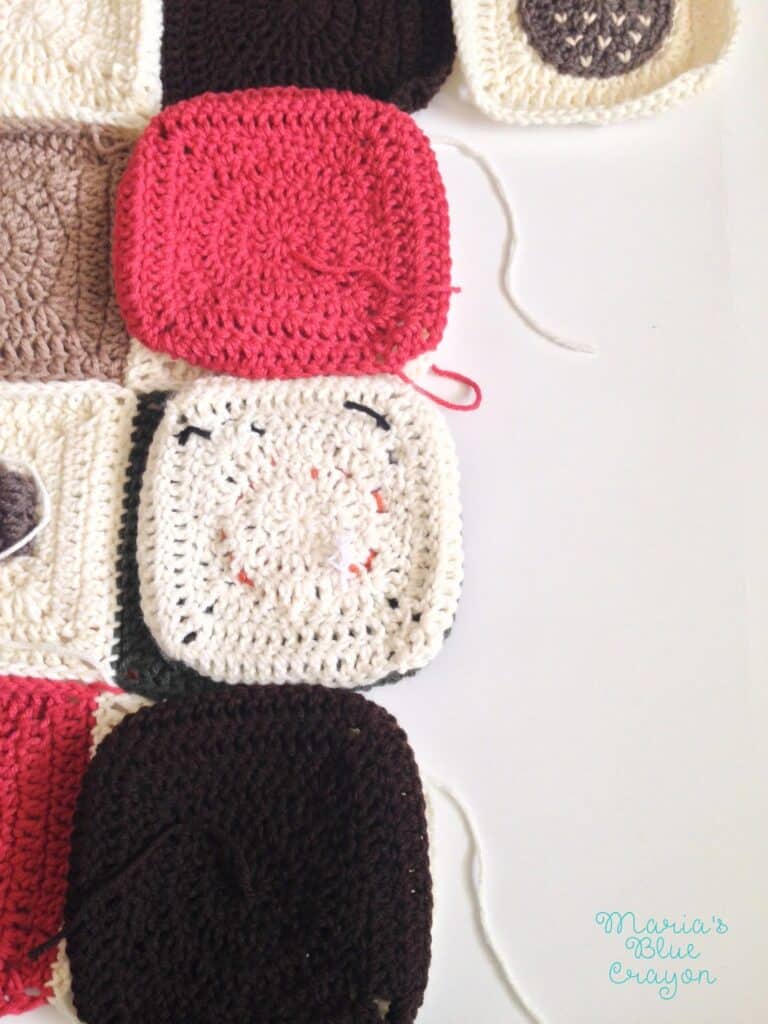
Once you have your squares laid out in order, simply flip over the squares so the ‘right side’ of the squares are facing in towards each other and the ‘wrong sides’ are facing out. We will be working on joining the rows vertically from the bottom to the top.
*In this photo, I am working on attaching the 3rd vertical row.*

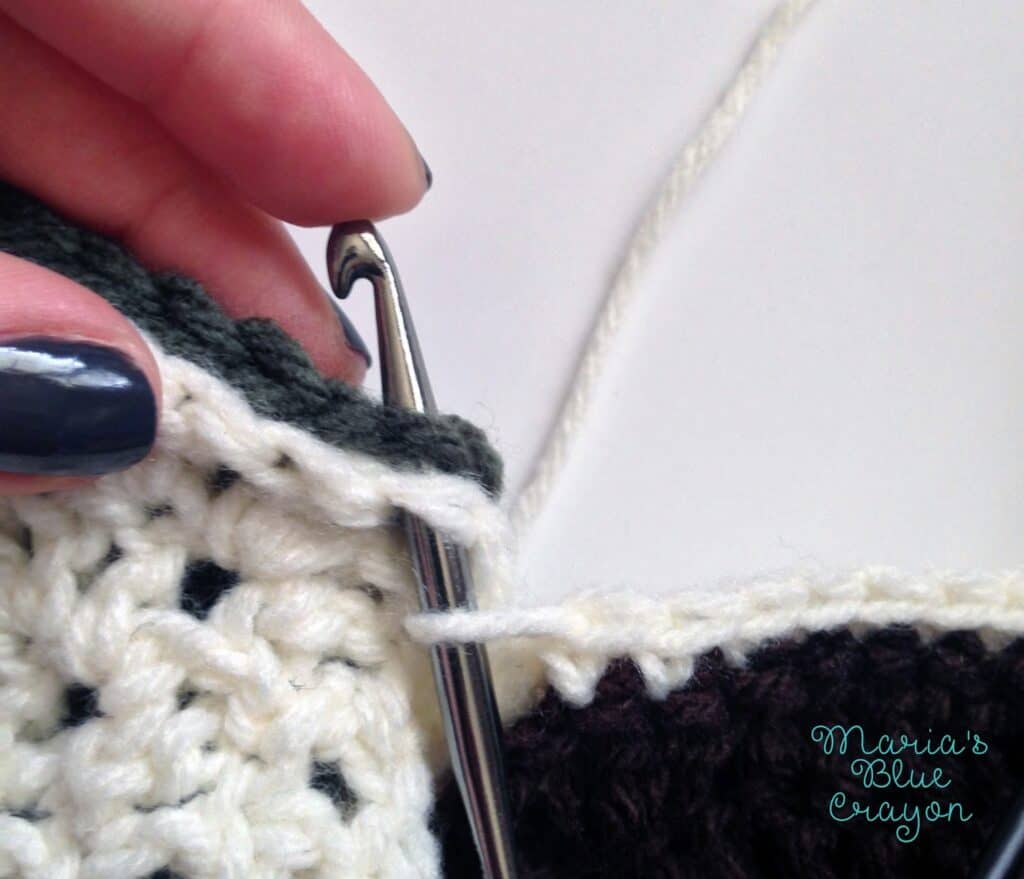
Find the edge of the bottom right corner of your first square on the bottom. In this case, as you see in the picture above, my bottom square is the chocolate brown. The edge is the chain 2 space as pointed out in this picture. Each chain is for one side of the square. We will be working in the chain closest to my hand in the picture.
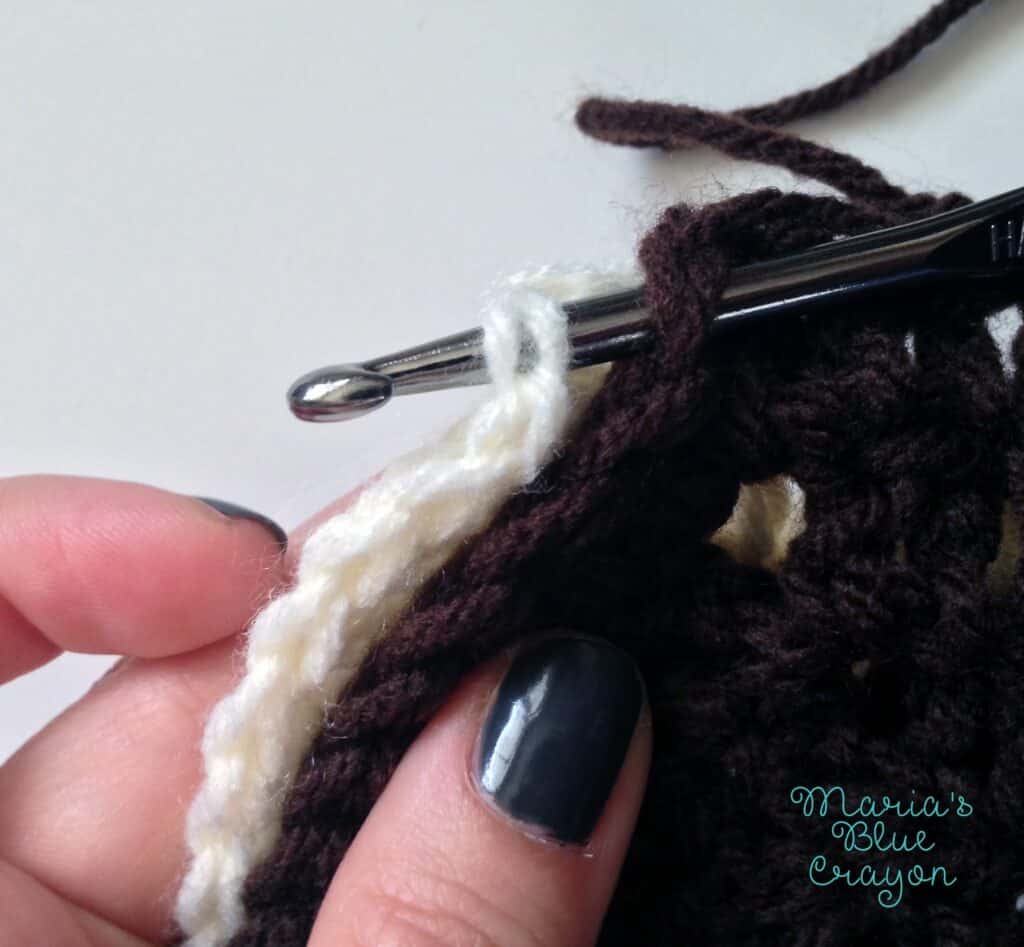
Insert your hook into the chain on both squares to join together, making sure there are two loops on the top.
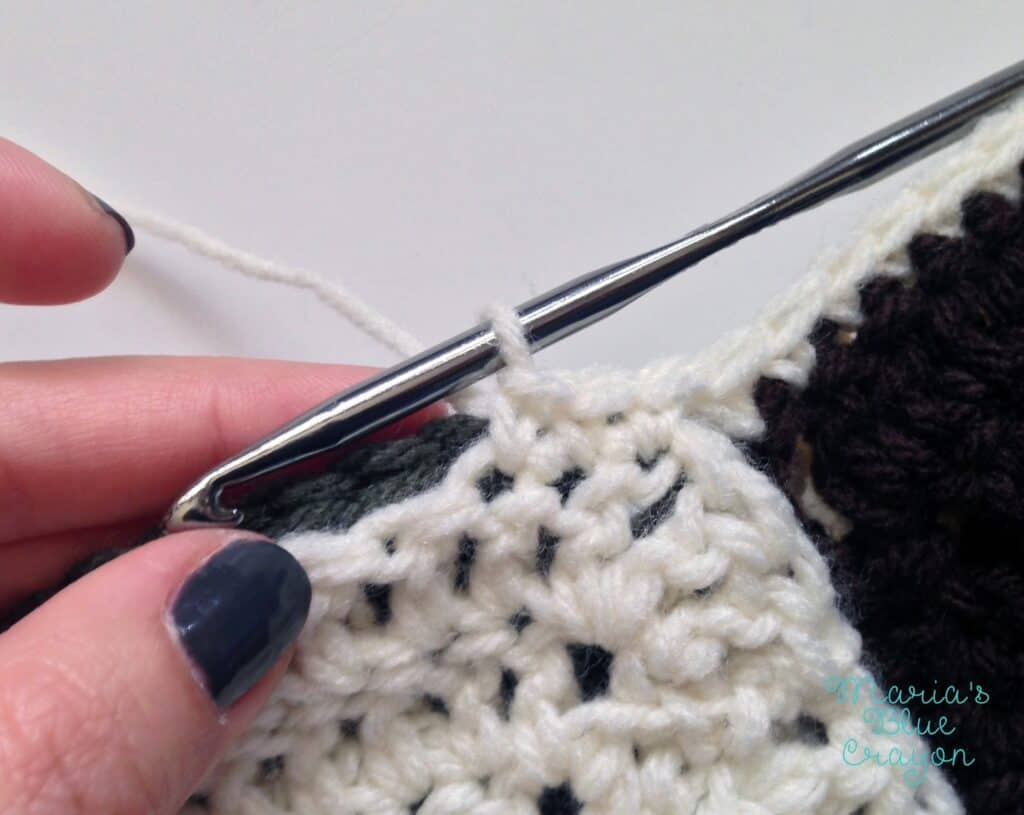
Using the aran colored yarn, make a slip knot. Pull up the slipknot and start to single crochet across, including the space where you attached the yarn.
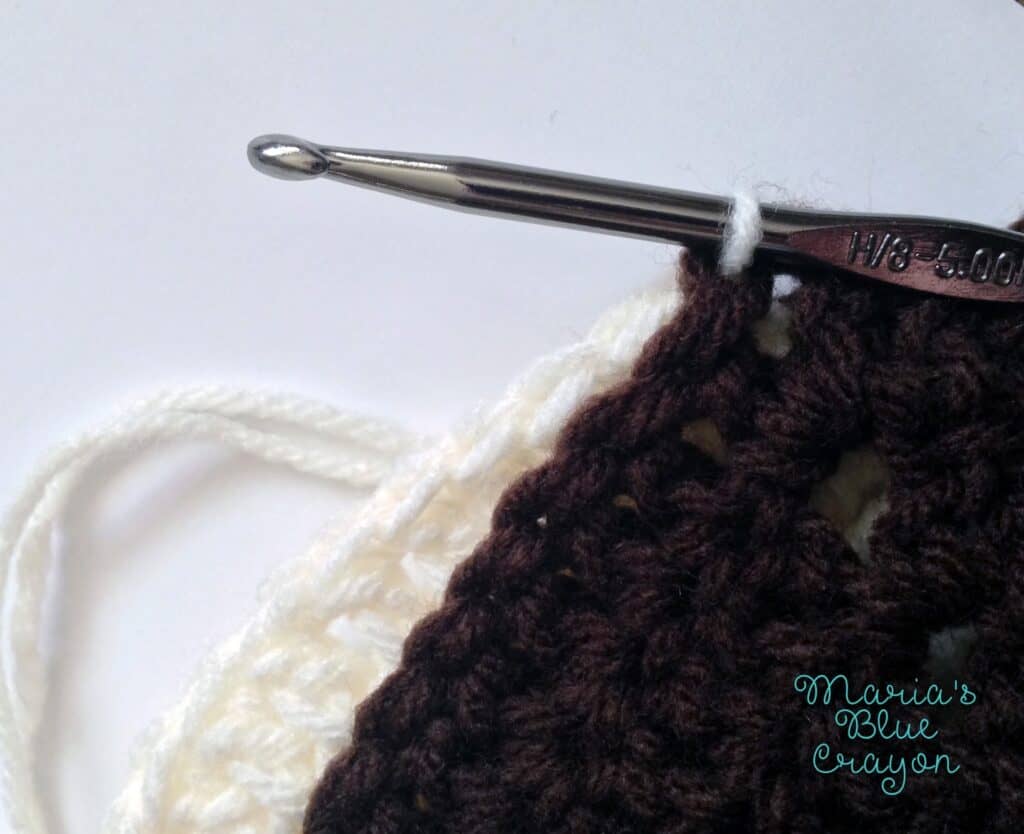
SC until you get to the edge, the last SC will be in one of the chains. Once you SC across the square, there should be 18 SC.
Pick up your next set of squares and insert your hook into the edge of both squares as shown in the beginning.
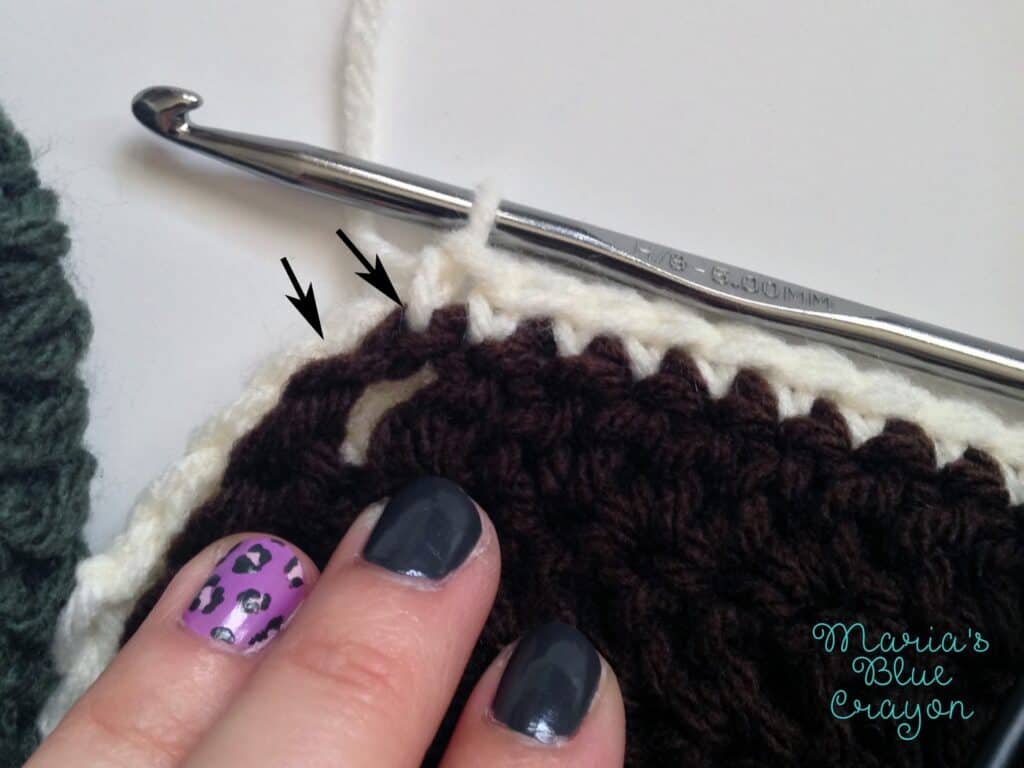
Continue to SC across all squares until you reach the top of the afghan. Fasten off.
Continue to do this for each vertical row. Once you have all rows joined vertically, you will start to join the squares horizontally, which is a bit easier since all the squares will be joined on two sides already.
I added a border consisting of HDCs around (making sure to put 3HDCs in each corner). I did 4 rows of Aran (cream color), 1 row of Forest Green, and 1 row of Chocolate Brown.
Click here to see the finished project.
Are you going to show us your finished project??
Absolutely! I am working on loose ends and the border before I share 🙂
Is it an okay idea to attach vertically and then hoizontally as I complete squares for each row? I really want to attach as I go so I do not have to wait so long before I can begin to see progress and not a bunch or attaching for the end.
Yes! For this project, I attached as I went along so I wasn't left with only joining at the end 🙂
How many skeins did the border end up taking up? Debating if I need to do another Michaels run! lol
I was able to use what I had leftover from my squares! With lots to spare. If I remember correctly I got 2skeins (277yds) for the colors and 2 big skeins (800 some yds) for the cream
WOW!! What a work of heart! Thank you so, so much for sharing your pattern. I’m excited to make this blanket for my teenage grandson who lives in the forest. What a kind thing to do to share your hard work……I appreciate it so much.
You’re very welcome! He is going to love it!