• Skip to primary navigation
  • Skip to main content
  • Skip to primary sidebar

Maria's Blue Crayon

  • Free Crochet Patterns
  • Crochet Tips
  • Printables
  • Privacy Policy
  • About Me/Contact
  • Navigation Menu: Social Icons

You are here: Home / crochet / Crochet Easter Chick Amiugurmi Shakers – Free Crochet Pattern

Crochet Easter Chick Amiugurmi Shakers – Free Crochet Pattern

April 9, 2017 by Maria Weaber 5 Comments

Find the crochet pattern for these Easter chicks down below! They are the perfect non-candy Easter Basket filler for babies and toddlers!
 
 
I love putting together Easter baskets and that includes finding little toys and trinkets that aren’t candy. These sweet little chicks are the perfect little filler! You can add a shaker inside for the little ones or opt out for the older ones.


If you’re a last minute maker – these are perfect! They work up so quickly and you can make a few in just one evening.

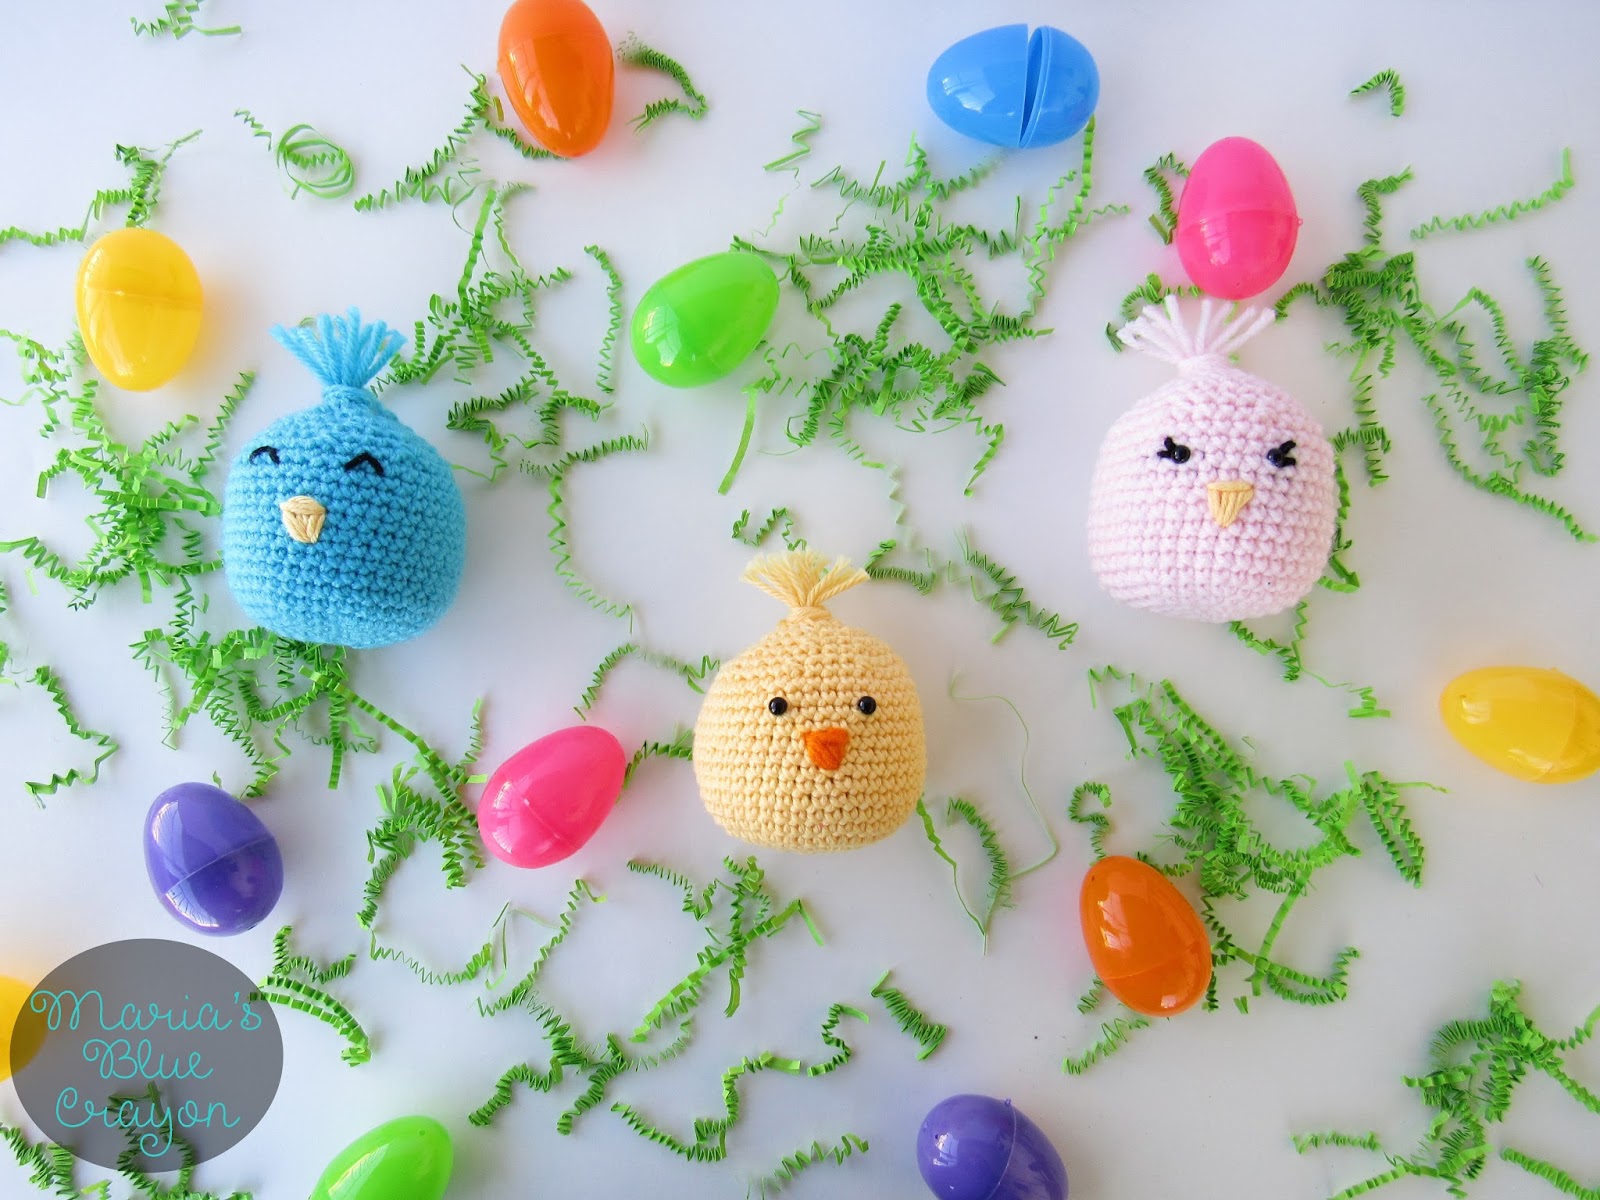
I made my three chicks look a bit different just by using different eyes and different colors. They also came out slightly different in size because of the different yarns used.

If you’re a seasoned crocheter, you know that just because a yarn says “worsted weight” does not mean it will be the same as another “worsted weight” yarn. Because of that, your chicks may vary in size!

I have a bunny and unicorn variation of this pattern you can find there! 
 
I have the added flower crown pattern down below if you want to add them to your chicks!


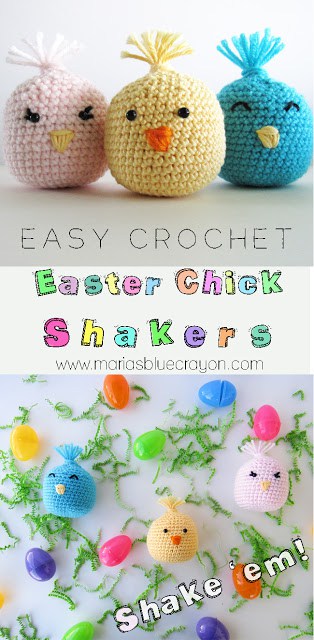
Easter Chicks Crochet Pattern

These chicks are only made with single crochets. You will also need to know how to increase and invisible decrease, which are simple concepts:
 
increase – SC twice into the same space
invisible decrease – insert hook into front loop only, yarn over, pull through, insert hook into next front loop, yarn over, pull through, yarn over, pull through both loops.
 
*If you know how to decrease, the invisible decrease is the same as a decrease except you only work into the front loops. It makes your work look much cleaner!
 
Materials
 
Worsted weight yarn
G hook
Safety eyes (optional)
Small plastic easter eggs
Rice, Beans, Beads, etc. to fill the eggs
Tape
Poly-fil 
*If you don’t have stuffing on hand or don’t want to buy a bag just for this project, you can rip up cotton balls and use that as stuffing or even scrap yarn if you have enough*
Scissors
Tapestry needle for sewing
 
 
Pattern
 
Round 1: Starting with a magic ring, SC 8 in the ring, join
Round 2: increase in each stitch around, join
Round 3: *SC, increase, repeat from * around, join
Round 4: *SC in next 2 stitches, increase, repeat from * around, join
Round 5: *SC in next 3 stitches, increase, repeat from * around, join
Round 6-16: SC in each stitch around, join
Round 17: *SC in next 3 stitches, invisible decrease, repeat from * around, join
Round 18: SC in each stitch around, join
 
At this point you will want to sew on your eyes and/or attach the safety eyes onto the chick. For the safety eyes, I placed the eyes between rows 14 and 15. You can add eyelashes if you’d like. 
 
If you’re using the safety eyes with the eyelashes, sew on the eyelashes first! What I did was place my safety eyes where I liked them then stitched a small horizontal line and a small diagonal line coming out from the space where I wanted to place my eyes. Then I attached the safety eyes.
 
For the happy eyes, I sewed on upside down V’s between rows 15 and 17.
 
You will also need to sew on the beak. I sewed the beak on with a tapestry needle between rows 10 and 13 using a running stitch vertically coming down to one point then horizontally to bring it all together on the top..
 
You will also want to place your egg and stuffing inside the chick at this point and continue to stuff as you go.
 
To make the shaker inside, I took an empty plastic Easter egg and filled the bottom portion with rice. I used beans and beads for the other two. You can fill it with what ever you have laying around the house that will make noise when you shake the egg. I used packing tape to make sure the content stayed inside and then placed it in the chick with the poly-fil.
 
Round 19: *SC in next 2 stitches, invisible decrease, repeat from * around, join
Round 20: SC in each stitch around, join
Round 21: SC in next stitch, invisible decrease, repeat from * around, join
Round 22: Invisible decrease around, join
 
Fasten off, make sure you have enough poly-fil/stuffing inside and then sew up the hole. I didn’t stuff mine too tightly, I wanted to make it soft and squishy.
 
For the hair, I cut 6-7 pieces of yarn and tied them to the top.  The pieces were about 6 inches so I had to trim them down. I found that using smaller pieces of yarn made it very hard to tie/attach to the top.

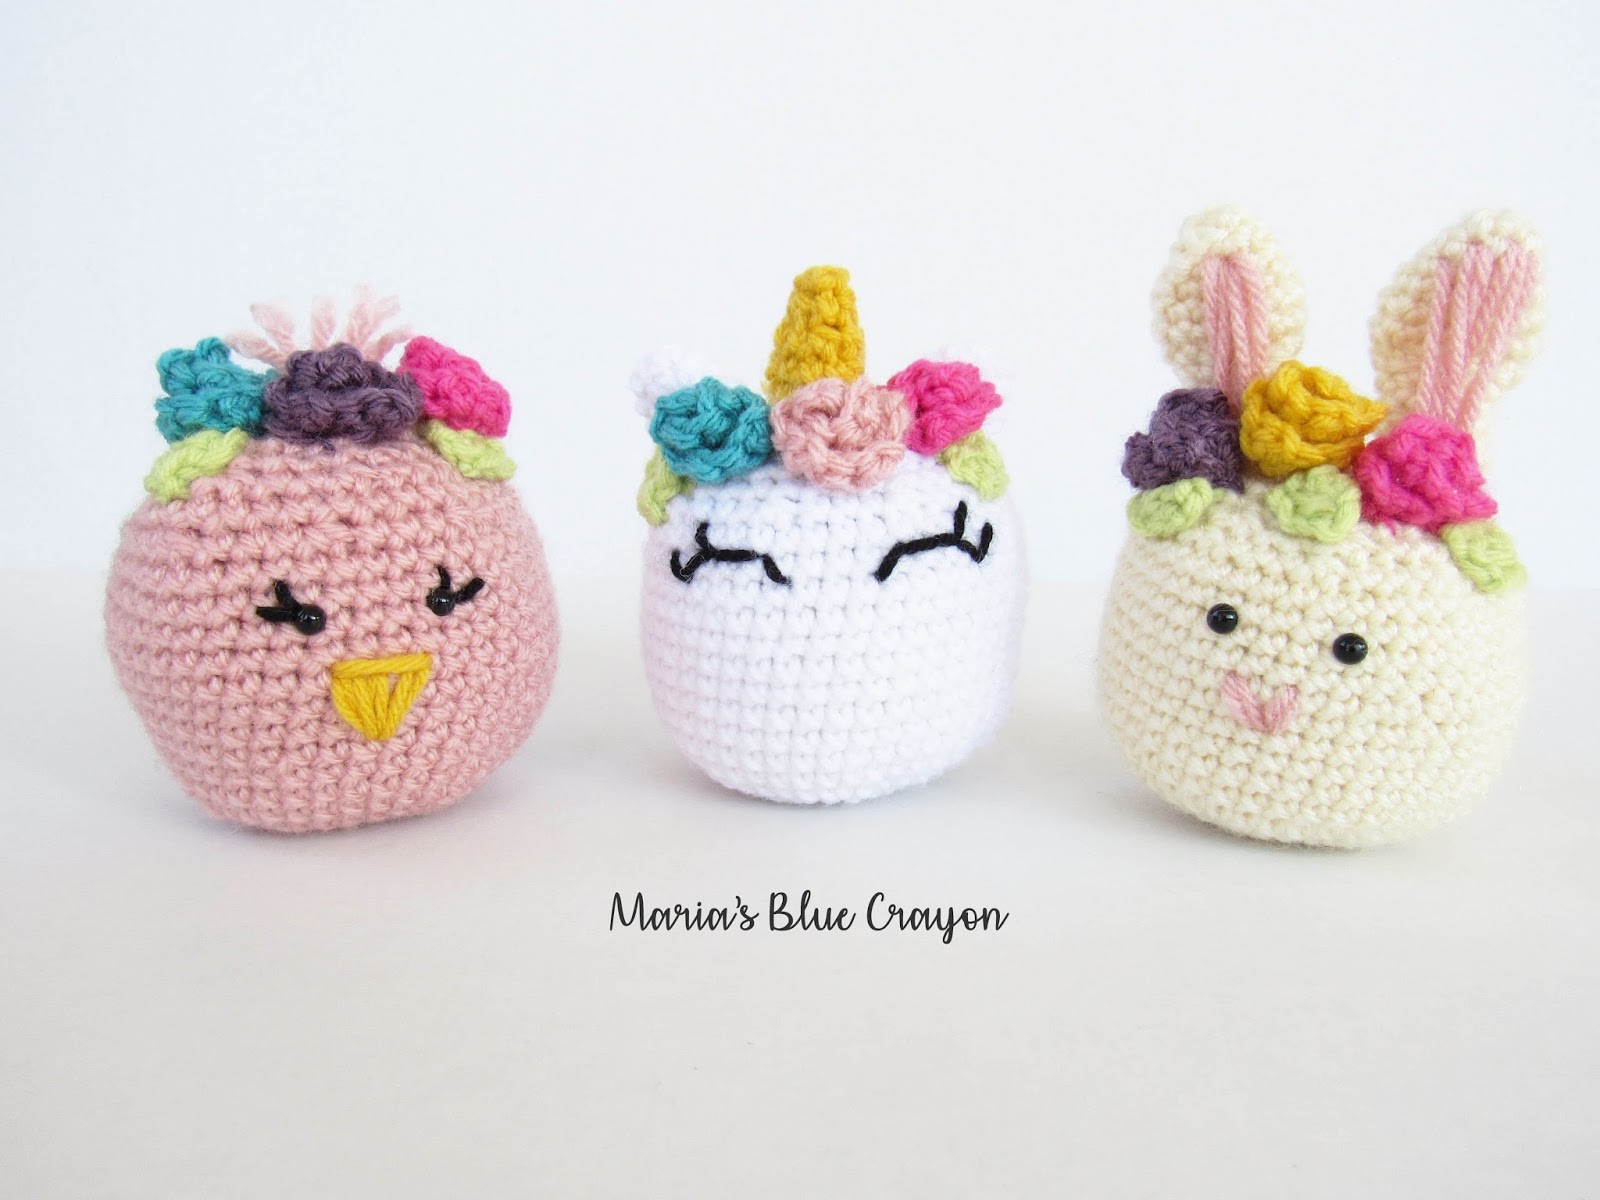
Flower Crown (Optional) F/3.75mm hook

Make 3 flowers and make 3 leaves. Sew the leaves on first then sew on the flowers.

Leaf

Ch 4, sc in second chain from hook and across, turn
Ch 1, triple sc decrease, fasten off

Flower

Ch 16, (sc, ch 1, sc) into 2nd chain from hook, *sk 1 st, (sc, ch1, sc) in next st, repeat from * across
Fasten off. Roll up the row of crochets to create the flower. Use the yarn end to sew through the bottom of the flower and onto the bunnies head.

More Easter Crochet Patterns

Easter Chick Candy Bags
crochet easter basket stuffers
Easter Basket Stuffies

Filed Under: amigurumi, crochet Tagged With: amigurumi, chicks, easter

Previous Post: « Woodland Afghan Construction – Joining Granny Squares
Next Post: The Roxy Bag – Crochet Pattern »

Reader Interactions

Comments

  1. mypurposeinlifeisjoy.com

    April 10, 2017 at 12:41 pm

    Super Cute! Love them!
    -Heather Corinne

    Reply
    • Maria Weaber

      April 13, 2017 at 9:52 pm

      Thank you, Heather!

      Reply
  2. Lisa C

    February 20, 2018 at 4:27 am

    Too cute! Thank you for sharing. ����

    Reply

Leave a Reply Cancel reply

Your email address will not be published. Required fields are marked *

Primary Sidebar

Hi, I'm Maria! I'm sharing with you my own free crochet patterns and tutorials, while fulfilling my love for learning and creating with my hands.
I hope you find creativity and inspiration while you're here!

  • Facebook
  • Instagram
  • Pinterest
  • YouTube

Grab Your Free Handy Crochet Cheat Sheet!

Sign up to receive my newsletter full of crochet goodness starting with this handy crochet cheat sheet along with free pattern downloads! Unsubscribe at any time.

Thank you!

Please check your email to confirm subscription.

.

Copyright © 2023 Maria's Blue Crayon on the Foodie Pro Theme