This post may contain affiliate links.
Earlier this summer, I experimented with Kool-aid dying for the first time. I had no idea what I was doing and the whole time I kept thinking – what if I mess up? Am I doing this right? After doing it once, I had a better sense of what I was doing and made notes for the ‘next time’ I would dye some yarn with kool-aid. That ‘next time’ was a few days ago. I did some things differently, but I feel that it was for the better!
The first time I dyed yarn, it came out speckled and had a tie-dye effect, which I wasn’t going for – but it still turned out pretty! You can check out the first time I dyed yarn here. I provide the resource for how I did it, added notes for next time, and listed some pros and cons for this particular method.
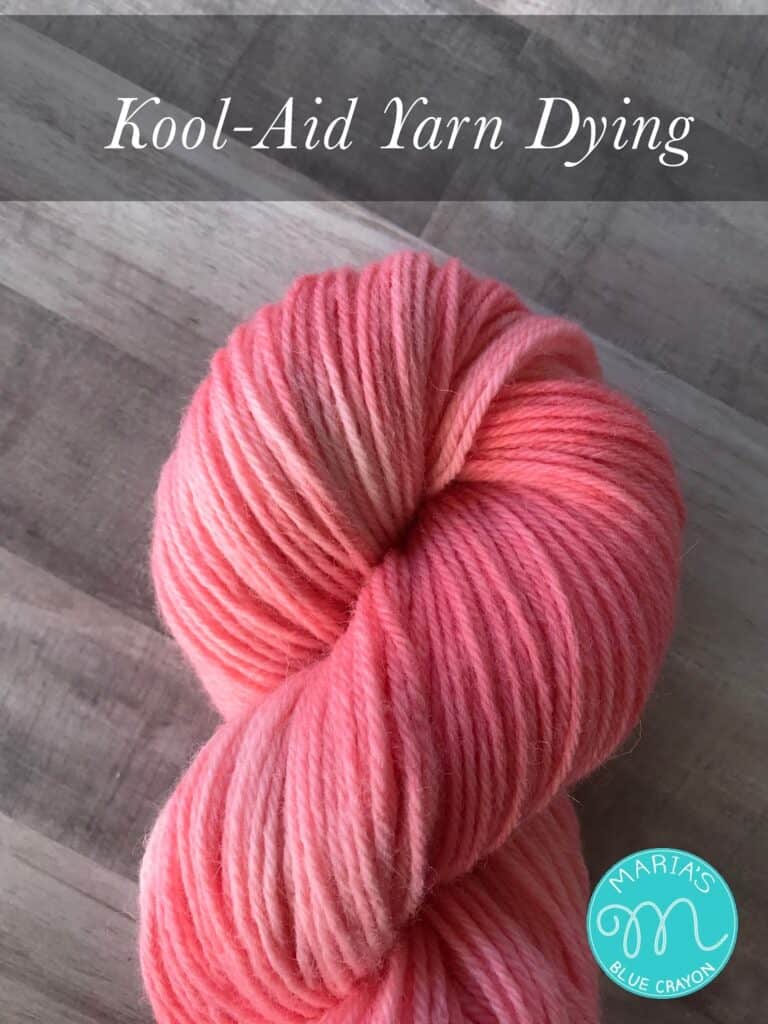
This time around, I wanted just one color and to avoid the tie-dye look. I wanted something that I could make a nice scarf and/or hat out of. I ditched the ice cube method I used the first time and just poured the mixed Kool-aid right onto the yarn before setting it outside to ‘bake’.
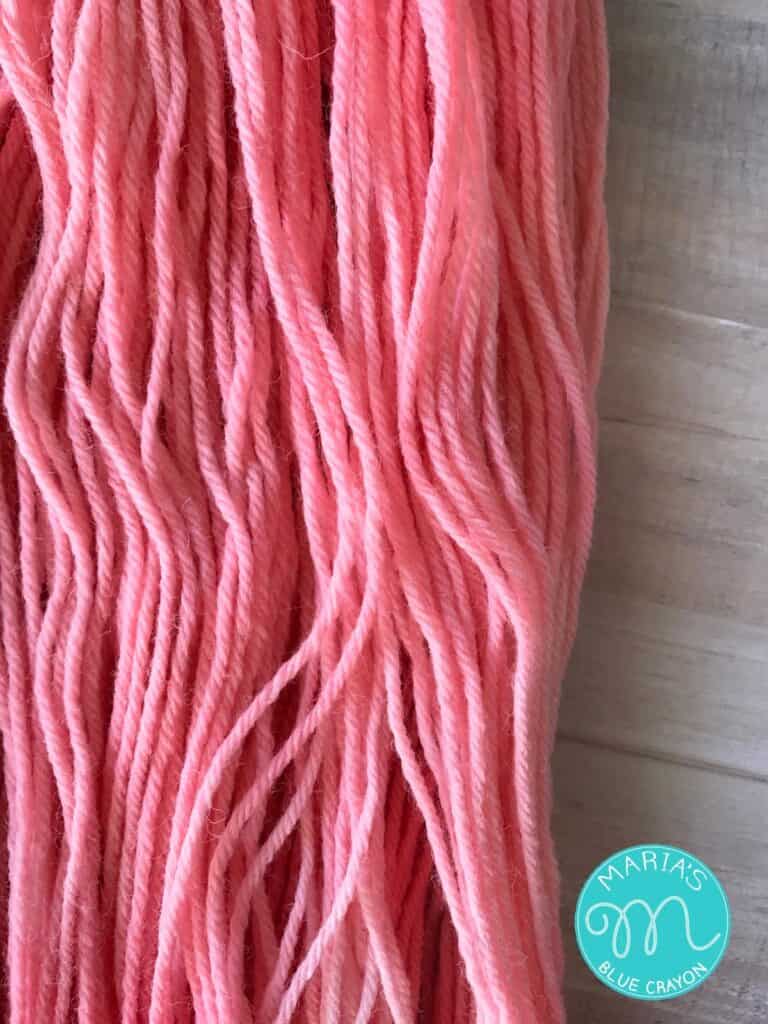
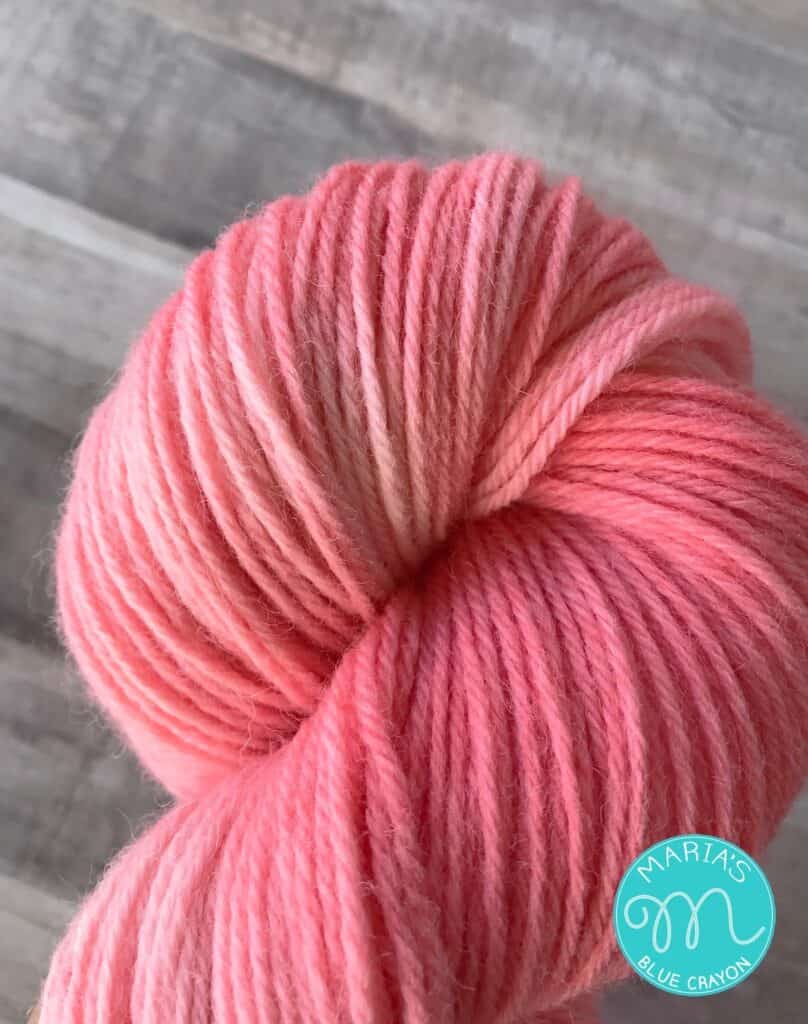
The result was better than I could have imagined!! You will notice, the dye didn’t set consistently throughout the yarn, but I think it gives it good character. In the picture below, it looks like the lighting washes out part of the yarn making it look lighter, but it really is lighter in those places!
I think what happened is when I put the yarn in the baking dish, I folded it in half so there was a ‘top’ portion and a ‘bottom’ portion. My theory is that either the dye settled to the bottom more OR that the sun washed out the top layer just a bit.
Here’s exactly what I used and how I achieved this color yarn.
Note: I did this on a sunny, warm day so I could ‘bake’ the yarn outside and not have to use other heating methods to set the dye.
Materials:
2 packets Sharkleberry Fin Kool-Aid
3 cups water (I used cold – not sure if there is a difference if I would’ve used warm)
Vinegar&water for pre-soak
Large pot/bowl for soaking
Baking dish for yarn to ‘bake’
Plastic wrap to cover
1 skein Wool of Andes worsted from Knit Picks – you can browse their bare yarns here
(they also have other weights of yarn in wool you can use)
Step 1: Pre-soak with warm water and vinegar.
Fill up a large pot or bowl with warm water, add vinegar (I didn’t measure, I poured maybe a little less than a cup of vinegar in with the water)
Put the yarn in the water/vinegar mixture, making sure all the yarn is saturated
Allow to soak for 30 minutes
Step 2: Prepare kool-aid mix. Mix 2 packets of kool-aid with 3 cups cold of water.
Step 3: Take the yarn out of the water/vinegar mixture after 30 minutes. Squeeze out water, careful not to tangle the yarn or twist it like you would wring out a wash cloth. It should still be damp after you squeeze out as much water as you can.
Step 4: Lay yarn in baking dish. Pour kool-aid mixture all over yarn. Gently push yarn down to make sure all yarn is soaked in kool-aid mixture.
Step 5: Cover with plastic wrap
Step 6: Set in the sun on a warm day for about 3-4 hours. You will know when it’s ‘done’ when the remaining water is clear and when you squeeze the yarn, color does not bleed.
Step 7: Rinse yarn (if color is bleeding, set yarn back outside to bake).
Step 8: Lay out to dry. I dried mine in the sun for a few hours and then brought it in the shade to dry completely. The longer you keep it laid in the sun, the lighter it will become. If you are happy with the color after rinsing it, lay it in the shade to dry.
Have fun with this, get creative!! And please share with me on Instagram or on my Facebook page!


Leave a Reply