
This post may contain affiliate links. For more information, please see our disclosure policy.

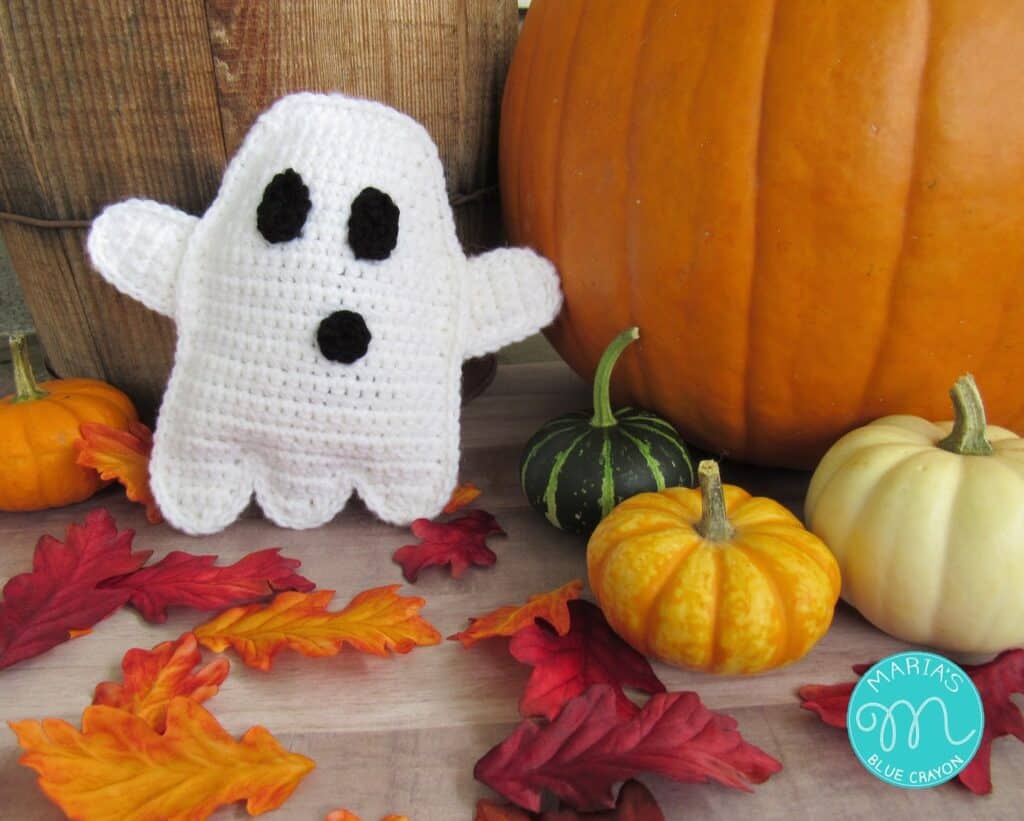
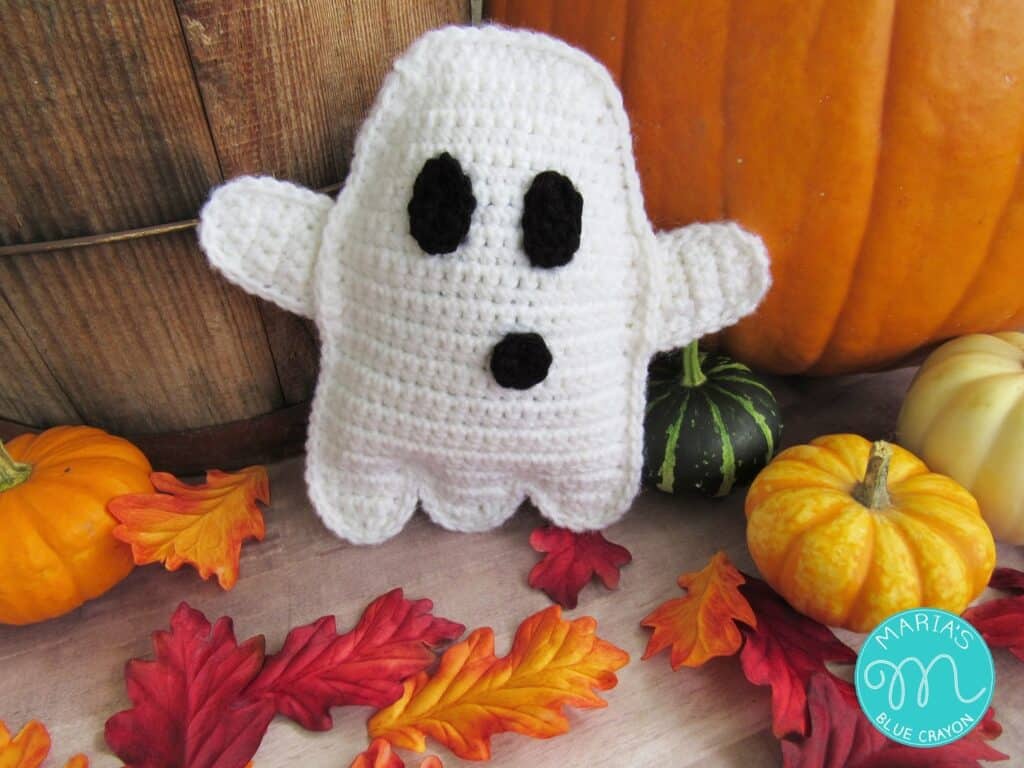
Halloween is soon upon us and this cute little spooky ghost is the perfect thing to whip up! It’s a ragdoll style amigurumi that I’ve been wanting to try out.
The ad-free, PDF printable can be purchased here (https://www.lovecrochet.com/catalog/product/view/id/193296). Thank you for your support!
Materials:
-Worsted weight yarn in white and black
-G hook
-Poly-fil
-Tapestry needle
-Scissors
Dimensions/Gauge:
Measures 8” from top to bottom, 8” from arm to arm
17 stitches x 18 rows in SC
Abbreviations:
Ch = chain
SC = single crochet
SC2tog = single crochet 2 together
HDC = half double crochet
Notes:
-Chain 1 in the beginning of rows do not count as a stitch
-SC increase: 2 single crochets into the same stitch
-SC2tog: (AKA decrease) insert hook in first stitch, pull up a loop, insert hook into second stitch, pull up a loop, yarn over, pull through all loops on hook
Pattern:
Row 1: Ch 11, SC in second chain from hook and across, turn (10)
Row 2: Ch 1, SC increase, SC in next 8 stitches, SC increase in last stitch, turn (12)
Row 3: Ch 1, SC across, turn (12)
Row 4: Ch 1, SC increase, SC in next 10 stitches, SC increase in last stitch, turn (14)
Row 5: Ch 1, SC across, turn (14)
Row 6: Ch 1, SC increase, SC in next 12 stitches, SC increase in last stitch, turn (16)
Row 7: Ch 1, SC across, turn (16)
Row 8: Ch 1, SC increase, SC in next 14 stitches, SC increase in last stitch, turn (18)
Row 9: Ch 1, SC across, turn (18)
Row 10: Ch 1, SC increase, SC in next 18 stitches, SC increase in last stitch, turn (20)
Row 11-26: Ch 1, SC across, turn (20)
Row 27: Ch 1, SC in 6 stitches across, turn (6)
Row 28: Ch 1, SC across, turn (6)
Row 29: Ch 1, SC across, turn (6)
Row 30: Ch 1, SC2tog, SC in next 2 stitches, SC2tog, turn (4)
Row 31: Ch 1, SC2tog, SC2tog (2)
Fasten off. This will leave you with the ghost body and one bump on the bottom.
Make the next two bumps as follows:
Bump#2:
Attach white yarn one stitch away from the first bump. There will be one stitch in between the bumps.
Ch 1, SC in 6 stitches, turn
Ch 1, SC in 6 stitches, turn
Ch 1, SC2tog, SC in next 2 stitches, SC2tog, turn
Ch 1, SC2tog, SC2tog, fasten off
Bump #3:
Attach white yarn one space away from second bump. There will be one stitch in between the bumps.
Ch 1, SC in 6 stitches, turn
Ch 1, SC2tog, SC in next 2 stitches, SC2tog, turn
Ch 1, SC2tog, SC2tog, fasten off
After completing the bumps, you will have completed the ghost’s body. Make two ghost bodies – we will be sewing them together at the end.
Arms – Make 4 with white yarn
Row 1: Ch 5, SC in second chain from hook and across, turn (4)
Row 2-8: Ch 1, SC across, turn (4)
Row 9: Ch 1, SC2tog, SC2tog (2)
Fasten off
Eyes – Make 2 with black
Make a magic ring
Ch 2, HDC, 3SC, 2HDC, 3SC all in magic ring, join to beginning Chain 2
Fasten off and leave tail for sewing
Mouth – Make 1 with black
Make a magic ring
Ch 1, 7SC all in magic ring, join to first SC
Fasten off and leave tail for sewing
Assembly
The ‘right side’ of the ghost will be with the left bottom bump a bit longer than the right bump. Sew eyes (between rows 6 – 12) and mouth(between rows 16-19) onto ghost body.
Lay 2 ‘arms’ on top of each other and SC around edges, leaving the bottom edge open (the tip of the arm will only have 2SC, the bottom edge will have 4SC)
Leave a tail for sewing. The other ends can be stuffed into the arm
Repeat for 2nd pair of arms.
Take the 2 ghost bodies and lay them together (make sure the bumps are lining up as the bump to the left should be a bit longer than the bump on the right).
Take the arms and put them in between the two layers of the ghost bodies. Sew on the arms in between the two layers – arrange them so the tips are pointing up.
Now that the arms are sewed on, the last step will be to SC around the perimeter of the body. Attach yarn anywhere on the body to begin single crocheting around the edges of both layers. You will want to stop about ¾ of the way around to stuff lightly with poly-fil. Make sure to stuff a bit into the bottom bumps.
When you get to an arm portion, simply SC crochet only on the top layer of the body and start SC through both layers again once you have passed the arm.
Once you have SC all the way around, fasten off and weave in the tail end.
Leave a Reply