The crochet Easter bunny amigurumi pattern can be viewed below right here on my blog. These are perfect for a non-food Easter basket idea!
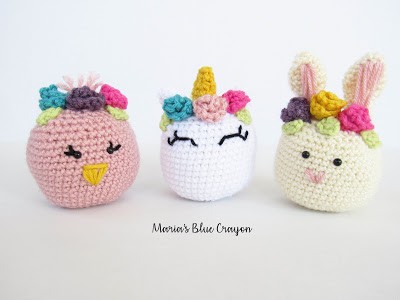
Last year I made darling little Easter Chicks that made noise – I called them Easter Chick Shakers! This year, I took the same concept and made cute little bunnies! These crochet bunnies are perfect for Easter baskets!
When I was making these bunnies, I made the base/head the same as the Easter Chick Shakers. They are large enough for a plastic Easter egg (filled with rice, beans, beads, etc.) to fit inside along with stuffing to make fun little noises for kids.
At first, I made a very simple bunny – added some eyes, a nose, and ears. When I started gathering everything together to put it in this blog post, I decided it needed a little something extra.
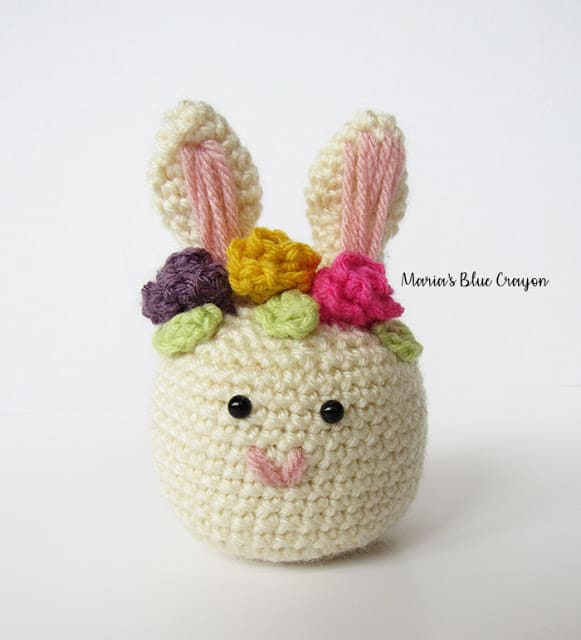
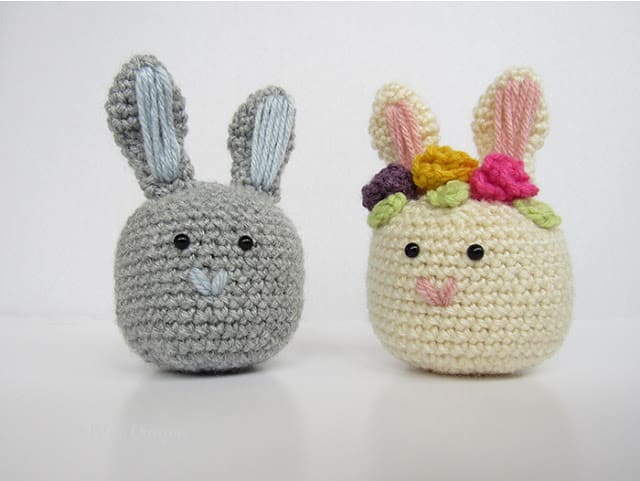
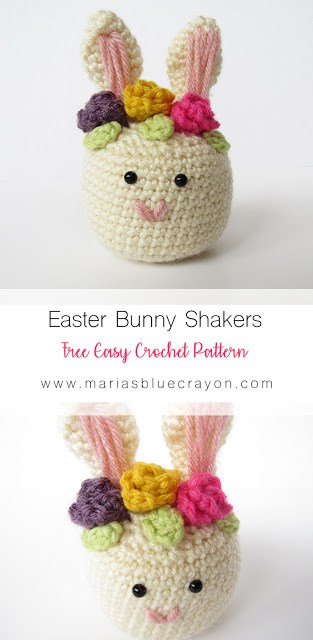
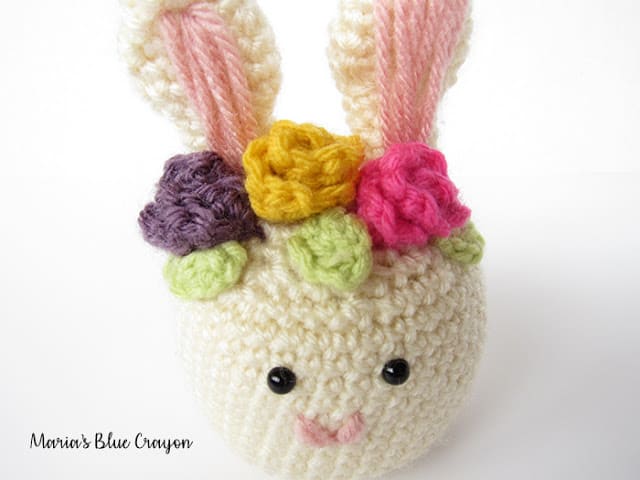
I decided to give my ‘girl’ bunny a flower crown. Isn’t she darling?! I think it adds such a cute detail. Of course, you can always keep your bunnies plain Jane – they’re just as cute!
I think the flowers add such a nice touch to the bunny and it’s a great way to use up a bit of your scrap yarn in what ever colors you have! I had a lot of fun picking out colors for the flowers as I have quite a bit of scrap yarn.
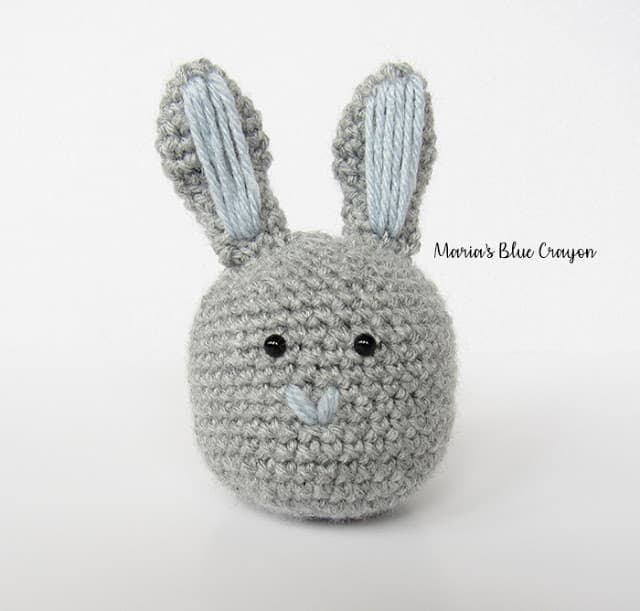
I made the ‘boy bunny’ a plain Joe. I did play around with a bow tie and a hat, but sometimes plain and simple can make it just right! The bunnies without any flair are especially easy and quick to work up! You can make a whole bunny family for your kiddos and they will love them!
These little bunnies are so fun and cute for Easter baskets! Especially for young ones who don’t necessarily need a full basket of candy. Heck, they’re great for anyone! They’re super cute and fun with an optional little shaker inside.
Pattern
*decreases in this pattern will be single crochet decreases
Single crochet triple decrease is worked as follows: insert hook in first stitch, pull up a loop, insert hook in second stitch, pull up a loop, insert hook int third stitch, pull up a loop, yarn over and pull through all loops on hook
Ch = chain, sc = single crochet, st = stitch(es), sk = skip
Round 2: 2sc in each st around, join to first sc (16)
Round 3: *sc, 2sc, repeat from * around, join to first sc (24)
Round 4: *sc in next 2 st, 2sc, repeat from * around, join to first sc (32)
Round 5: *sc in next 3 st, 2sc, repeat from * around, join to first sc (40)
Round 6-16: sc in each st around, join to first sc (40)
Round 17: *sc in next 3 st, invisible decrease, repeat from * around, join to first sc (32)
Round 18: sc in each st around, join to first sc (32)
At this point you will want to attach the eyes. Place the eyes between rows 14 and 15.
Sew on the nose of the bunny between rows 10 & 13.
If you would like your bunny to be a shaker, you will also want to place your small plastic egg and stuffing inside the chick at this point and continue to stuff as you go.
To make the shaker inside, I took an empty small plastic Easter egg and filled the bottom portion with rice. I used beans and beads for the other two. You can fill it with what ever you have laying around the house that will make noise when you shake the egg. I used packing tape to make sure the content stayed inside and then placed it in the chick with the poly-fil.
Round 19: *sc in next 2 st, invisible decrease, repeat from * around, join to first sc (24)
Round 20: sc in each st around, join to first sc (24)
Round 21: sc in next st, invisible decrease, repeat from * around, join to first sc (16)
Round 22: Invisible decrease around, join to first sc (8)
Fasten off, make sure you have enough poly-fil/stuffing inside and then sew up the hole. I didn’t stuff mine too tightly, I wanted to make it soft and squishy.
Bunny Ears F/3.75mm hook
Round 1: Magic ring, 4 sc in ring, join to first sc (4)
Round 2: Ch 1, 2 sc in each stitch around, join to first sc (8)
Round 3: Ch 1, sc around, join to first sc (8)
Round 4: Ch 1, *2sc, sc, repeat from * around, join to first sc (12)
Round 5-6: Ch 1, sc around, join to first sc (12)
Round 7: Ch 1, *sc, invisible decrease, repeat from * around, join to first sc (8)
Round 8-11: Ch 1, sc around, join to first sc (8)
Fasten off and leave tail to sew onto head.
Using the same color yarn as the bunny nose, use a tapestry needle to create the inner coloring of the ear. Use a running stitch to sew on the inner ear color, fasten off and push tail end into the center of ear.
Make 2 and sew onto top of bunny head
Flower Crown F/3.75mm hook
Make 3 flowers and make 3 leaves. Sew the leaves on first then sew on the flowers.
Leaf
Ch 4, sc in second chain from hook and across, turn
Ch 1, triple sc decrease, fasten off
Flower
Ch 16, (sc, ch 1, sc) into 2nd chain from hook, *sk 1 st, (sc, ch1, sc) in next st, repeat from * across
Fasten off. Roll up the row of crochets to create the flower. Use the yarn end to sew through the bottom of the flower and onto the bunnies head.



These are adorable, Maria! I completely agree about the plain Joe. Sometimes, less is more. Such a cute idea too. I don't like giving my boys a ton of candy.
I love making toys for the nephews Easter baskets. These are adorable.