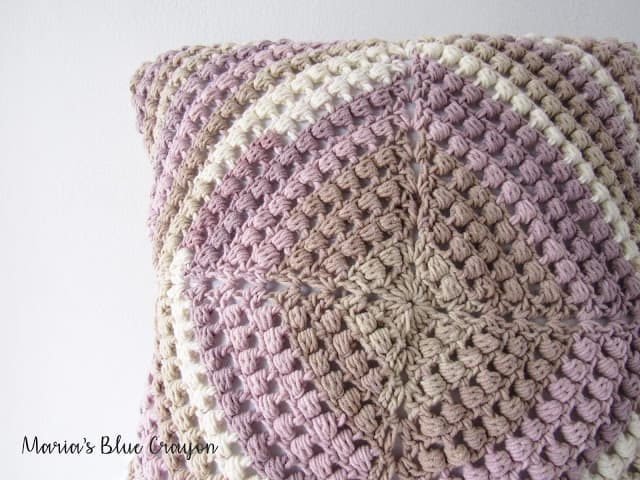
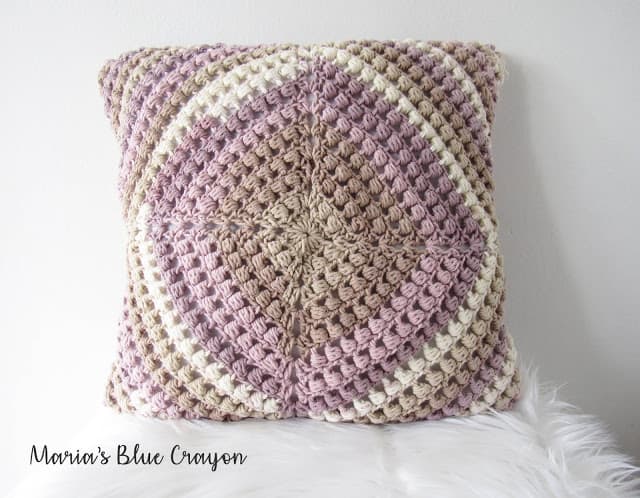
Find the Stained Glass Crochet Pillow Cover ad-free PDF on Ravelry (each purchase helps my blog going and my family fed – thank you so much!)
OR Scroll down for the free pattern.
I’m granny square crazy! I can’t even count how many different squares I’ve made.. but this may be my new favorite twist on the granny square!
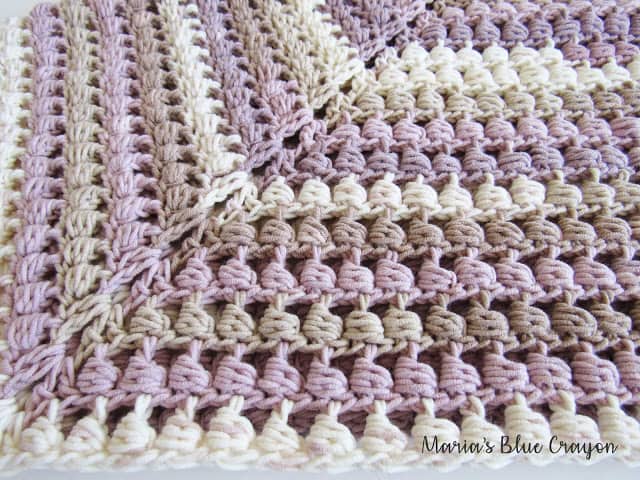
I’m a sucker for texture so when I swatched up a sample of the bead stitch, I knew I had to make it into a granny square!
Although this stitch is gorgeous, making it in the round in a granny square makes it a bit wonky. The stitch counts and the overall shape is there.. but it needs major blocking if you want to make it as a blanket!
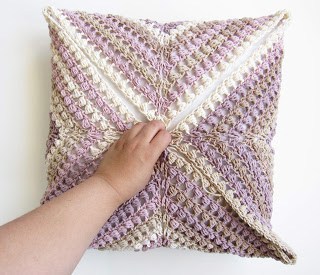
Since I wanted to skip the blocking, I decided to fold it up into a pillow cover without having to block it. Seaming up the sides took care of the kinks!
You can make this granny square as large or as small as you’d like. I had a 16″ pillow insert so I chose to make it to fit the pillow. It’s very easy to adjust the size as needed, it’s just a repeat of the same row!
MORE FREE CROCHET PATTERNS YOU WILL LOVE!
For this Stained Glass Pillow Cover I used Caron cotton cakes – one of my favorite yarns to work with! I often find color changing cakes a challenge to work with because of the interruption of color changes in the least flattering places, but it works so well with this pattern!
You can see the color changes in the pillow but you don’t see (or easily notice) the abrupt color changes in this pattern. I think it makes such a cool visual pattern with the radiating color and all the texture!
SAVE IT FOR LATER
Pillow Cover Crochet Pattern
Materials
3 skeins Caron Cotton Cakes (Rose Whisper)
H/5.00mm hook
Pillow insert (16” shown)
Tapestry needle & Scissors
Pattern notes
If you will be making this as a afghan, you will need to block once finished.
Special stitch: Bead stitch is worked as follows: dc, *insert hook behind dc just worked (see photo), pull up a loop, repeat from * two more times, YO, pull through 5 loops on hook, YO, pull through last two loops.
Abbreviations (US terms):
Ch = chain, dc = double crochet, st = stitch(es), sl st = slip stitch, sp = space, sk = skip
Pattern
Round 1: Magic ring, Ch 3, dc, ch 3, *4dc, ch 3, repeat from * twice, 2dc, join to first ch 3, sl st into next st and into ch 3 sp
Round 2: (Ch 3, dc, ch 3, 2dc) in ch 3 sp from previous round, [*bead st, sk 1, repeat from * across, (2dc, ch 3, 2dc) in ch 3 sp from previous round] repeat 2 times, *bead st, sk 1, repeat from * across, join to beginning ch 3, sl st into next st and into ch 3 sp from previous row
Repeat Round 2 until the diagonal measurement of the square (from one corner to the opposite corner) equals the size of your pillow insert.


Hey there! I'm not seeing a photo for the bead stitch. Is it only view through the pattern on your Ravelery or do you have a link for it?
There is no bead stitch photo
It's definitely not wrong when I follow your blog. You've made my life much more interesting than before because of so many little cute things you've created. Thank you!