
This post may contain affiliate links. For more information, please see our disclosure policy.

- Purchase the ad-free PDF download/printable on Ravelry.
- PIN it to your Pinterest boards for later.
- Keep scrolling to view the free pattern.

- Purchase the ad-free PDF download/printable pattern on Ravelry.
- View the free pattern below.
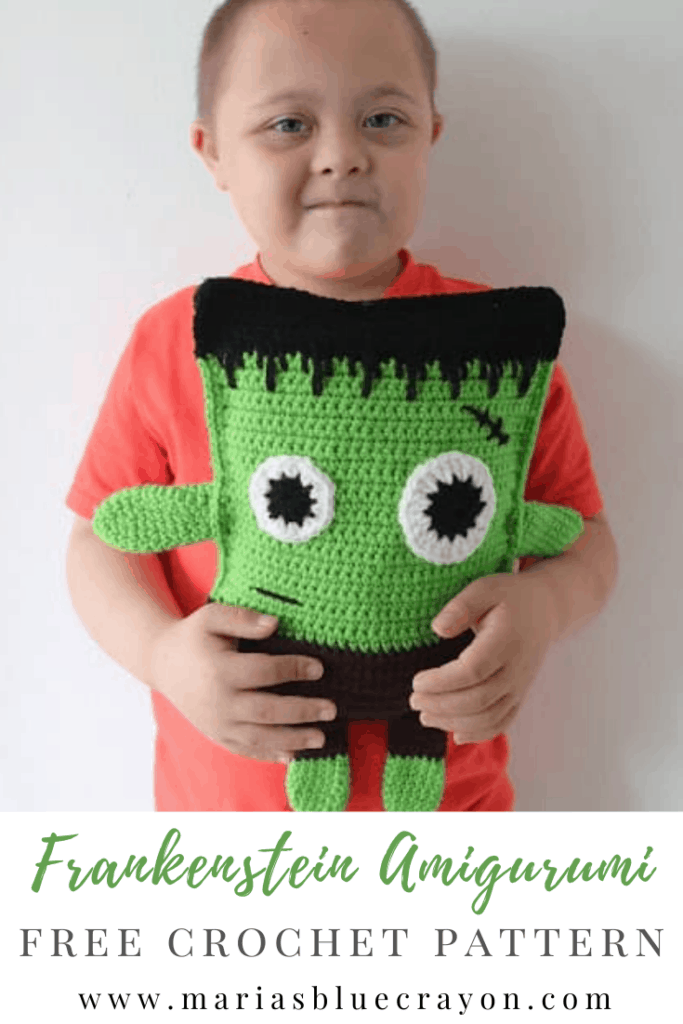
Frankenstein Amigurumi Crochet Free Pattern
Materials
Worsted weight yarn in the following colors: green, brown, black, white
G/4.00mm hook
Poly-fil stuffing
Tapestry needle and scissors
Pattern notes
Frankstein will be made by crocheting two rectangles and limbs then sewn/crocheted together at the end.
Beginning chain 1 does not count as a stitch.
Dimensions (without limbs): 8” x 10.5”
Gauge: 4”x4” ~ 19st x 18rows in single crochet
Abbreviations (US terms):
Ch = chain, sc = single crochet, dc = double crochet, tr = treble crochet, st = stitch(es)
Pattern
Body
Start with brown yarn
Row 1: Ch 35, sc in 2nd ch from hook and across, turn (34)
Row 2-12: Ch 1, sc across, turn
Change to green
Row 13-40: Ch 1, sc across, turn
Change to black
Row 41: Ch 1, sc, *sc, dc 1 row down, tr 3 rows down, dc 1 row down, repeat from *, sc in last st, turn (This row will make the jagged hairline of the frankstein.)
Row 42-46: Ch 1, sc across, turn
Fasten off
*Make two panels – one for the front and one for the back.*
Eyes
Smaller Eye
Start with black yarn
Round 1: Magic ring, ch 1, 10hdc in ring, join to first hdc (10)
Change to white
Round 2: Ch 1, 2hdc in each st around, join to first hdc (20)
Fasten off and leave tail for sewing onto body.
Larger Eye
Start with black yarn
Round 1: Magic ring, ch 1, 12dc in ring, join to first dc (12)
Change to white yarn
Round 2: Ch 1, 2 dc in each st around, join to first dc (24)
Fasten off and leave tail for sewing onto body.
Arms
Using green yarn
Round 1: Magic ring, ch 1, 4 sc in ring, join to first sc (4)
Round 2: Ch 1, 2sc in each st round, join to first sc (8)
Round 3: Ch 1, *2sc, sc, repeat from * around, join to first sc (12)
Round 4-16: Ch 1, sc around, join to first sc (12)
Fasten off and leave tail for sewing.
*Make 2 arms.*
Legs
Using green yarn
Round 1: Magic ring, ch 1, 4 sc in ring, join to first sc (4)
Round 2: Ch 1, 2sc in each st round, join to first sc (8)
Round 3: Ch 1, *2sc, sc, repeat from * around, join to first sc (12)
Round 4-9: Ch 1, sc around, join to first sc (12)
Change to brown yarn
Round 10-16: Ch 1, sc around, join to first sc (12)
Fasten off and leave tail for sewing.
*Make 2 legs.*
Assembly
Sew on eyes to one of the panels, this will be your front panel. Embellish mouth and scar above eye with black yarn and tapestry needle.
Next we will sew limbs on by putting them between the two body panels.
Use the tail ends of the limbs to sew through all pieces of fabric (front panel, limb, and back panel).
Angle the arms down and outward a bit. Place the legs in the center of the body with a small gap between. *See photo as guideline.*
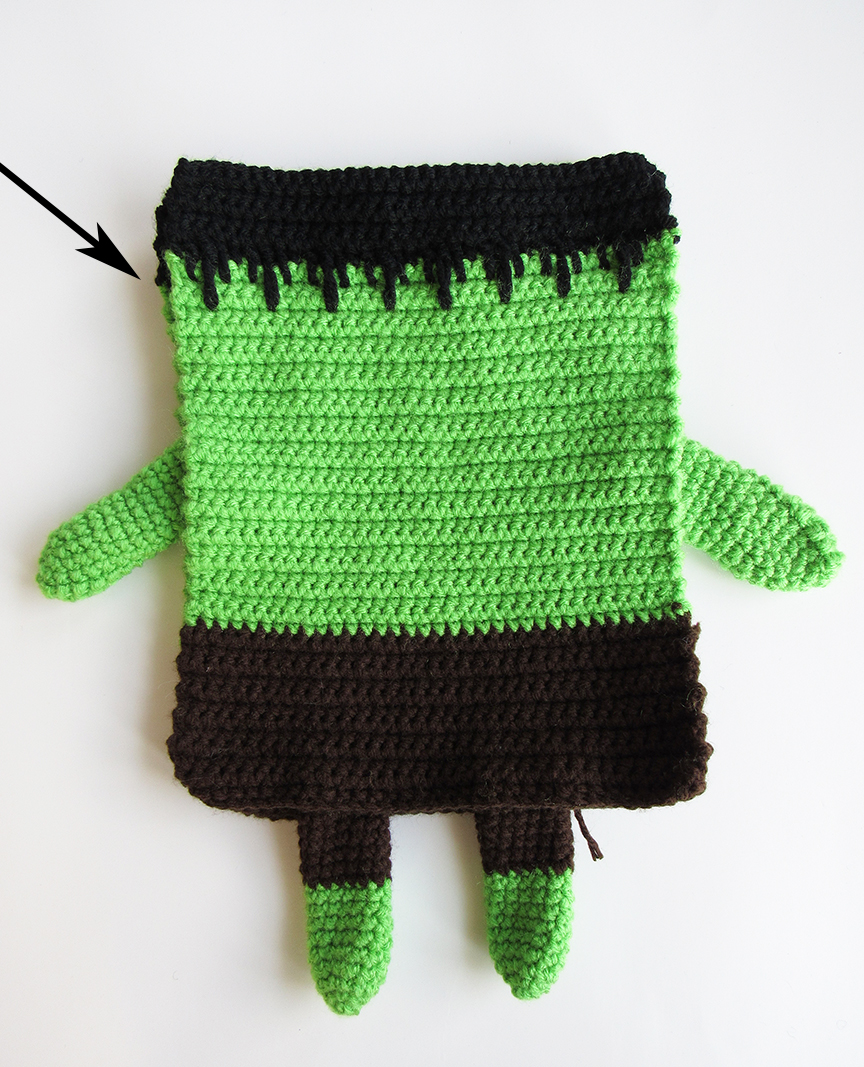
Once the limbs are secured between the front and back panels, we will start to crochet around the body to enclose it.
Start by attaching green yarn to the left side of the body where the green yarn meets the black yarn. *See photo.*
Ch 1, sc crochet evenly through both panels around the body. Make 3 sc in each corner. Join to first sc and fasten off.
*Before crocheting up the last side, stuff with poly-fil. Do not overstuff.
*When you get to the limbs, sc on the front panel layer only.
*Switch yarn color as needed around the body.
Leave a Reply