
This post may contain affiliate links. For more information, please see our disclosure policy.
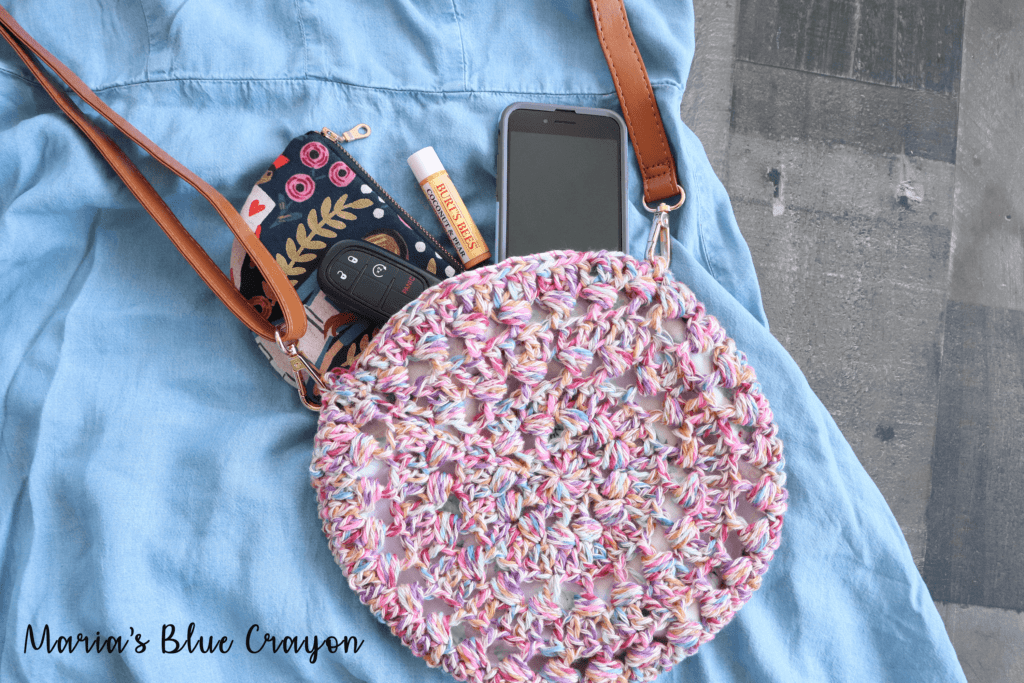
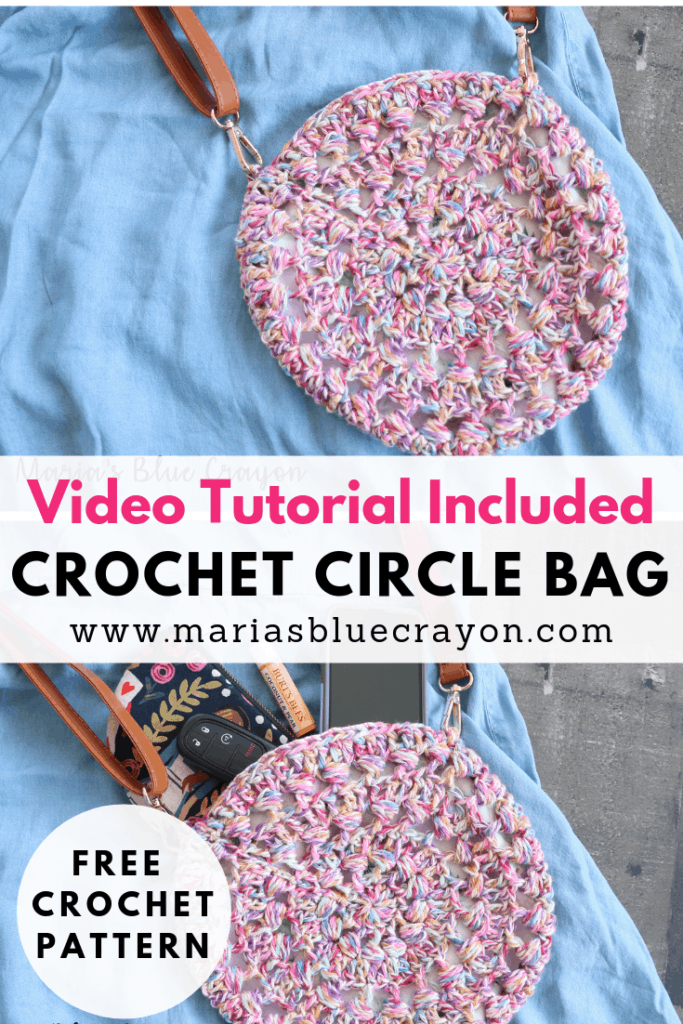
Make this fun cross body crochet purse that is perfect for summer and date nights! The written pattern and video tutorial below makes it super easy (and quick!) to make one to add to your wardrobe.
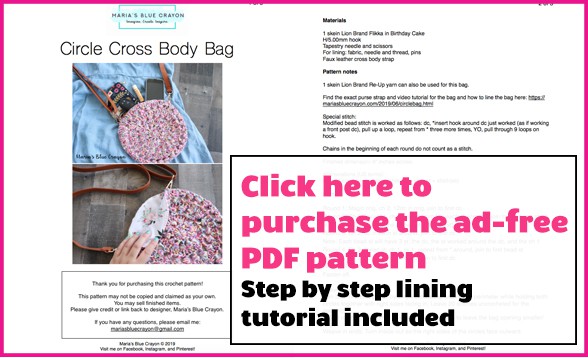
- Purchase the ad-free download/printable on Ravelry or Etsy.
- PIN this pattern to your board on Pinterest for later.
- Scroll down to view the free version of the crossbody circle bag pattern.
Cross Body Bag Love
I’m such a big fan of cross body purses! I have had a handful in the past years and my go to purse is a cross body style.
What do I love about them?
- They’re easy (and comfortable) to wear.
- They’re essentially hands/arm free – I never have to worry about it falling off my shoulder.
- With the smaller size, I have just enough room for the essentials (phone, wallet, keys, chapstick).
- It’s right at my fingertips (literally!) when I need something!
- Most times I don’t have to worry about where to set it down, I just wear it!
So now you know my love of cross body bags, which is why I decided to make my own crocheted one!
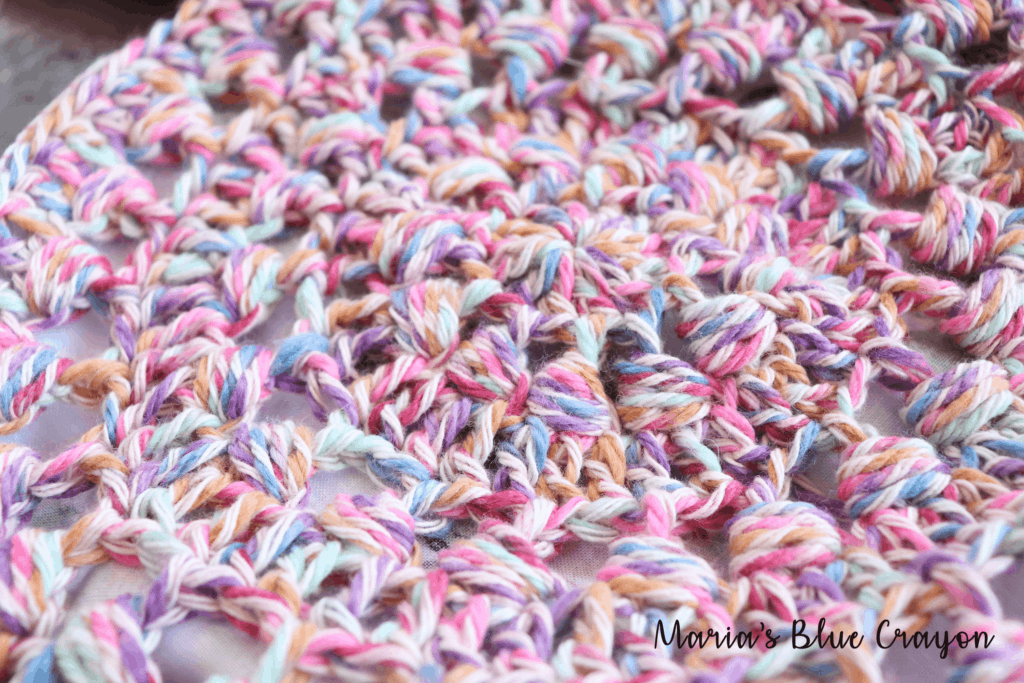
When I was searching the Lion Brand website for new yarns to try out, I knew the Flikka in Birthday Cake would make a really fun and summery bag.
To circle or not to circle?
I’ve never had a circle bag before so I thought it would be fun to switch it up and design a circle shape. Plus, circle bags are very in right now. The ones that first come to mind are the handwoven circle cross body purses that look so summery and pretty!
I think if you pick a nice camel or taupe color, you can achieve a similar aesthetic with this bag! I chose variegated and colorful because I have a lot of neutral colored clothing that will be fun to dress up with this bag.
Lining and Faux Leather Strap
Okay, I’m just going to say it. I suck at sewing. Also, I’m scared to sew anything in fear of it coming out crooked and messy.
This is THE FIRST bag I’ve lined all by myself. (Look, Ma, no hands!) I usually sheepishly ask my mom to “help” with any sewing assistance I may need. Read: Ask my mom to do the jobs I’m not confident in doing myself.
But you know what? I did it and it wasn’t so bad. That’s right. It wasn’t THAT bad! It was actually pretty easy. You just need the right tools.
As you already know, I’m not a sewer by any means so I don’t have things like pins, an iron, cutting board, etc. The one thing I definitely recommend going out and getting (if you don’t have any already) are pins. Plus, a needle and thread because that will be essential.
I walk you step by step in both written instructions and in the video below on how I lined by bag. If you’re hesitant – don’t be! Jump right in, the water is just fine. 😉
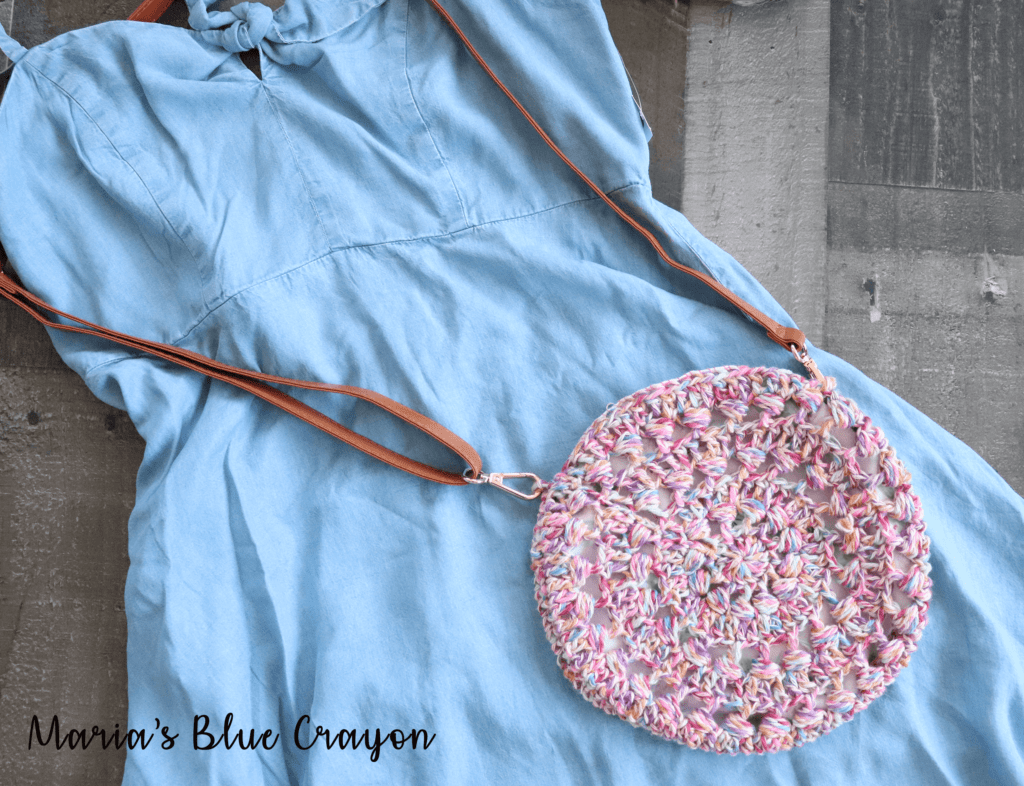
I purchased a faux leather strap because I wanted this bag to look legit. Also, I want it to last without stretching out and getting all wonky. (Hence the lining – that will allow it to keep its circle shape).
I’ve never had luck with crochet handles of any sort that did not stretch out so faux leather strap it was! I purchased this one off of Amazon. Be sure to check get this color: smooth camel (gold clasp). Or you can pick a different one if you’d like! Also, Feel free to up-cycle any old purse straps you have!
- PIN this pattern to your board on Pinterest for later.
- Purchase the ad-free download/printable on Ravelry or Etsy.
- Save it to your Ravelry for later. Give it a heart while you’re there!
Free Crochet Circle Bag Pattern
Materials
1 skein Lion Brand Flikka in Birthday Cake
H/5.00mm hook
Tapestry needle and scissors
For lining: fabric, needle and thread, pins
Faux leather cross body strap Color: smooth camel (gold clasp)
Pattern notes
1 skein Lion Brand Re-Up yarn can also be used for this bag.
Special stitch:
Modified bead stitch is worked as follows: dc, *YO, insert hook around dc just worked (as if working a front post dc), pull up a loop, repeat from * three more times, YO, pull through 9 loops on hook.
Chains in the beginning of each round do not count as a stitch.
Finished dimension: 9” inches across.
Abbreviations (US terms):
Ch = chain, dc = double crochet, sk = skip, st = stitch(es), YO = yarn over
Pattern
Round 1: Magic ring, ch 2, 12dc in ring, join to first dc
Round 2: Ch 2, *bead st, ch 1, repeat from * in each st acround, join to first bead stitch in round (you will join to the dc part of the bead st)
Round 3: Ch 2, dc in each st around, join to first dc
Note: Each bead st will have 3 st – the dc, the st worked around the dc, and the ch 1
Round 4: Ch 2, *bead st, ch 1, sk 1, repeat from * around, join to first bead st
Round 5: Ch 2, dc in each st around, join to first dc
Repeat Round 4 and 5
Fasten off.
Make another circle.
Join both circles together by single crocheting around the perimeter while holding both circles together with right sides facing in. Leave 20 stitches uncrocheted for the opening.
Adjust opening as desired by crocheting more/less to leave the bag opening smaller/larger.
Weave in ends. Turn inside out so the right sides of the circles face outward.
Add lining using instructions below.
Add faux fur leather strap by clipping to either side of the bag opening making sure to attach to a complete stitch and not just a strand of yarn.
Lining the Bag
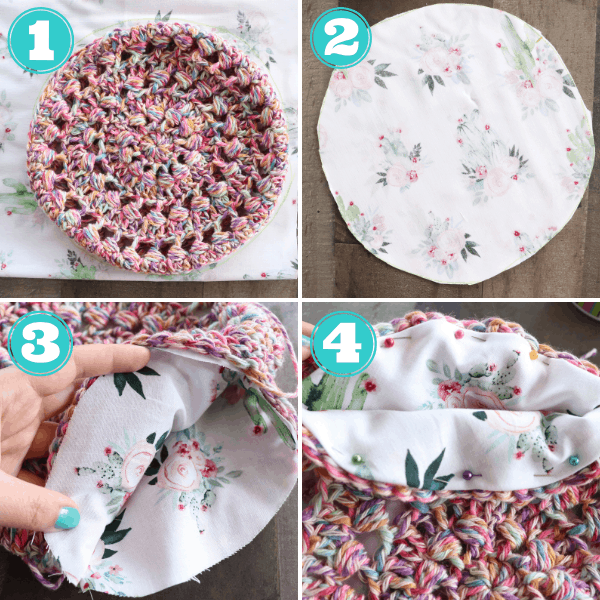
- Lay two pieces of fabric underneath the bag. You can do this by folding your fabric in half with the backside of the fabric facing outwards. Trace around the bag leaving roughly 1/2 inch excess. Mark onto the fabric where your opening starts and ends.
- Cut out your fabric pieces. The right side of the fabric pieces should be facing each other. Use thread and needle to sew around the circle or use a sewing machine to sew around. If you are using needle and thread, use a running stitch (going back and forth) to sew around the circle. Remember, we added roughly 1/2 inch extra of fabric so you have that space to sew. Leave the portion where you marked the opening unsewn.
- Keeping the backside of the fabric outward, place lining into the bag. Adjust so the opening of the lining is matched up with the opening of the crochet bag.
- Carefully fold down the fabric roughly 1/2 inch around the opening and pin to the crochet bag. This will allow the raw edge to be hidden between the lining and bag.
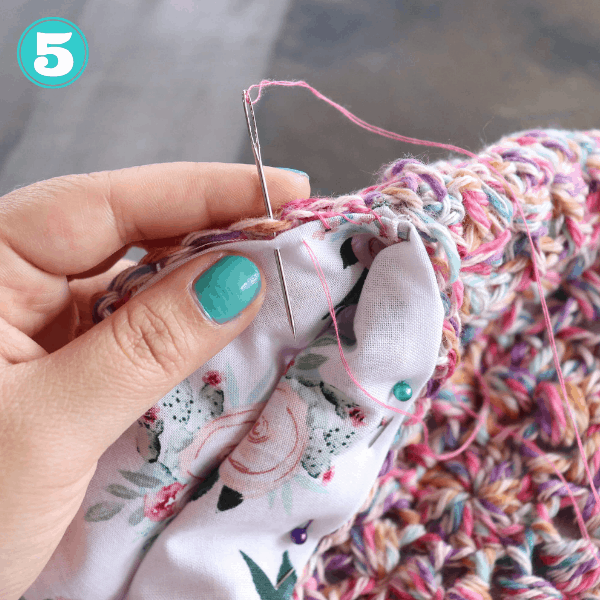
- Use needle and thread to whip stitch around the bag sewing the lining and crochet together. Sew through the closest side of the top of the crochet stitches and then through the fabric. I passed my needle through twice per crochet stitch. Knot and weave in any and all ends.
This is SO cute! Thanks for including the step-by-step and pics of how to put in lining. I’ve always wondered! (And that’s also why I’ve never done a purse!) I love your work – and your appliqués are my go-to favorites! Have a great day. 🙂
Thank you so much! I appreciate the positive feedback!
Very cute bag. My granddaughters will love this. Thank you for sharing the pattern.