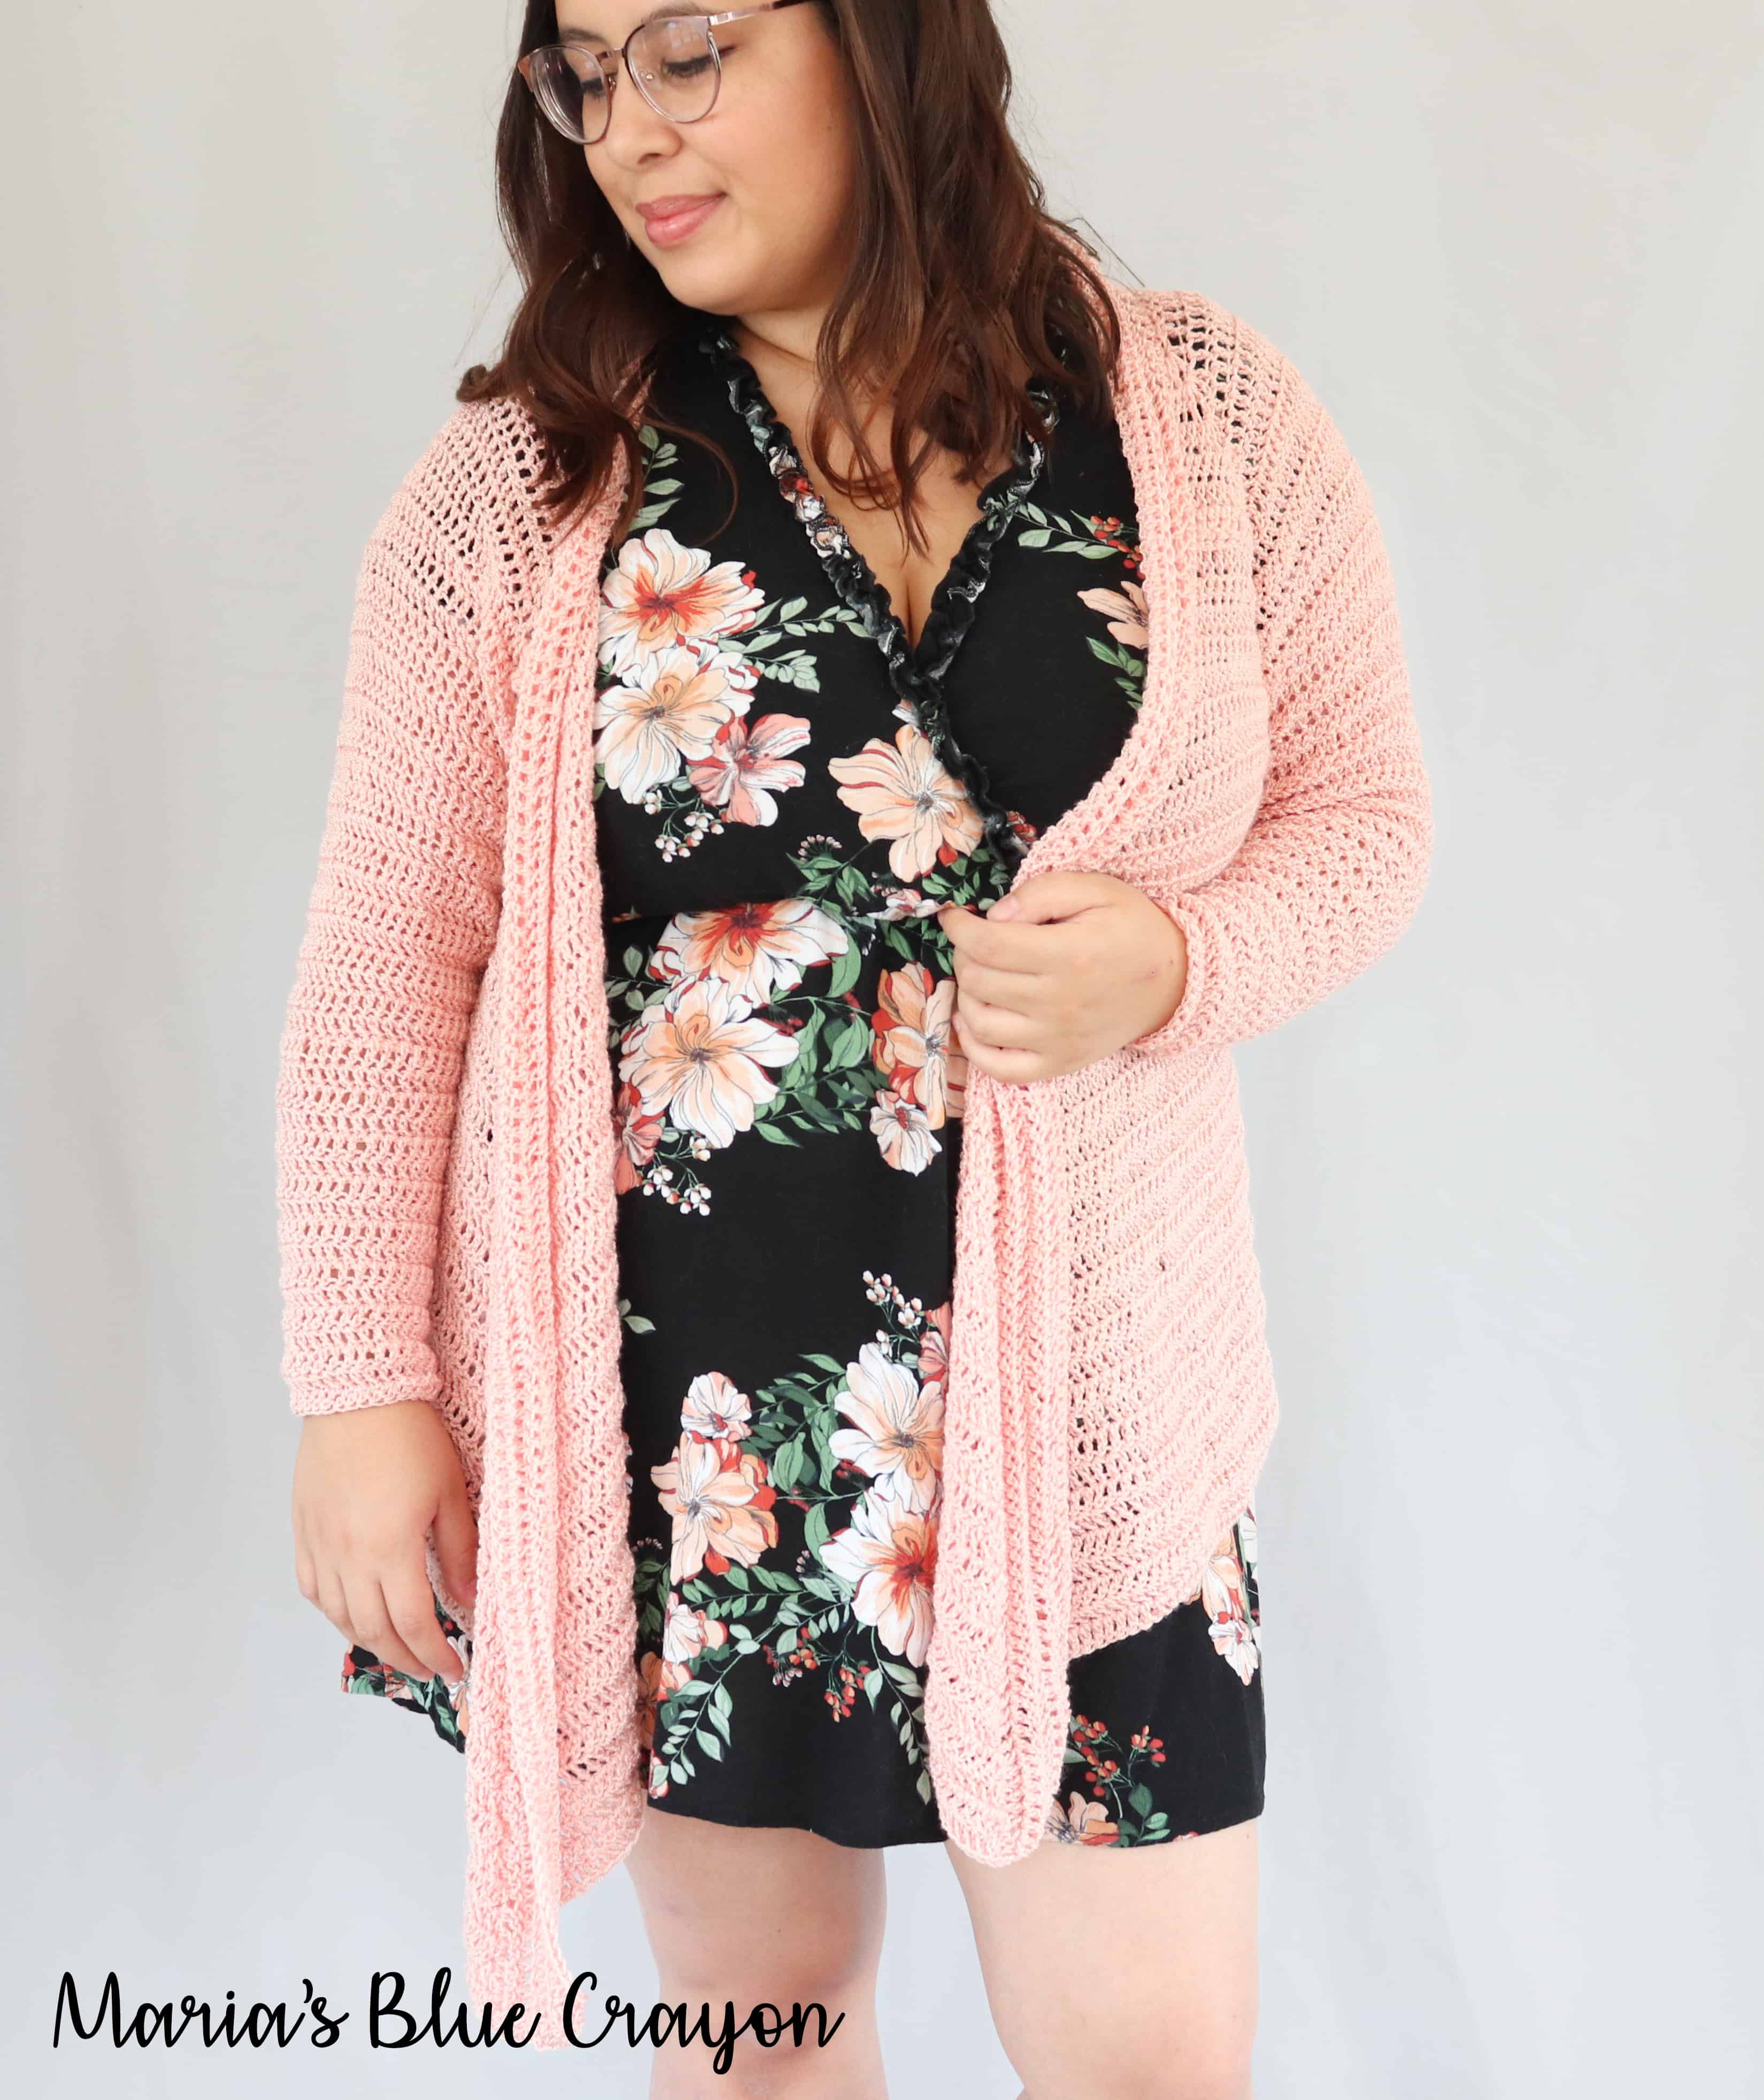
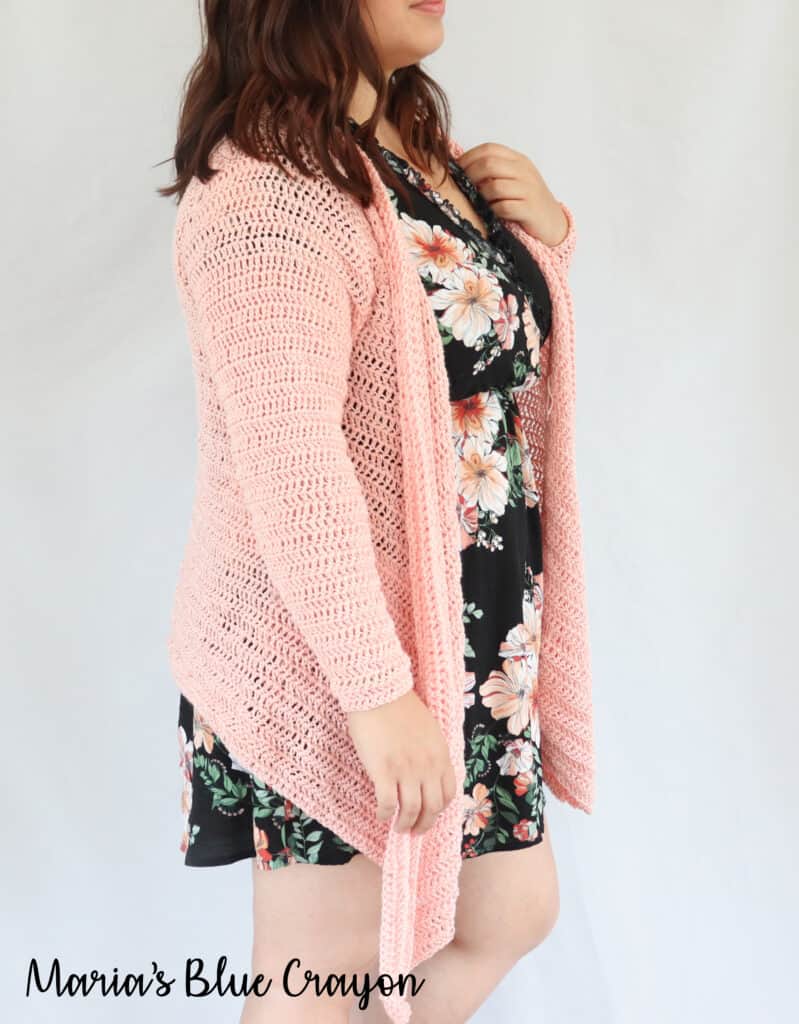
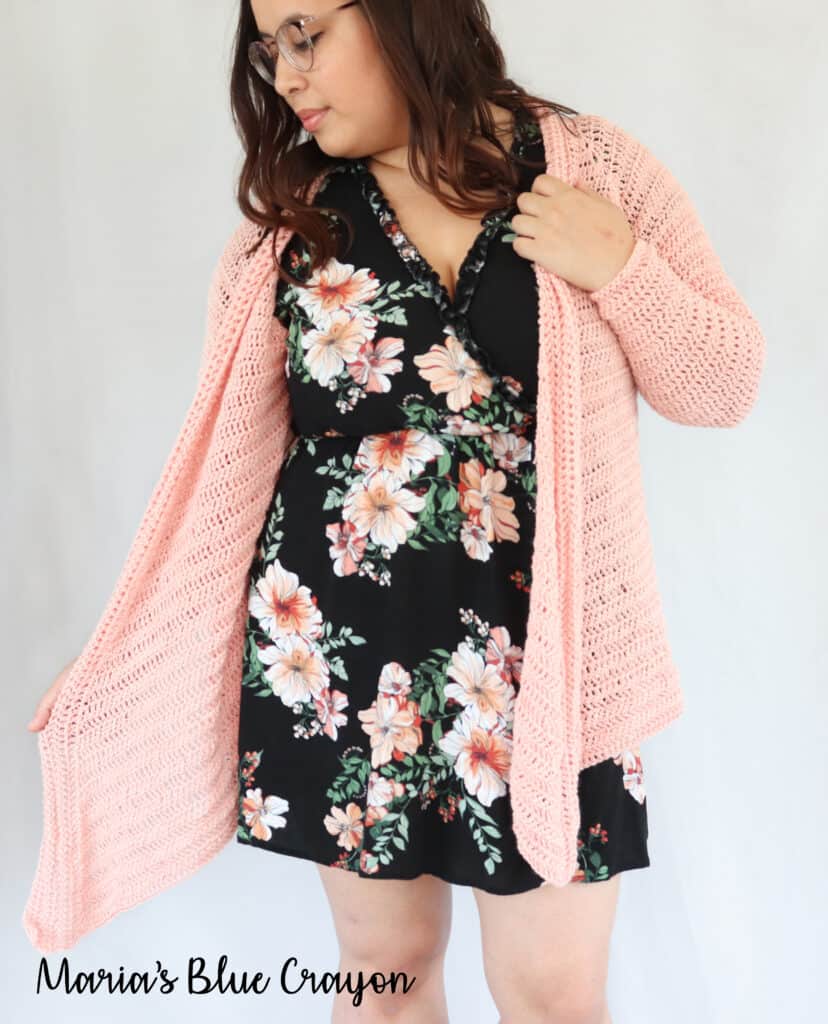
This crochet cardigan pattern is flowy, feminine, and drapes like a dream! It’s the perfect layering piece for cool weather.
Unlike most cardigans, this one is a raglan style design which means no seaming and offers a ‘try on as you go’ construction which allows you to be confident you are on the right track.

- Purchase the ad-free PDF on Ravelry.
- PIN it to your boards here.
- Keep scrolling for the free version of the pattern.
What Makes the Perfect Cardigan
If you crochet and knit, you know that crochet projects are naturally more ‘stiff’ and not as stretchy versus a knit project. When making a cardigan, a few factors come into play so you won’t end up with a boxy (literally) garment.
Finding the right yarn, stitch, and hook size is critical if you want a comfortable wearable that you will be reaching for time and time again.
Over the years, I’ve learned to not always go by the recommended hook size on the yarn. Instead, I typically go up a hook size (or two, or three) so I can get a nice flexible fabric versus a stiff one.
I also learned that even though I don’t always gravitate towards category 2 (or below) yarns, they do make one heck of a wearable!
Exhibit A, this Peony Cardigan. I used Lion Brand’s Beautiful You Category 2 Fine Yarn.

If you are used to primarily working with worsted weight and bulky yarns (like I once was), it does take a minute for your fingers to get used to the thinner yarn.
But I’m telling you, IT IS WORTH IT! With this cardigan, you get gorgeous effortless drape and it’s not a heavy garment. For reference, I made a large with 5 skeins of the Lion Brand Beautiful You.
Yarn Used and Substitutions
Like I said above, I used Lion Brand’s Beautiful You. After working with it, I know why they named it what they did. This yarn creates a gorgeous fabric!
It’s very unlike any other yarn I have used. The yarn itself looks like a very textured twisted chain almost like a necklace.. but it’s yarn.
To be honest, I was hesitant upon first feeling it and what it would feel like once the cardigan was finished.

Let’s cut the story short – I LOVE IT! I’ve already ordered more of it in different shades for another design I have planned. I don’t normally use the same yarn for a new project this quickly (mostly because I like to explore different yarns and textures). So it’s safe to say, I’m pretty impressed with this yarn.
The yarn has a bit of a sheen to it and something about it just makes it feel so elegant and feminine. I almost can’t believe I doubted it when I first got it in the mail because now I’m totally hooked.
The only other yarn I would suggest substituting with is Knit Pick Brava Sport. It’s another acrylic yarn but has more of a soft cozy feel, which would be great for fall and winter. I’m actually hooking up another cardigan at the moment with this yarn. It’s also a category 2 and offers a great flowy fabric when worked up!


- Purchase the ad-free PDF here on Ravelry.
- Don’t forget to bookmark it for later!
Peony Crochet Cardigan Free Pattern
Materials
Lion Brand Beautiful You, Category 2, 326yds/3.5oz 5(5, 5, 6, 6, 6) skeins
H/5.00mm hook
Tapestry needle and scissors
Sizing
The cardigan is designed to be comfortably fitted. Size up if you are between sizes or if you’d like a more relaxed fit.
Small fits 32-34” bust
Medium fits 36-38” bust
Large fits 40-42” bust
XLarge fits 44-46” bust
2XL fits 48-50” bust
3XL fits 52-54” bust
For Petite size, subtract 5 rows from the last repeat row of the pattern
For Tall size, add 5 rows to the last repeat row of the pattern
Finished Dimensions
Size/Back Width/Arm Hole/Length in back
Small/16″/11.5″/26″
Medium/18″/13″/28″
Large/20″/14″/30″
XLarge/22″/15″/32″
2XL/24″/16.5″/32.5″
3XL/26″/17.75″/33″
Pattern notes
The cardigan is a raglan style sweater, therefore no seaming will be necessary.
Beginning chain does not count as a stitch.
Chains will not be accounted for in the stitch counts.
Gauge: 4”x4” ~ 16 st x 7 rows
Abbreviations (US terms):
Ch = chain, dc = double crochet, sl st = slip stitch, st = stitch, sp = space
Pattern
Main Body of the Cardigan
Row 1: Ch 42 (48, 54, 60, 66, 72), dc in 3rd ch from hook and across, turn (40, 46, 52, 58, 64, 70)
Row 2: Ch 2, dc across, turn (40, 46, 52, 58, 64, 70)
Row 3: Ch 2, (2dc, ch 1, 2dc) in first st, dc in next 6 (7, 8, 9, 10, 11) st, (2dc, ch 1, 2dc) in next st, dc in next 24 (28, 32, 36, 40, 44) st, (2dc, ch 1, 2dc) in next st, dc in next 6(7, 8, 9, 10, 11) st, (2dc, ch 1, 2dc) in last st, turn (52, 58, 64, 70, 76, 82)
Row 4: Ch 2, 2dc in first st, *dc until you get to ch 1 sp from previous row, (2dc, ch 1, 2dc) in ch 1 sp from previous row, repeat from * across, dc in remaining st, 2dc in last st, turn (70, 76, 82, 88, 94,100)
Repeat Row 4 until you have a total of 12 (13, 14, 15, 16, 17) rows
*Each repeat will add on 18 stitches to the stitch count. Chains will not be accounted for in the stitch counts.
Next row (joining to create arm holes sections): Ch 2, 2dc in first st, dc until you get to ch 1 sp, sl st ch 1 sp together with next ch 1 sp (skipping all the stitches in between, this will create one arm hole), dc until you get to next ch 1 sp, sl st that ch 1 sp together with next ch 1 space (skipping all the stitches in between, this will create the second arm hole), dc in remaining st, 2dc in last st, turn
Next row: Ch 2, 2dc in first st, dc across (sl st from previous round will count as a st), 2dc in last st, turn
Repeat last row 32 (24, 36, 39, 39, 39) more times
Each repeat row will add on 2 st
Do not fasten off.
Collar
You yarn should be at the bottom corner of the front panel of the cardigan.
Row 1: Ch 2, dc up the first panel, around the neckline and down the second panel evenly working 2 dc in each side of a row, turn
Repeat Row 1 until you have a total of 7 (7, 7, 9, 9, 9) rows.
Continue to repeat Row 1 for a wider collar.
Fasten off and weave in ends.
Sleeves
Attach yarn to armpit of the armhole
Row 1: Ch 2, dc around, turn (46, 51, 54, 61, 66, 71)
Repeat Row 1 for an additional 3 (6, 5, 4, 4, 2) rows
Decrease Row: Ch 2, dc2tog, dc in remaining st, turn
Repeat Decrease Row for an additional 15 (19, 21, 23, 23, 25) rows
Next Row: Ch 2, dc around, turn
Repeat last row for an additional 3, (6, 5, 4, 6, 6) rows
Repeat last row if extra length of sleeve is desired.
Fasten off and weave in ends.
Repeat from Row 1 for second sleeve.


This is beautiful!! Thank you for the free pattern – I hope I get to make it soon!