
This post may contain affiliate links. For more information, please see our disclosure policy.
Warning: After making one of these crochet beanies, you will want to make several more.
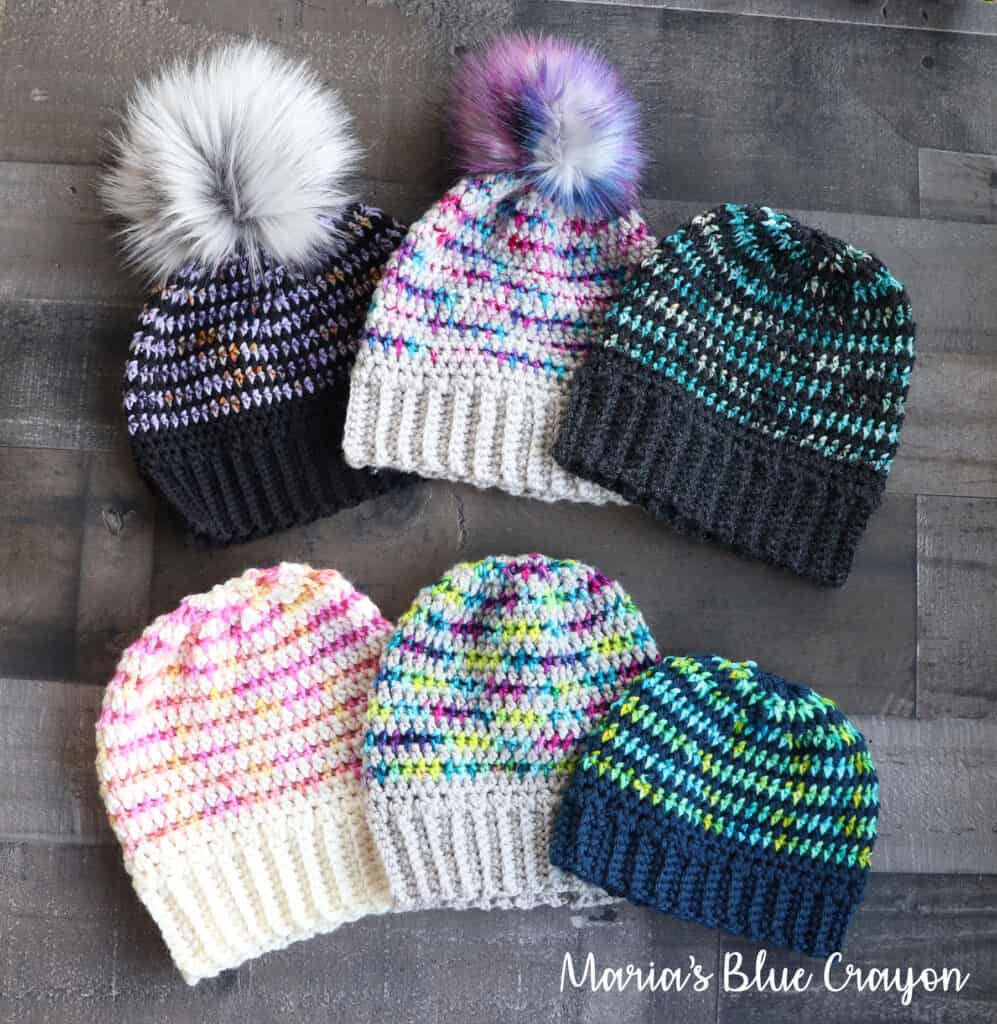
The Pop of Color Beanie is easy, fun, and fairly quick to make. Perfect for scrap yarns and variegated yarns that you don’t know what to make with.
Yarn Problems Solved
Do you have variegated yarn you don’t know what to use for?
Do you have yarn scraps that you don’t want to throw out?
Do you love hand-dyed yarns but don’t know what to make with just one skein of it? Or have leftover hand-dyed yarn that you don’t want to waste?
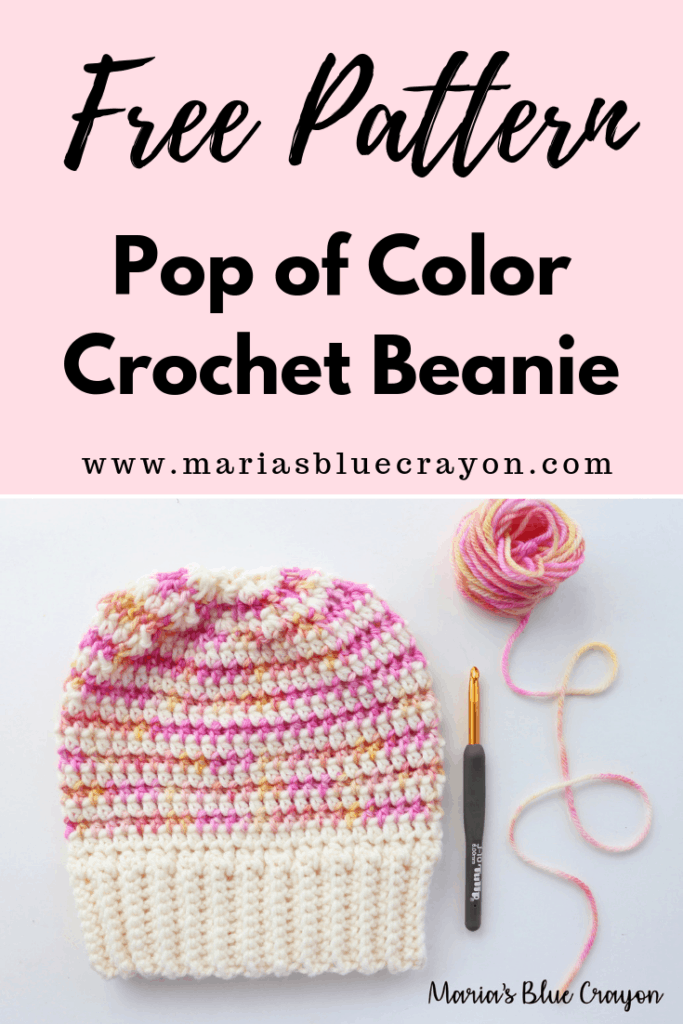
I’ve got your solution. The Pop of Color Beanie!
Okay, I’m done talking like a sales lady, but this beanie is really perfect for variegated yarns, scrap yarns, and hand-dyed yarns.
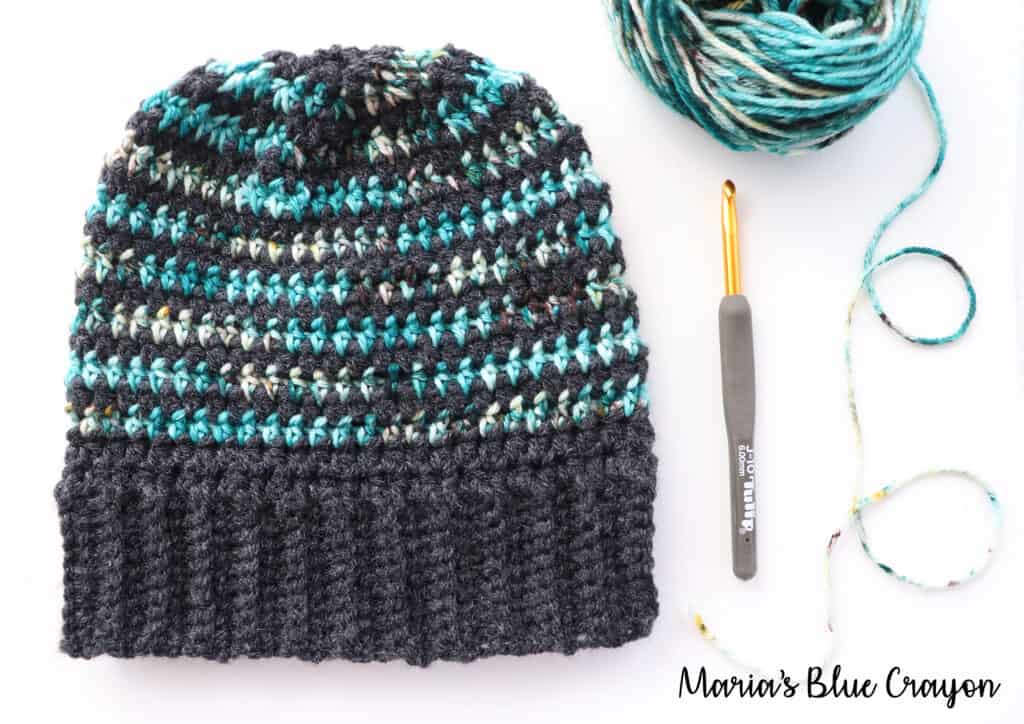
I initially made this hat because I got a gorgeous skein of yarn from KT and the Squid that gave me Halloween vibes but I wanted to use it in a subtle way. I paired it with some black store-bought yarn and out came the Pop of Color Beanie! Followed by many more of them.
I’ve never seen hand-dyed yarn paired with store-bought yarn, but why not? I was able to stretch out one beautiful skein of hand-dyed yarn into two projects (I knit a beanie with the remaining yarn) and it looks great!
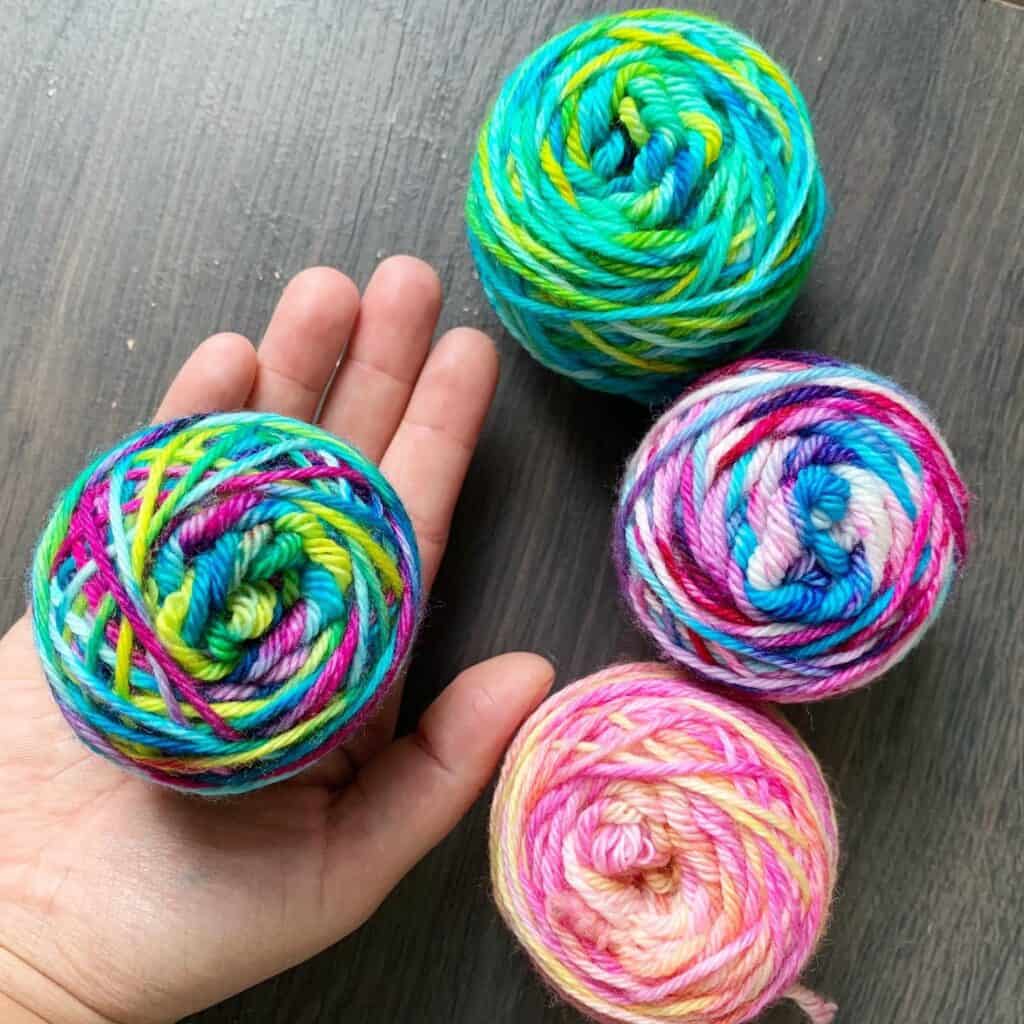
I even got a yarn dyeing kit on Etsy and dyed up some of my own yarn! I was able to split one hank of yarn into 5 mini hanks since the beanie only needs about 40 yards of yarn for the ‘pop of color’. [Yep, you only see 4 – the 1st one didn’t turn out too great. 🙂 ]
Bottom-Up Crochet Beanies
There are a few ways to construct a hat, and one of my favorites is crocheting a hat from the bottom up.
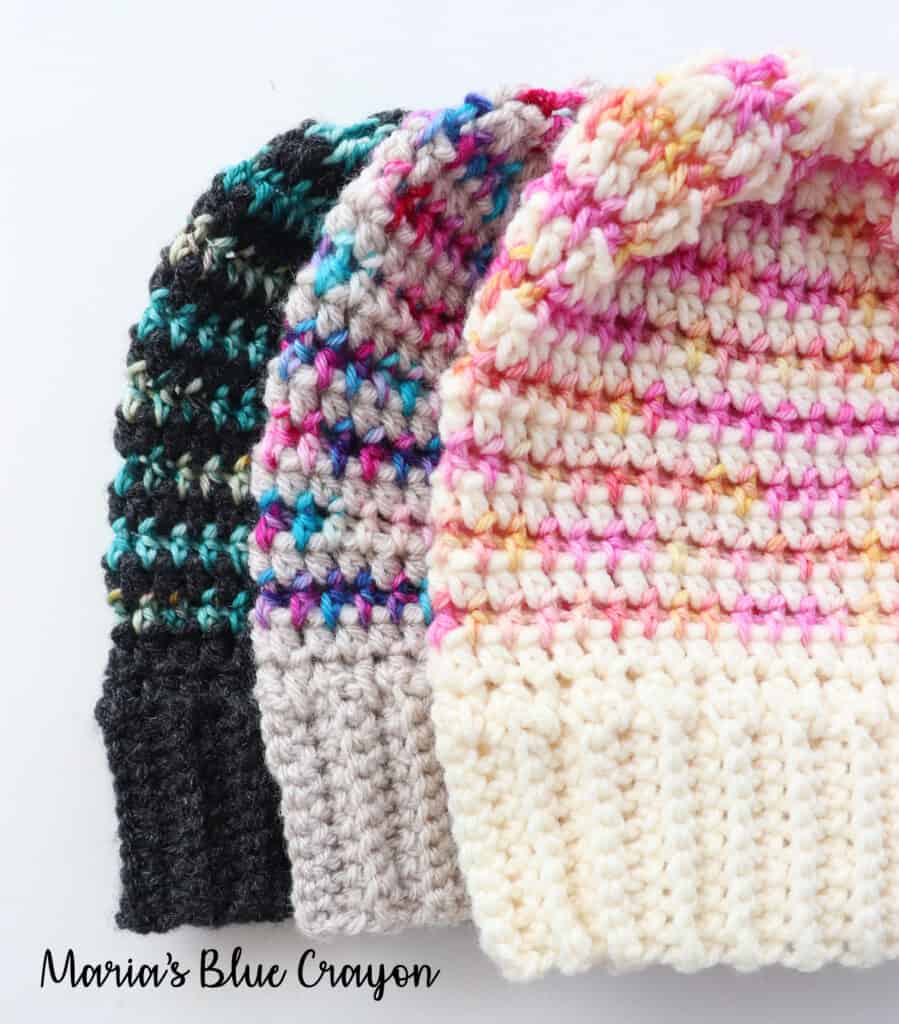
We start with the brim, crocheting short rows until the length stretches to fit around the head. The first and last rows are joined together to complete the brim.
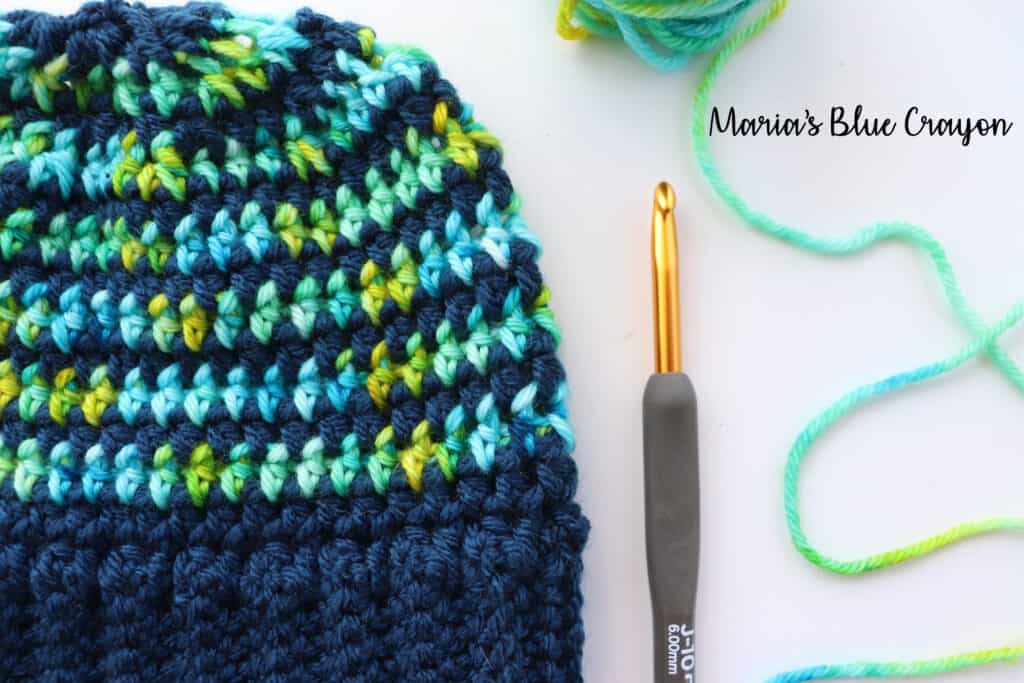
Once the brim is finished, you start to make the body of the hat by crocheting on the side of the short rows and you keep building upon the brim until the hat is the length you want it to be.
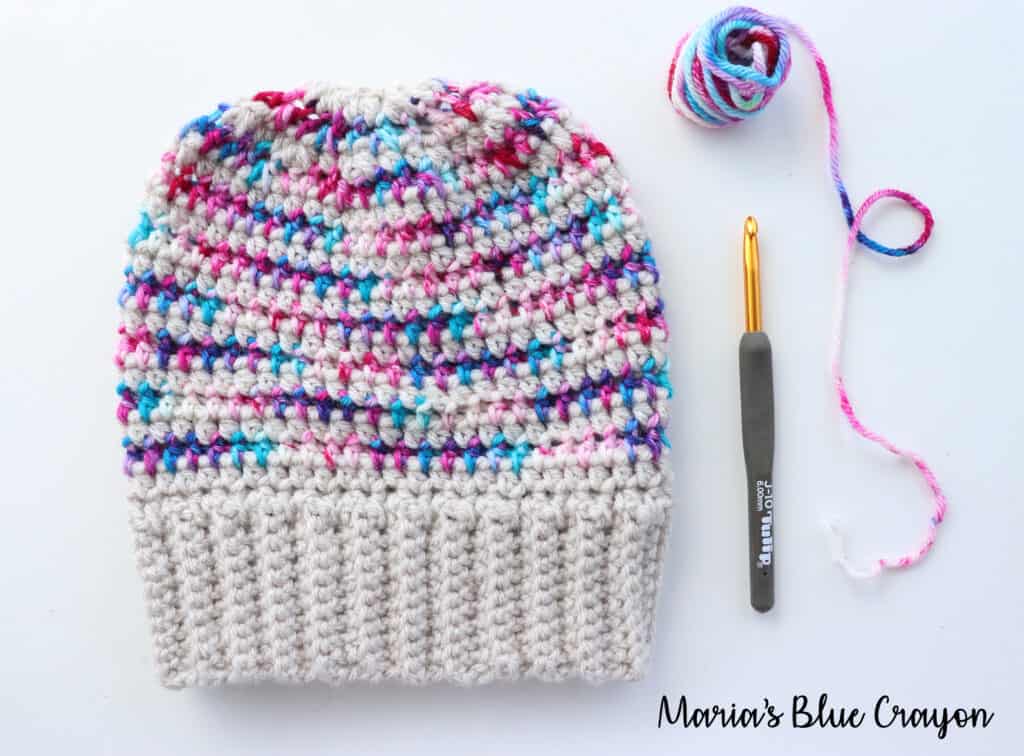
For the Pop of Color Beanie, I made sure to add some decrease rows in the end in order to add some shaping versus scrunching the top together. This makes the hat nice and clean especially if you want to keep it as is without adding a pom pom.
I love making crochet beanies this way because the brim fits snug on your head and is very stretchy.

- Download here for free for the 10 Days of Crochet Christmas.
- Get the ad-free PDF version here on Ravelry or Etsy.
- Be sure to bookmark this for later!
- See free version and video tutorial below
Disable ad-blocker temporarily to view video tutorial above.
Pop of Color Beanie Free Written Pattern
Materials
Worsted weight yarn in a solid color and variegated color
I used Lion Brand Vanna’s Choice for my main colors and ~40 yards of hand-dyed yarns in various colors
J/6.00mm hook
Scissors and Tapestry needle
Faux Fur Pom Pom (optional)
Pattern notes
Beginning chain does not count as a stitch.
The hat will be made from the bottom up starting with the brim.
The brim will be made in rows then connected. Body of the hat will be made in rounds.
For fewer yarn tails, carry the yarn up the inside of the hat when changing colors.
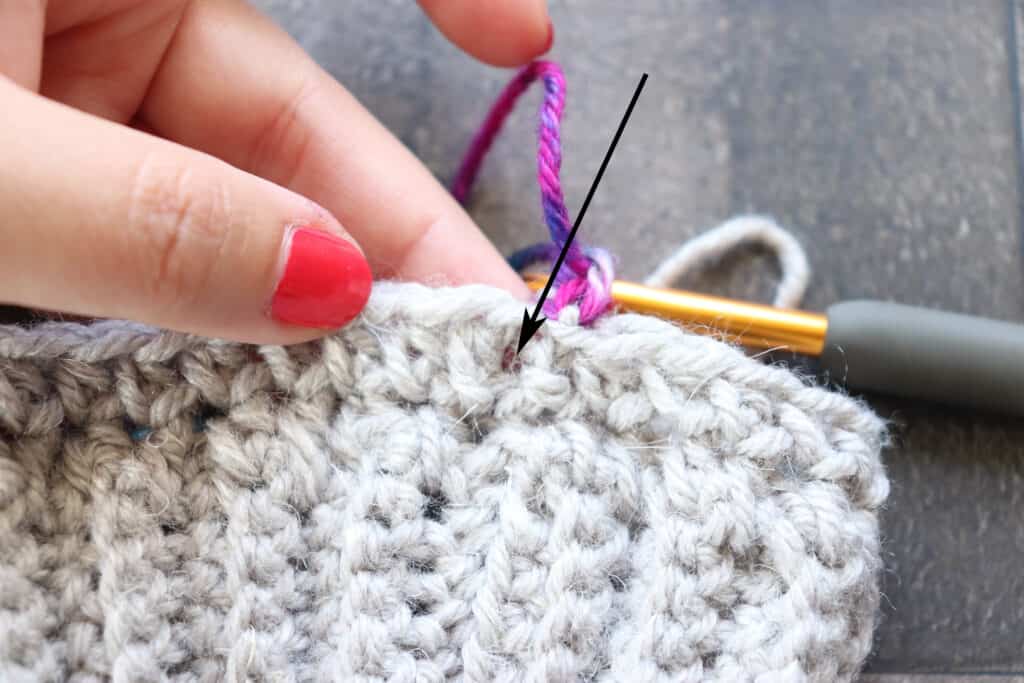
When working with the second color/variegated yarn, the stitches will be worked in between the stitches of the previous row versus in the top of the stitch.
For a child-size, start with 8 chains for the brim and only repeat rows 3&4 for an additional 3 times.
Finished beanie fits snug on an adult 21” head and is approxitmately 8” tall. Go up a hook size for a looser fit.
Abbreviations (US terms):
Ch = chain, sc = single crochet, hdc = half double crochet, st = stitch(es), BLO = back loop only, FLO = front loop only, hdc2tog = half double crochet 2 together
Pattern
Brim – Start with main solid color
Row 1: Ch 11, sc in 2nd ch from hook and across, turn (10)
Row 2-50: Ch 1, sc across in BLO, turn (10)
Join the first and last row by single crocheting them together.
Crochet the FLO of the last row (the one you just worked on) together with the bottom edge of the first row.
Flip inside out so the seam is facing inward.
Body of Hat
Row 1: Ch 1, hdc evenly around making one hdc in each side of the sc rows from the brim, join to first hdc (50)
Row 2: Ch 1, hdc around, join to first hdc (50)
Row 3: Change to second color, ch 1, hdc in between st of previous row all the way around, join to first hdc
Row 4: Change to main color, ch 1, hdc around, join to first hdc
Repeat Row 3&4 for an additional 5 times
Row 15: Change to second color, ch 1, *hdc in between the next 3 st, hdc2tog in between st of previous row, repeat from * around, join to first hdc (40)
Row 16: Change to main color, ch 1, *hdc in next 2 st, hdc2tog, repeat from * around, join to first hdc (30)
Row 17: Change to second color, ch 1, *hdc in betweeen next st of previous row, hdc2tog in between st of previous row, repeat from * around, join to first hdc (20)
Row 18: Change to main color, ch 1, hdc2tog around, join to first hdc (10)
Fasten off and leave a tail.
Using a needle, weave the yarn tail in and out of the remaining stitches.
Pull tight, knot, and weave in ends on the inside of the beanie.
More Free Crochet Beanie Patterns
- C2C Crochet Beanie
- Sierra Beanie – worn two ways: as a double brim or slouchy
- Painted Canyon Messy Bun Beanie
- Snowden Beanie
- Basic Chunky Beanie
- Skeleton Beanie
I used 50 for a child as well since the brim is quite stretchy. You can always go down a hook size if you need it smaller.