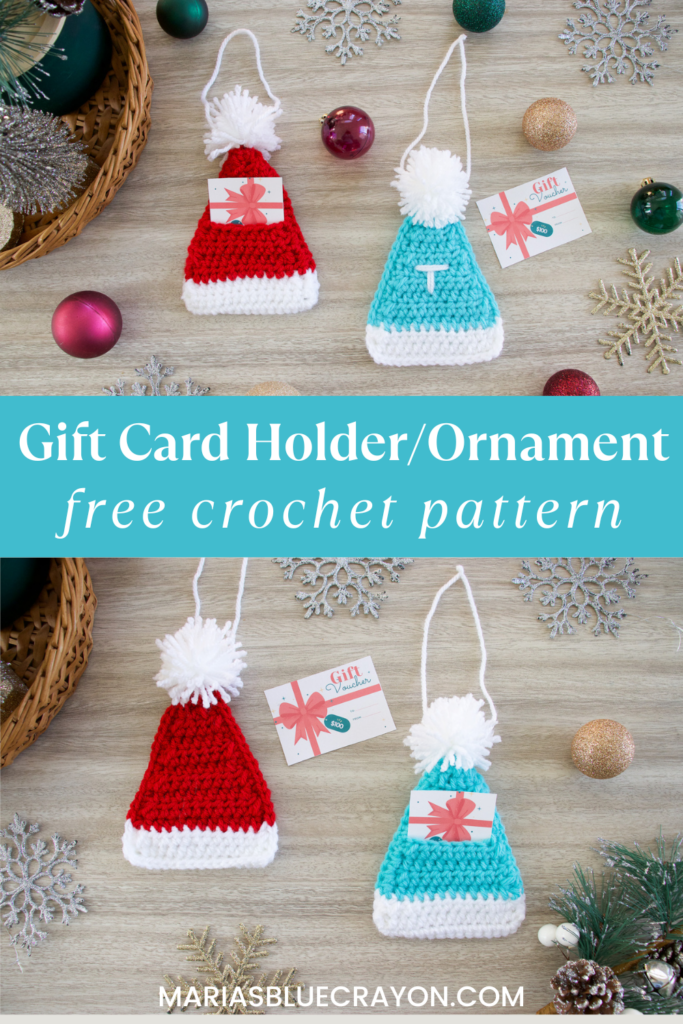
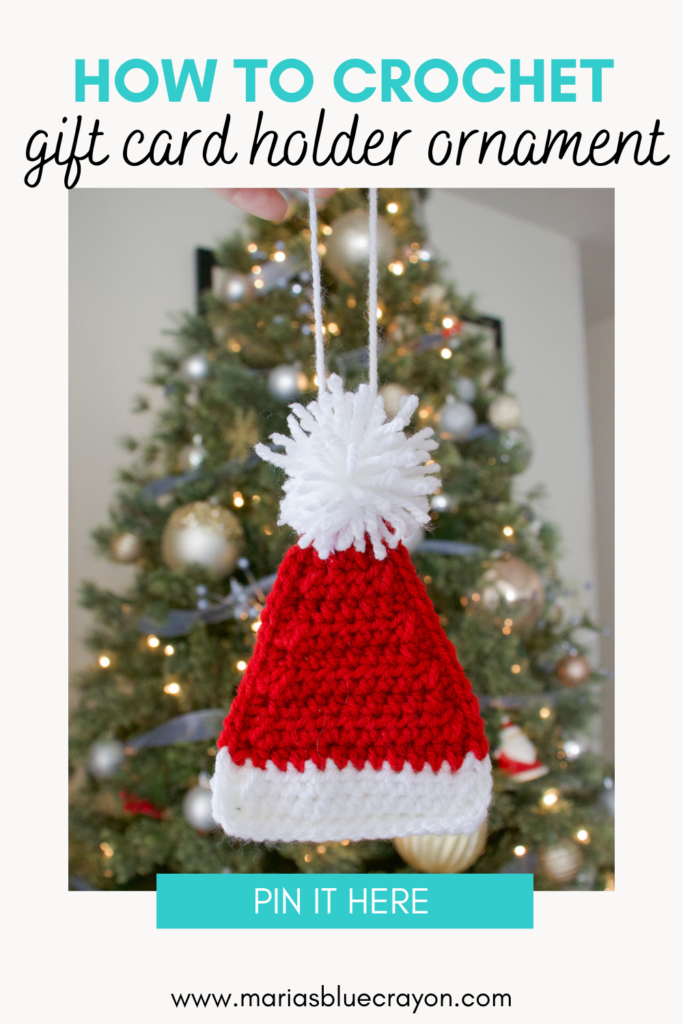
This little crochet hat acts as both a gift card holder AND an ornament. This makes it the perfect quick handmade gift. I love gifting things that someone will actually want and use. A gift card ensures your loved one will be able to buy something they enjoy and the ornament can be hung each year!
- Purchase the ad-free download/printable on Etsy or Ravelry.
- PIN it to your boards on Pinterest here.
- View the free pattern down below here on my blog.

For the colors, I did red and white to make it look like a Santa Claus hat and for the other I did a pretty light blue and added an initial on it to personalize it!
You can also personalize it by using the recipient’s favorite colors, sports team colors, etc. This is very customizable and you can really make it your own to make it special!

Free Crochet Gift Card Holder Ornament Pattern
Materials
Worsted weight yarn in red and white (or colors of your choosing)
5.00 mm crochet hook
Tapestry needle
Scissors
Pattern Notes
Two in one – this finished item acts as a gift card holder as well as an ornament.
Beginning chains do not count as a stitch.
Number in parentheses is the number of stitches for that row.
Abbreviations: (US terms)
Ch = chain, hdc = half double crochet, hdc2tog = half double crochet two together, st = stitch
Crochet Pattern
Front of Hat
Start with white yarn.
Row 1: Ch 15, hdc in 2nd ch from hook and in each ch across, turn (14)
Row 2: Ch 1, hdc2tog over first 2 st, hdc in next 10 st, hdc2tog over last 2 st, turn (12)
Change to red yarn.
Row 3: Ch 1, hdc in each st across, turn (12)
Row 4: Ch 1, hdc2tog over first 2 st, hdc in next 8 st, hdc2tog over last 2 st, turn (10)
Row 5: Ch 1, hdc in each st across, turn (10)
Row 6: Ch 1, hdc2tog over first 2 st, hdc in next 6 st, hdc2tog over last 2 st, turn (8)
Row 7: Ch 1, hdc in each st across, turn (8)
Row 8: Ch, hdc2tog over first 2 st, hdc in next 4 st, hdc2tog over last 2 st, turn (6)
Row 9: Ch 1, hdc in each st across, turn (6)
Row 10: Ch 1, hdc2tog over first 2 st, hdc in next 2 st, hdc2tog over last 2 st, turn (4)
Row 11: Ch 1, hdc2tog over first 2 st, hdc2tog over last 2 st, turn (2)
Row 12: Ch1, hdc2tog
Fasten off and weave in ends. Embellish with initial if desired.
Back of Hat
Start with white yarn.
Row 1: Ch 15, hdc in 2nd ch from hook and in each ch across, turn (14)
Row 2: Ch 1, hdc2tog over first 2 st, hdc in next 10 st, hdc2tog over last 2 st, turn (12)
Change to red yarn.
Row 3: Ch 1, hdc in each st across, turn (12)
Row 4: Ch 1, hdc2tog over first 2 st, hdc in next 8 st, hdc2tog over last 2 st, turn (10)
Row 5: Ch 1, hdc in each st across, turn (10)
Row 6: Ch 1, hdc2tog over first 2 st, hdc in next 6 st, hdc2tog over last 2 st, turn (8)
Row 7: Ch 1, hdc in first st, ch 6, hdc in last st, turn (8)
Row 8: Ch, hdc2tog over first 2 st, hdc in next 4 ch, hdc2tog over last 2 st, turn (6)
Row 9: Ch 1, hdc in each st across, turn (6)
Row 10: Ch 1, hdc2tog over first 2 st, hdc in next 2 st, hdc2tog over last 2 st, turn (4)
Row 11: Ch 1, hdc2tog over first 2 st, hdc2tog over last 2 st, turn (2)
Row 12: Ch1, hdc2tog
Fasten off and weave in ends.
Crochet both of the hats together with single crochets, changing colors as necessary, and making 2sc in each corner.
Pom Pom
Using white yarn, wrap your yarn around 3 fingers 40-50x. Lay it down carefully and take a 12” piece of white yarn and tie the middle so there are loops on the top and bottom of the knot. Once secured tightly, cut the loops. Trim the pom pom as needed but keep the long piece of yarn to attach to the top of the hat.
Tie the pom pom to the tip of the hat then tie the remaining yarn to make a loop for hanging.
*You can also use a pom pom maker if you have one.


Are there no instructions in the pattern for the pouch part for a gift card? All I have are two hats to be stitched together.
Hi! If you look closely at the pattern, Row 7 for the back of the hat is different. This is where the slot/gap for the giftcard will fit.