Learn how to make a simple crochet hat that can be worn by everyone. This easy to follow, free pattern can be crocheted by a beginner and includes a video tutorial. It uses basic stitches and is a great basic pattern to have on hand.
- Purchase the ad-free, printable/downloadable PDF on Etsy or Ravelry.
- PIN it to your Pinterest boards here.
- Scroll down below to view the free crochet pattern.
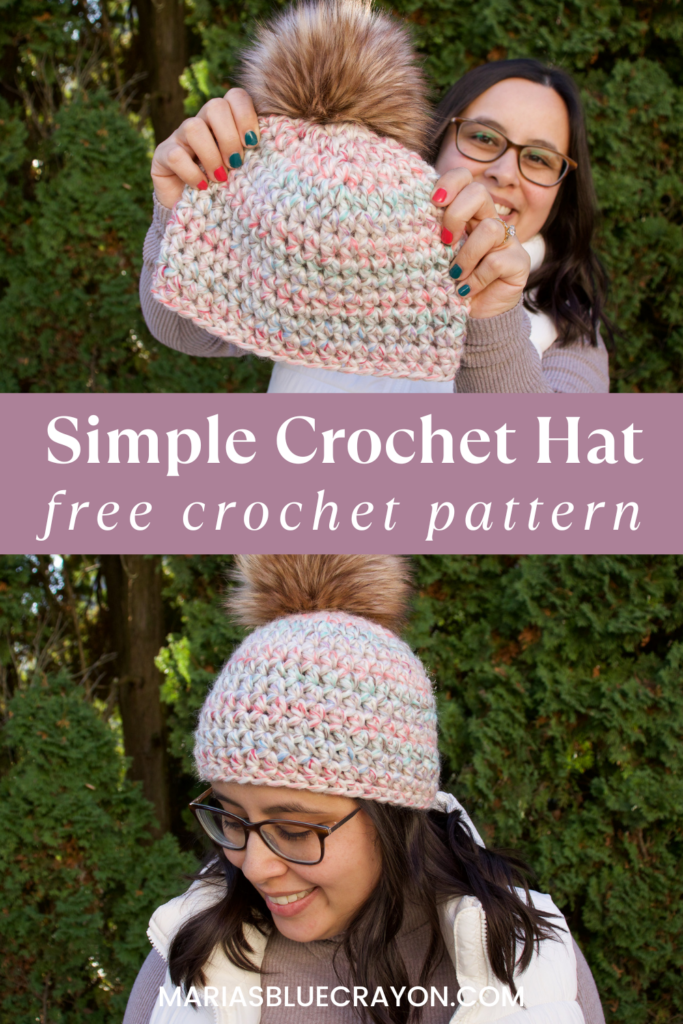
How Do You Crochet A Simple Beanie?
There are a few different ways to crochet a hat, but this easy crochet hat pattern is more of a simple style hat. It is made all in one piece, no sewing is needed, and there is no brim to crochet.
It is made in rounds starting with a magic ring and worked from the top down. (I have a video tutorial for how to do the magic ring if you need it!) This means the first few rows will be the crown of the head and as we keep working, the last row will be the bottom of the hat.
Once the hat is finished, you can embellish with a pom pom whether it be a faux fur pom pom or one you make on your own with yarn. For this pattern, you will have enough left over to make a yarn pom pom with a pom pom maker if you’d like.
You may see other easy, beginner-friendly hats crocheted from rectangles, and those are great for beginners as well! I have a pattern for that which includes a video tutorial – you can find it here. With that free crochet pattern, you can make the hat in any size with any yarn! It’s basically a customized tutorial.
However, this simple pattern doesn’t have any type of sewing involved which my other beanie does. This can get a little tricky especially if you aren’t savy with sewing and you’re still new to working with yarn.
Beginner-Friendly Crochet Pattern
This crochet beanie is perfect for beginners because we are working with super bulky yarn and using just a few basic crochet stitches: half double crochet and single crochets. That’s it!
If you don’t have super bulky yarn readily available, you can also use worsted weight yarn. You will want to hold two strands together to create a thicker yarn. I recommend using acrylic, wool, or some sort of blend for the worsted weight yarn.
Make the Yarn Do the Work
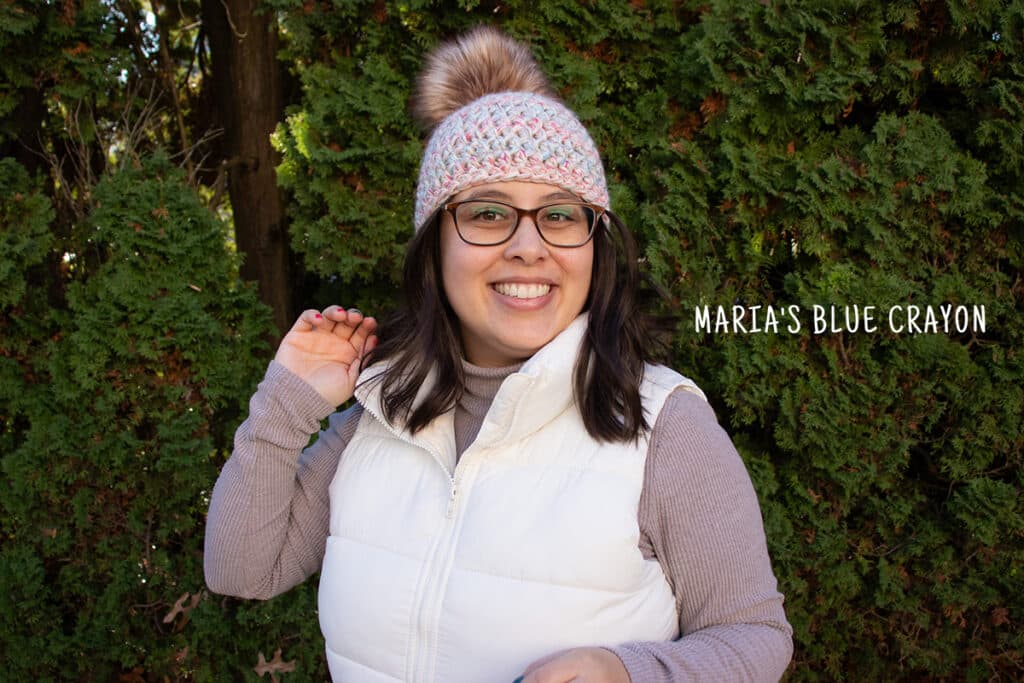
With this simple hat, I wanted to use fun colors for it to really stand out! I fully support a basic neutral as well because that makes the hat go with everything, but I love pops of color too!
Since this crocheted beanie pattern uses very simple stitches, I knew I could use the yarn as the star of the show to make it more visually interesting.
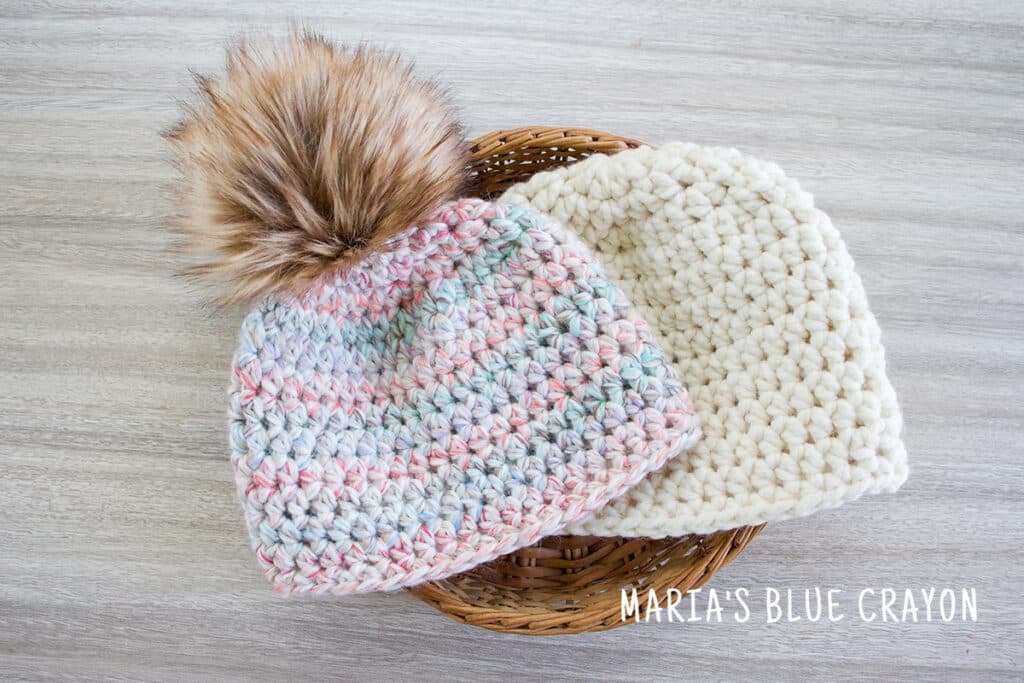
For the super bulky yarn used in the photos, I used the Lion Brand Wool Ease Thick and Quick in the colorway “carousel”. It’s so colorful, fun, and twisted with a creamy neutral to keep it cohesive.
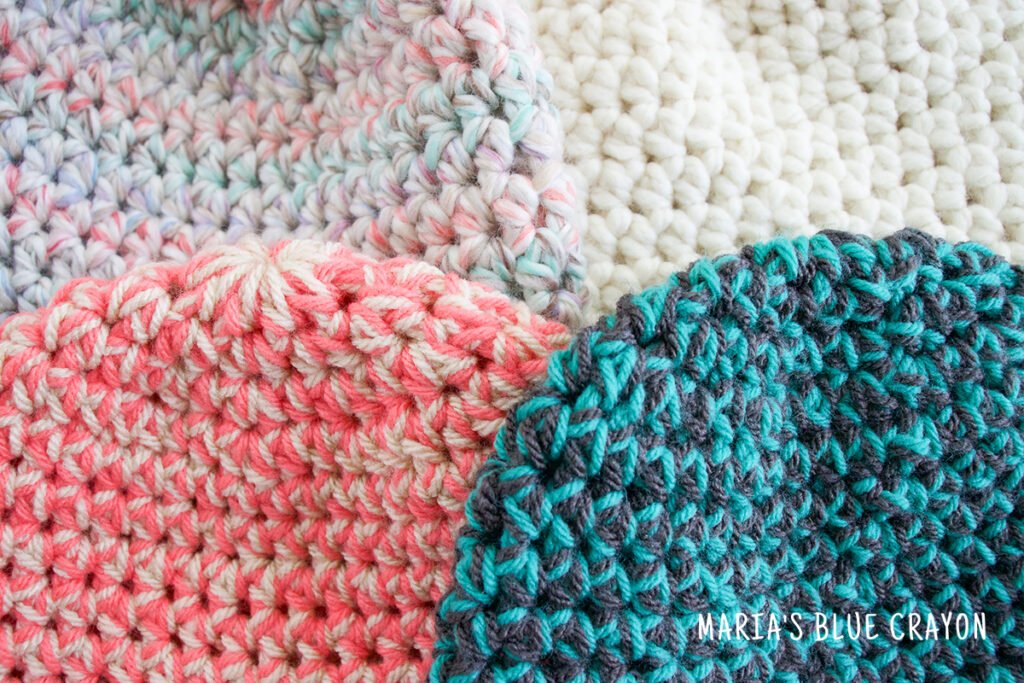
Using two strands of worsted weight yarn together holds endless possibilities as far as color combinations go! I followed the basic theme of the “carousel” colorway and used a bright, fun color and neutral color held together. This just created a good balance and I love the pops of color with each one of them.
Quick and Easy – Perfect for Gifting
With the super bulky yarn/double stranded worsted weight yarn, this hat works up in no time! Each hat took me around 30 minutes to make. It is only 13 rows, so it is easy to work up in one sitting.
Even if you are a beginner, you should be able to make this hat in a day/one evening.
Because they are so simply and quick to make, these make great gifts, donations, and for selling at markets! There is so much room for customization as well with the color combinations. You can use sports colors, school colors, favorite colors, Hogwarts School colors, etc.
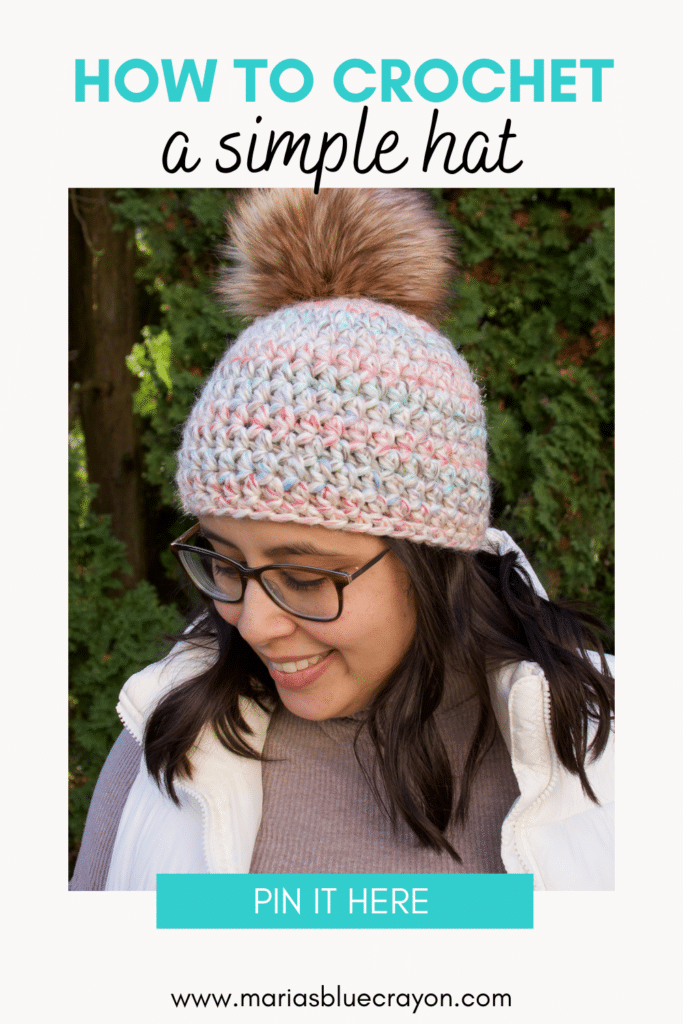
What is the Best Crochet Stitch for a Hat?
It depends on what you’re looking for in a hat! Personally, I think a hat should be thick, warm, have minimal holes/gaps, and fit like a glove!
For this simple hat pattern, I used the half double crochet as the main stitch. It’s the perfect in between of the single crochet and double crochet stitch. The finished hat has minimal holes/gaps.
I think this makes it the best stitch for this particular hat using the super bulky. Using super bulky yarn can make very stiff finished items so I was sure to use a ‘bigger’ stitch but not too big that there would not be enough warmth.
Overall, I would say any crochet stitch that offers a solid fabric that isn’t too rigid would be a good fit for a crochet hat.
What is the Best Yarn for a Crochet Hat?
When I’m making crochet hats whether they are for myself or for giving away, I like to make sure the yarn is easy to care for in terms of washing.
For this hat, the Lion Brand wool ease thick and quick is a 20/80 wool/acrylic blend. It is washing and drying machine safe.
One year, I wanted to get really fancy with my handmade gifts and made all my gifted hats in wool. One gifted hat was mistakenly thrown into the washing machine and it came out the size of a newborn hat. Wool yarn is okay to wash as long as it says it’s machine washable! This particular, luxurious wool yarn was not.
To avoid any sort of allergies and for easy washing care, acrylic and acrylic blends are usually the way to go. Just be sure to check the label!
You also want to think about the purpose of the hat. Is it made to keep someone’s head nice and warm? Is it made for a light layer/fashion? Is it made for someone who is going through chemo treatments?
My rule of thumb is for a nice warm hat, go with acrylic, wool, or some sort of in between blend. For something light, allergy free, and non-irritating I would go with a cotton, bamboo, or some sort of plant fiber.
Video Tutorial Crochet Hat
Crochet Pattern Notes
Beginning chain of each round does not count as a stitch.
If using double stranded worsted weight yarn held together, I found I had to add one more additional hdc row.
Dimensions: Fits an average adult sized head (~21 inch head circumference)
Resizing Directions
I find this hat to be a nice, snug fit so I would say it would fit teenagers as well as children. The following aren’t exact but it will give you a good idea on how to resize this hat.
For a male adult, add one or two more rows of the repeating hdc round.
For a child, omit a few of the repeating hdc rows so your hat is about 6″ tall.
For a baby, omit row 4 and continue until the hat is about 4″ tall.
Gauge: 2 hdc stitches = 1″
Abbreviations: (US terms)
Ch = chain, sc = single crochet, hdc = half double crochet, st = stitch, sl st = slip stitch
Crochet Pattern
Round 1: Magic ring, ch 1, 10hdc in ring, join to first st (10)
Round 2: Ch 1, 2hdc in each st around, join to first st (20)
Round 3: Ch 1, *hdc in next st, 2hdc in next st, repeat from * around, join to first st (30)
Round 4: Ch 1, *hdc in next 2 st, 2hdc in next st, repeat from * around, join to first st (40)
Round 5-12: Ch 1, hdc in each st around, join to first st (40)
(If you are using double stranded worsted weight held together, add one more row of hdc before the next round.)
Round 13: Ch 1, sc in each st around, join to first st (40)
Fasten off and weave in ends.
Add pom pom to top (optional).
Share Your Crochet Work!
I love love love seeing finished crochet projects from my patterns! A lot of you get so creative with yarn choices and I love to see it. You can tag me on social media: Instagram @mariasbluecrayon, Facebook @mariasbluecrayon, or you can also share in my Maria’s Yarn Friends Facebook Group!
More Free Crochet Hat Patterns
If you enjoyed making this crochet hat and want to try something more advanced, check out these free crochet patterns!
- Bottom Up Beanie with Brim (make any size, with any yarn!)
- Lattice Bulky Beanie (uses super bulky yarn and quick to work up!)
- Pop of Color Beanie (fun to use up some variegated yarn you don’t know what to use for!)
- Blizzard Beanie (one of my most popular!)
- Ivy Hat (comes with a matching cowl pattern!)
- Snowden Beanie (has a beautiful brim but still worked from the top down)

Leave a Reply