
This post may contain affiliate links. For more information, please see our disclosure policy.
Crochet bottom up beanies are so easy to make and this pattern tutorial will show you how to make one in ANY size with ANY yarn! Included in this post is the written tutorial as well as a video tutorial for visual learners.
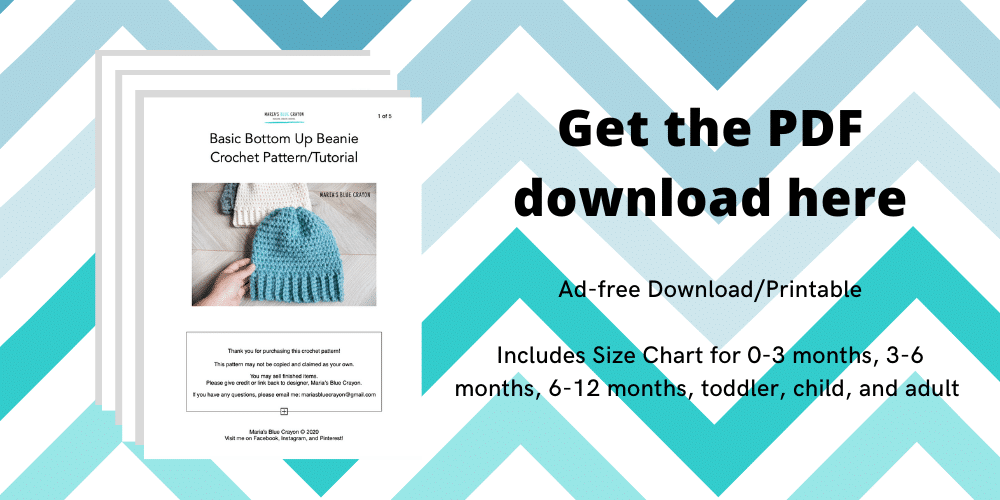
+ Purchase the ad-free PDF download/printable on Etsy or Ravelry – 6 different hat sizes included.
+ PIN it to your boards for later.
+ View the pattern on my blog below supported by ads.
Bottom Up Beanie Construction
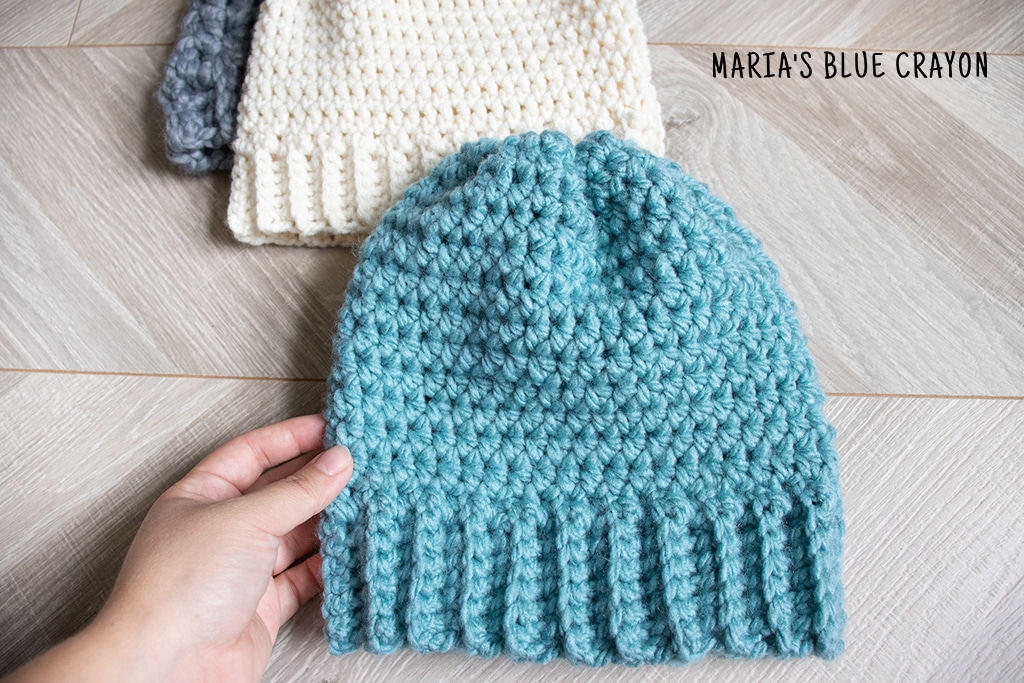
The construction of a bottom up beanie is in the name! You start at the bottom and work your way up to the crown of the hat.
You will begin with making short rows of single crochets to make the brim. Once the brim is complete, you will work in rounds to work on the body and finish up by cinching the top closed.
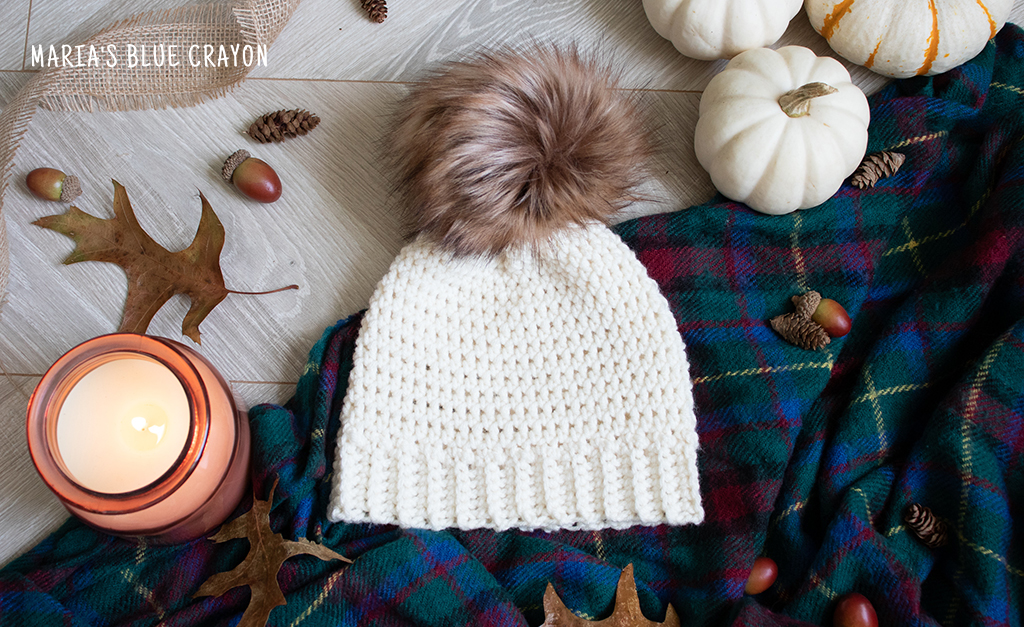
This is my favorite way to make hats because the brim is very stretchy and gives a nice, snug fit!
Yarn and Sizing
The beauty of this tutorial I put together is that you can use ANY yarn you want to make ANY size beanie you need. This is a completely custom tutorial, but I do have a general chart in the PDF as well incase you aren’t able to measure the head you are making for.
Because this is a custom tutorial, it is important that you have a tape measure or ruler. You will need it to measure the hat as you are making it.
If you are a seasoned crocheter, you may know what hook size you like to use for different weights of yarns. If not, yarn labels typically include a recommended hook size that you can refer to. You will see my preferences (yarn/hook size combo) in the notes of the tutorial.
Video Tutorial for Crochet Bottom Up Beanie
If you are unable to view the video below, you can view it on YouTube.
Crochet Basic Bottom Up Beanie Pattern
Materials
Yarn of your choice
Crochet Hook corresponding to yarn you are using
Tape Measure
Tapestry needle & Scissors
Notes
Yarn/hook combinations I usually use together are Category 3 and 4.00mm, Category 4 and 6.00mm, Category 5 and 8.00mm, Category 6 and 12.00mm. You choose what combination works best for your tension.
This beanie tutorial is meant to be made with any yarn in any size and totally customizable. The directions involve measuring throughout making the beanie, so be sure to have a tape measure or ruler.
You will need the following measurements from the person you are making the hat for: Head Circumference (inches) and the measurement (inches) from the top center of the head to below the ear.
You can find a chart with these measurements in sizes 0-3 months, 3-6 months, 6-12 months, toddler, child, and adult in the PDF.
Abbreviations (US terms):
Ch = chain, sc = single crochet, BLO = back loop only, hdc = half double crochet, hdc2tog = half double crochet two together, st = stitch
Pattern
Brim
The brim will be made in short rows and then joined together in the end. The brim of a hat is typically 1-3 inches tall.
Row 1: Ch how tall you want your brim to be, sc into 2nd ch from hook and in each ch across, turn
Row 2: Ch 1, sc in BLO in each st across, turn
Repeat Row 2 until the length of the brim is ~2 inches shorter than the head circumference.
Crochet last and first row together to form the brim. Flip brim inside out so the seam is on the inside.
Body
Turn your work 90 degrees, so you are working on the side of the single crochet rows of the brim.
Row 1: Ch 1, sc evenly around the brim (one sc on the side of each row), join to first sc
Row 2: Ch 1, hdc in each st around
Repeat Row 2 until the height of your hat (brim included) matches the measurement of the top center of head to below ear.
Last Row: Ch 1, hdc2tog around, join to first st
Fasten off and close up top by weaving yarn tail in and out of the last row of stitches. Knot and weave in ends.
Leave a Reply