Learn how to crochet the herringbone crochet stitch with this video tutorial and written pattern. View the tutorials below right here on my blog.
- Purchase the ad-free PDF download/printable for the 12 Stitch Sampler Blanket on Ravelry or Etsy.
- PIN it to your boards on Pinterest.
- Bookmark this page for later (ctrl + D)

About the Stitch
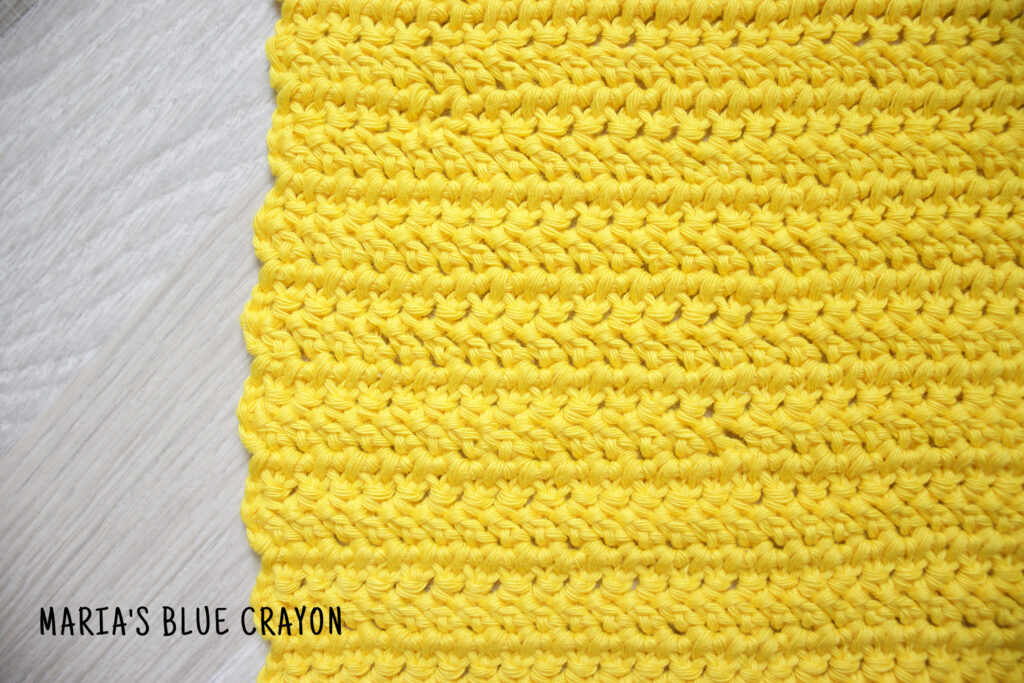
The herringbone crochet stitch is similar to a double crochet but with an added step. Instead of pulling up a loop, you will pull up a loop and through the first loop on your hook. (You will see in the video below!)
It is a bit awkward at first, but you will find your groove. With this added step, it is a slower stitch and makes it not as tall as a double crochet – but it’s worth it!
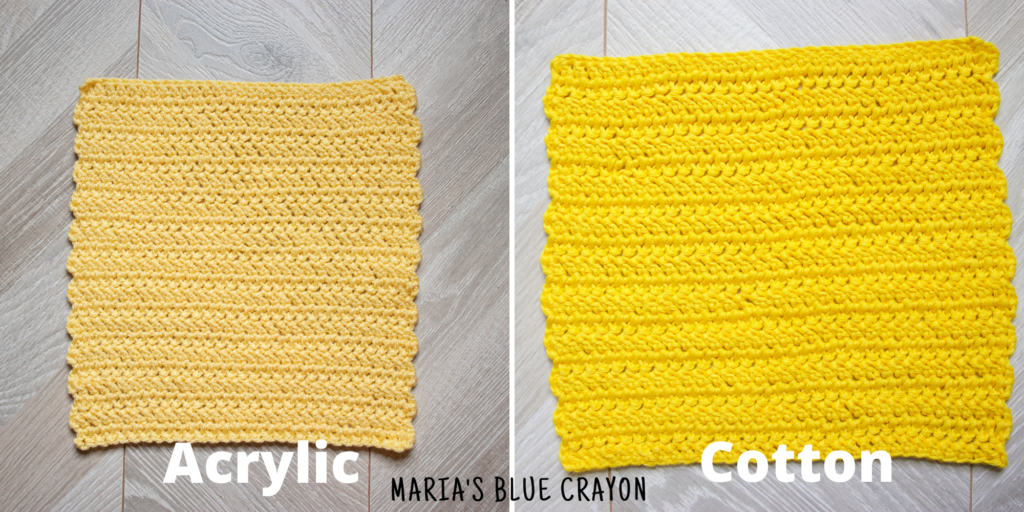
If you look closely, you will be able to see the herringbone pattern that this stitch creates. Two rows make an arrow all pointing to the same side.
I made a cardigan shrug with this stitch and it came out beautifully! You can find the pattern here.


Herringbone Crochet Stitch Video Tutorial
If you are unable to view the video below this message, temporarily disable your ad-blocker or view the tutorial on YouTube.

Herringbone Crochet Written Tutorial
Abbreviations (US terms):
Ch = chain, hbdc = herringbone double crochet, YO = yarn over, st = stitch
Notes:
Herringbone double crochet: YO, insert hook into st, YO, pull through ch and first loop, YO, pull through 1 loop, YO, pull through 2 loops
Row 1: Ch in any multiple + 2, hbdc in 3rd ch from hook and in each ch across, turn
Row 2: Ch 2, hbdc in each st across, turn
Repeat Row 2

Leave a Reply