
This post may contain affiliate links. For more information, please see our disclosure policy.
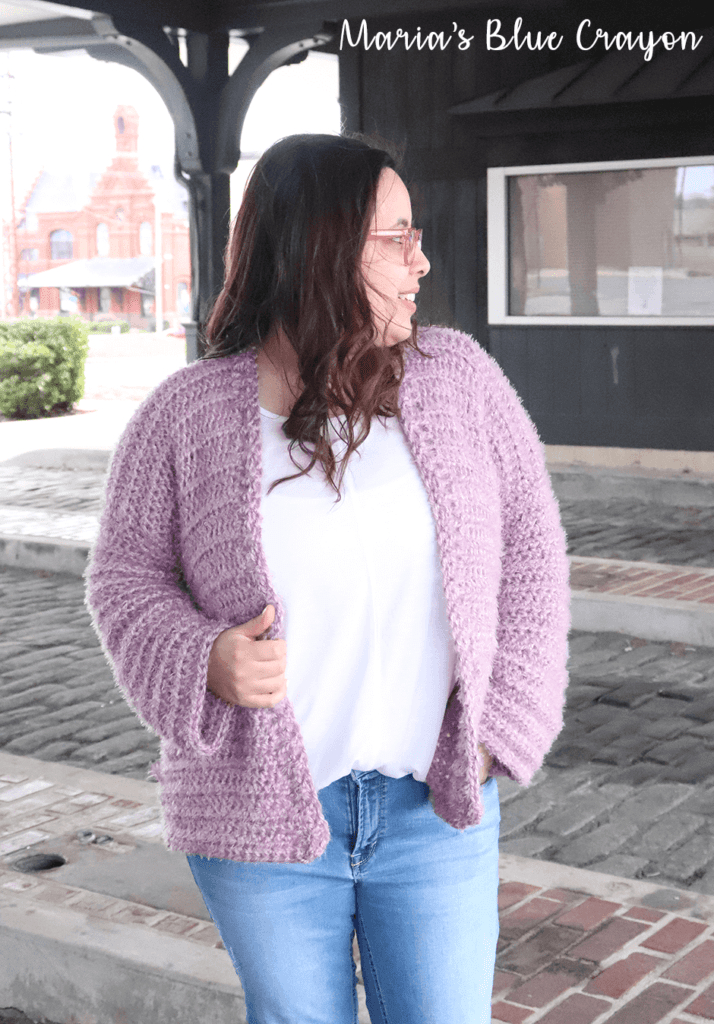
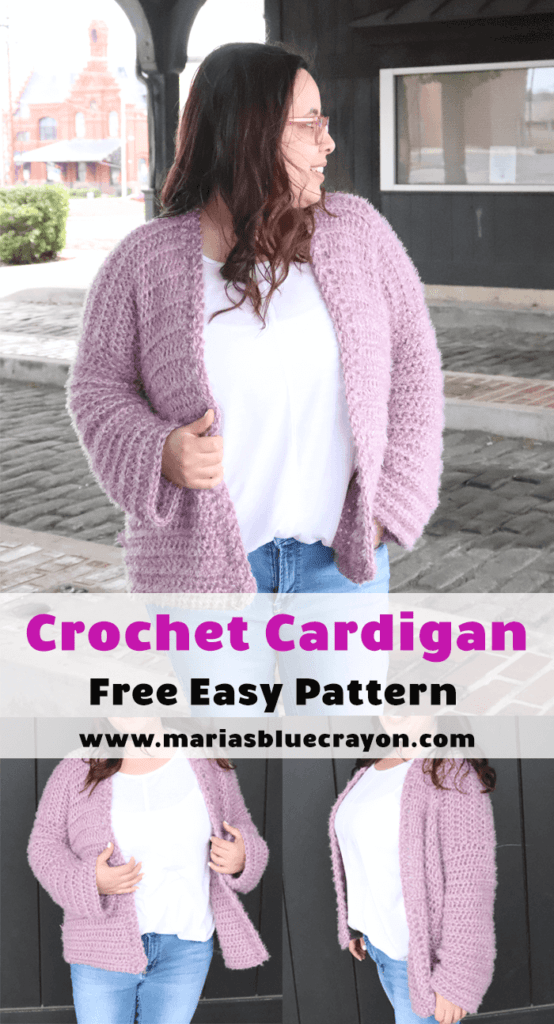
This simple crochet cardigan is great for spring as well as all seasons! It’s comfy, cozy, and offers great texture and drape when worn.
Crochet Cardigan Design
I designed this simple cardigan to be just what I named it – simple!
I really love the texture of the Red Heart Hygge yarn and I wanted the yarn to be the main show (more on the yarn later) so I went with a very basic construction and stitches.
The cardigan is solely made up of half double and double crochet stitches. If you are a beginner, I am confident you will be able to complete this cardigan. This is a great beginner garment as well as a good mindless project for the well seasoned crocheter.
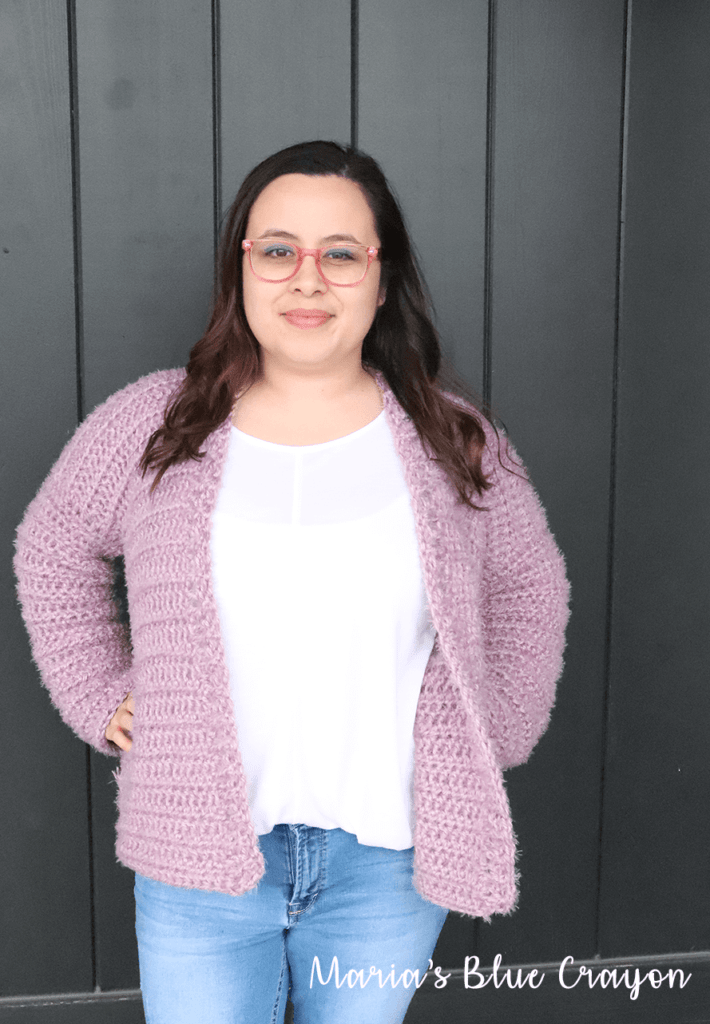
Crocheting in even rows to make rectangles then adding sleeves and edging is all you need to do in order to complete this easy cardigan. There is NO shaping (increasing/decreasing) in this pattern which makes it a relaxed fit in the body and sleeves.
Using a larger hook size for this pattern also creates a beautiful airy fabric that flows effortlessly. You will love wearing this cardigan as a cozy layer!
- Purchase the ad-free PDF printable/download for your convenience here. (Keep scrolling for the free version!)
- Save it on Ravelry and/or add it to your queue! Be sure to give it a heart!
- PIN it to your Crochet board on Pinterest for later and to share with friends!
The Yarn
Red Heart generously provided me with their Hygge yarn to make this cardigan. I’ve been eyeing up this yarn for a few months now, so I’m so happy I finally got the chance to use it!
Red Heart Hygge yarn is a bulky weight 5 yarn and comprised of acrylic and nylon fibers. It also has a bit of a shaggy fuzz to it, but to my surprise it did not shed one bit when I caked up the skeins and worked with it!
Since the yarn is a bulky weight, I decided to use a much larger hook than usual to get a flowy and airy fabric. I knew I wanted to make this cardigan suitable to wear during the spring time and summer nights so I did not want it too dense and heavy.
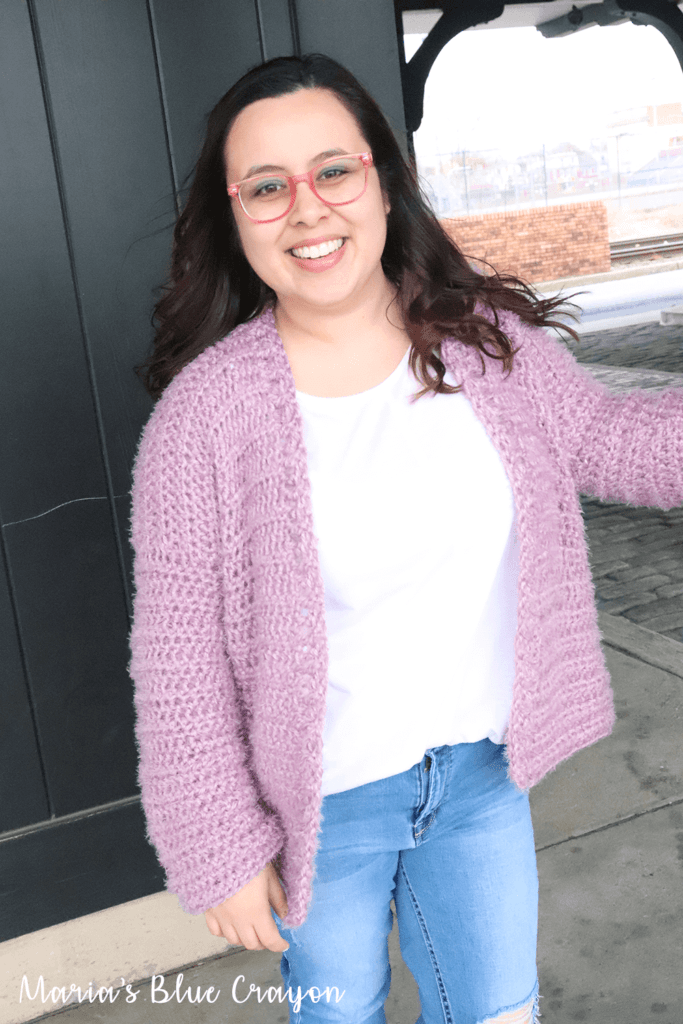
I’m super happy with how the yarn drapes using a large crochet hook and all the fuzzy textures paired with the drape makes it so cozy and wearable!
I’ve already worn this cardigan in 60 degree weather and it’s the perfect cozy layer for spring! I hope you find this cardigan easy and enjoyable to make as well as a new staple in your closet!


Free Simple Crochet Cardigan Pattern
Materials
Red Heart Hygge 5oz/132yds in Lavender 5 (5, 6, 6, 6, 7) skeins
9.00mm hook
Tapestry needle & Scissors
Sizing
Small fits 32-34” bust
Medium fits 36-38” bust
Large fits 40-42” bust
XLarge fits 44-46” bust
2XL fits 48-50” bust
3XL fits 52-54” bust
Pattern notes
The body of the cardigan is made in one piece. The back portion will be made in rows, then one panel will be made directly onto the back portion without fastening off the yarn. The second panel will be made directly onto the back panel by attaching yarn onto the back panel next to the first front panel. Sleeves and edging will be worked after seaming the panels together.
For Petite sizing, make the back and front panels 6 rows shorter than pattern states.
For Tall sizing, make the back and front panels 6 rows longer than pattern states.
Chains in the beginning of each row does not count as a stitch unless otherwise noted.
Gauge: 4” x 4” ~ 8 stitches x 7 rows
Abbreviations (US terms):
Ch = chain, hdc = half double crochet, dc = double crochet, fpdc = front post double, bpdc = back post double crochet, st = stitch(es)
Pattern
Back Panel
Row 1: Ch 42 (44, 46, 48, 50, 52), hdc in 3rd ch from hook and in each ch across, turn (40, 42, 44, 46, 48, 50)
Row 2: Ch 2, hdc in each st across, turn (40, 42, 44, 46, 48, 50)
Repeat Row 2 until you have a total of 42 (42, 42, 42, 46, 46) rows for the back panel.
Do no fasten off.
We will begin working the first front panel directly onto the back panel.
First Front Panel
Continuing on from back panel
Row 1: Ch 2, hdc in the next 20 (21, 22, 23, 24, 25) stitches, turn(20, 21, 22, 23, 24, 25)
Row 2: Ch 2, hdc across, turn (20, 21, 22, 23, 24, 25)
Repeat Row 2 until you have a total of 42 (42, 42, 42, 46, 46) rows,
Fasten off.
Second Front Panel
Attach yarn onto the back panel right next to the first front panel.
You will be working on the last row of the back panel right next to the first row of the first panel.
Repeat instructions from the first front panel to make the second front panel.
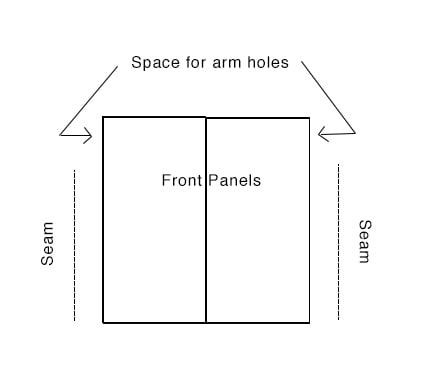
Assembly
Fold the front panels down so they are laying on top of the back panel.
Seam up the sides using the mattress stitch or whip stitch leaving 6 (6.5, 7, 7.5, 8, 8.5) inches open where the back panel meets the front panel for arm holes.
Fasten off and weave in ends.
Turn inside out, this will now be the right side of your cardigan with the seams on the inside.
Sleeves
Attach yarn to arm hole at the armpit area, ch 2 and hdc around evenly, join to the first hdc. You will get approximately 24 (26, 28, 30, 32, 34) stitches around the arm hole.
Row 2: Ch 2, hdc around, turn (24, 26, 28, 30, 32, 34)
Repeat Row 2 until you have a total of 25 rows for the sleeves.
At this point you may add or subtract rows as desired for more or less length.
Edging
Attach yarn to bottom corner of left front panel.
Row 1: Ch 3, dc evenly up the panel and down the second panel, turn
Row 2: Ch 3, *fpdc, bpdc, repeat from * up and down the front panels
Fasten off and weave in ends.
More Free Crochet Patterns You’ll Love
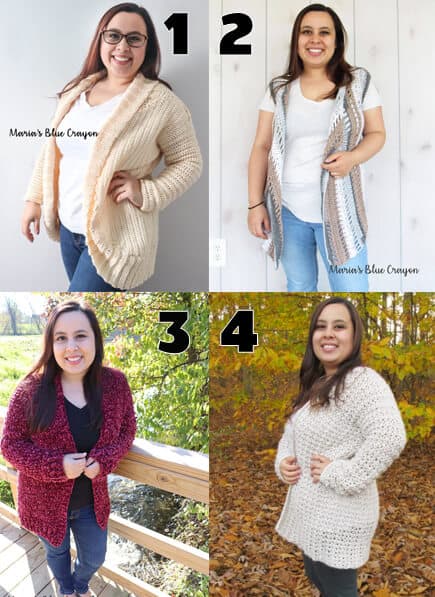
- Cardigan Shrug – Made with light weight yarn, this cardigan is cozy and light!
- Hippie Dippie Vest – This super easy and airy vest is made with just rectangles sewn together!
- Velvet Cardigan – Made with Bernat Velvet yarn – a must feel!
- Poppy Cardigan – This oversized cardigan is great to have on hand at home and in the office.
I’m already excited to make one of these!
Beautiful Maria! Love it!
Love this cardigan!
I love the look of this cardigan! Would you mind terribly if I added some pockets to keep my glasses case and toffees in?
This is so fuzzy and soft looking!
I just bought the yarn in the shade “Aloe” (it’s gorgeous) and I’m starting your pattern today! It’s so soft that I can’t wait to finish it. Thank you!