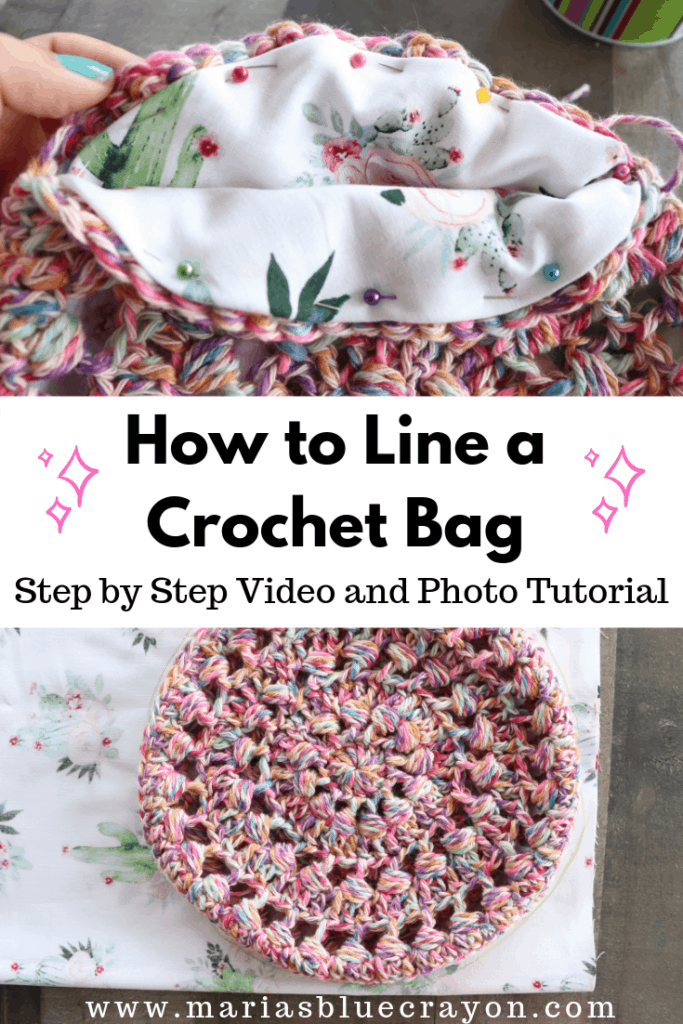
Lining a crochet bag can be a bit daunting, but it’s not that bad! The good news is, you don’t even need a sewing machine if you don’t have one. Below I have the step by step photo tutorial as well as a video tutorial to show you exactly how to line your crochet bag.
In the video tutorial, I am lining a circle shaped crochet bag. You will follow the same steps if you are lining a square or rectangular bag. It would also apply if you have a unique shaped bag as well.

Why you Should Line your Crochet Bags
The biggest reasons you want to line your crochet bag is to add some sturdiness to your bag as well as keeping your bag from stretching. This is very important if you are carrying heavy objects or frequently using your crochet bag.
Adding a lining will maintain your bags shape. It will not distort the shape it is or stretch the crochet stitches.
I can’t tell your how many market bags I have made that I can’t even use anymore. Many market bags have open stitches which is nice when your bag stretches a bit to fit your groceries or either items. However, all of my market bags have stretched to the point where if I carried the bag on my shoulder, it would be hitting my ankles! To say the least, they didn’t end up very useful.
To keep your bag handles from stretching, you may also want to line the handle or strap as it is where most of the tugging will occur when in use.
How to Add Lining to Crochet Bag Video Tutorial
Temporarily disable your ad-blocker if you are unable to view the video below.
Step by Step Photo Tutorial on Lining a Crochet Bag


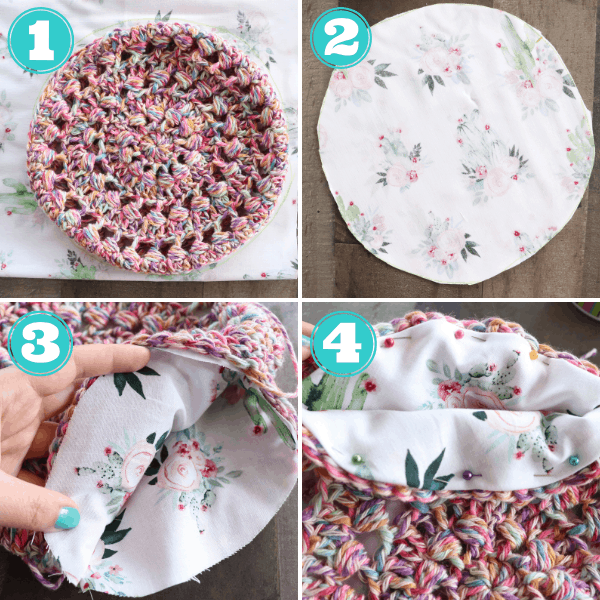
- Lay two pieces of fabric underneath the bag. You can do this by folding your fabric in half with the backside of the fabric facing outwards. Trace around the bag leaving roughly 1/2 inch excess. Mark onto the fabric where your opening starts and ends.
- Cut out your fabric pieces. The right side of the fabric pieces should be facing each other. Use thread and needle to sew around the circle or use a sewing machine to sew around. If you are using needle and thread, use a running stitch (going back and forth) to sew around the circle. Remember, we added roughly 1/2 inch extra of fabric so you have that space to sew. Leave the portion where you marked the opening unsewn.
- Keeping the backside of the fabric outward, place lining into the bag. Adjust so the opening of the lining is matched up with the opening of the crochet bag.
- Carefully fold down the fabric roughly 1/2 inch around the opening and pin to the crochet bag. This will allow the raw edge to be hidden between the lining and bag.
- Use needle and thread to whip stitch around the bag sewing the lining and crochet together. Sew through the closest side of the top of the crochet stitches and then through the fabric. I passed my needle through twice per crochet stitch. Knot and weave in any and all ends.

Leave a Reply