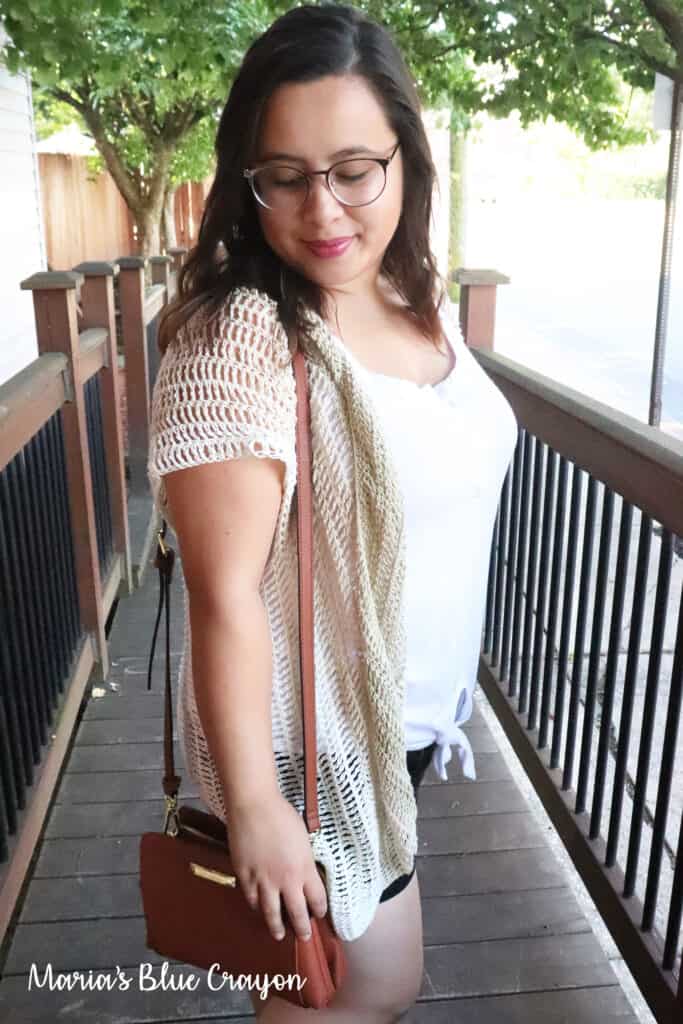
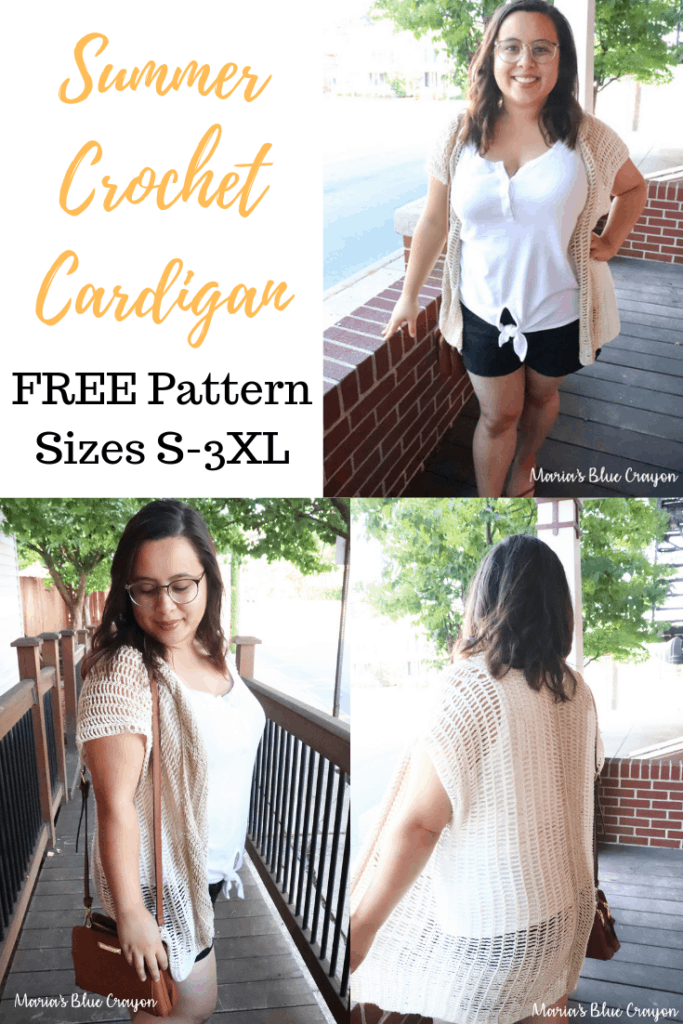
We are in the dead of summer and this crochet cardigan design is perfect to throw on as a layer without overheating! 100% cotton is used with airy stitches to create a beautiful drape and adds an effortless look to your outfit.
The best thing about this pattern? It’s pretty mindless and you will only be seaming two short edges at the shoulder. This is my favorite kind of ‘kick back and relax’ crochet project!
- Get the ad-free PDF crochet pattern for the End of Summer Cardigan on Ravelry or Etsy.
- PIN it to your crochet board to save for later.
- Keep scrolling for the free version of the End of Summer Cardigan pattern.
Cotton Yarn for the Win
Since it’s still very much summer (hello heatwave!), I loved using cotton yarn for this project. It’s breathable and doesn’t lay heavily in your lap to make you sweat (even more)!
I used a brand new yarn from Lion Brand called “Faye“. It’s a Category 1 Super Fine, 100% cotton yarn.
Did that scare you? I know. I’m not crazy about using finer yarns because let’s face it, it takes way too long and your fingers need to adjust to the thinner weight of yarn. BUT…
I’m here to tell you this project is totally doable. I paired this yarn with a 5.00mm hook and with some treble crochets and it wasn’t bad. I actually enjoyed it.
It was my mindless project for a few nights. Yep, just a few nights. Granted, I am a “fast” crocheter but it did go by quickly. For reference, I did make a large size as well so I think all sizes can be made in a handful of nights.
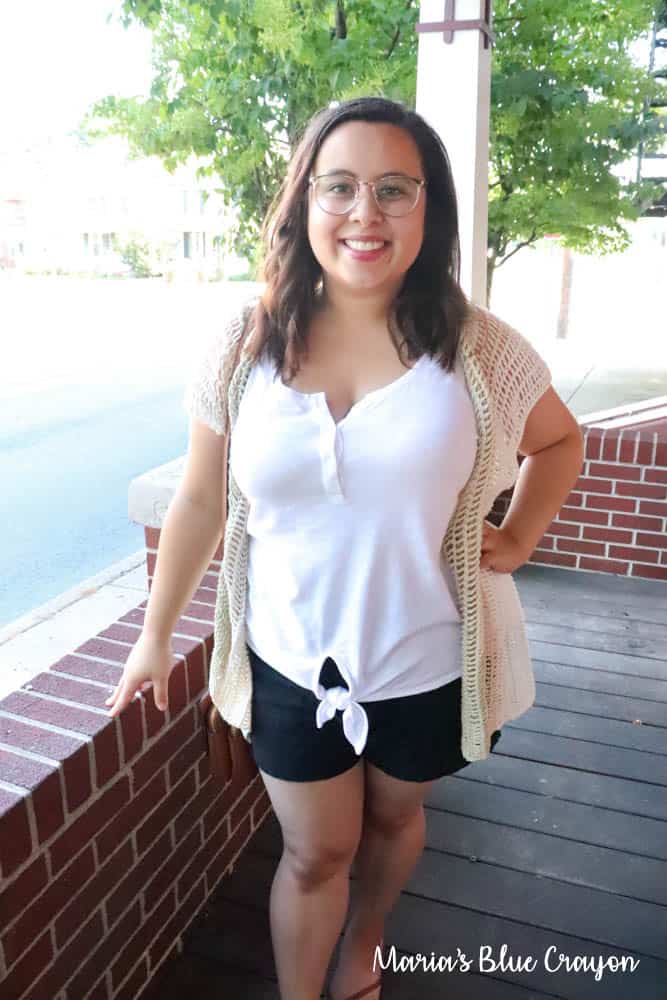
Easy Construction Suitable for Beginners
The cardigan is made in one big rectangle with some openings for armholes and at the end, the shoulders are seamed at the top. That is it.
It’s definitely suitable for beginners as well since there is no increasing, decreasing, and no sleeves or shaping to worry about. It’s just mindless, enjoyably rows of the same crochet stitch.
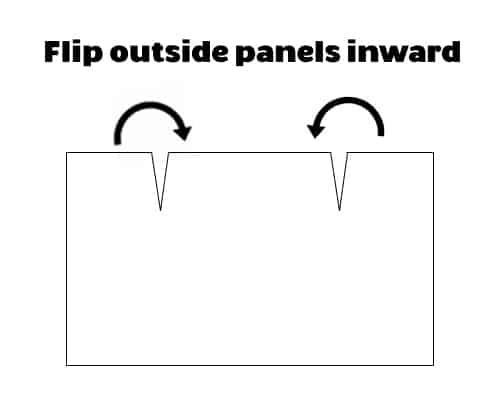
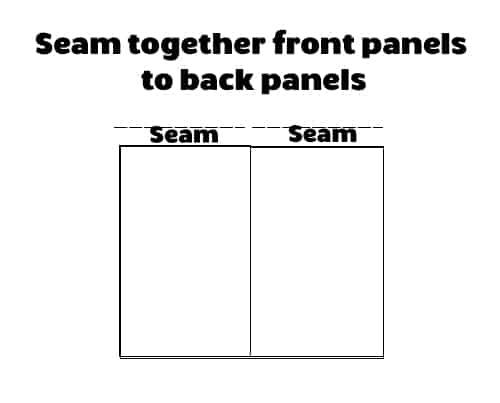
You can see below more clearly how the cardigan is constructed below in the pattern. I don’t think it’s a typical construction, but it allows you to eliminate a lot of sewing.
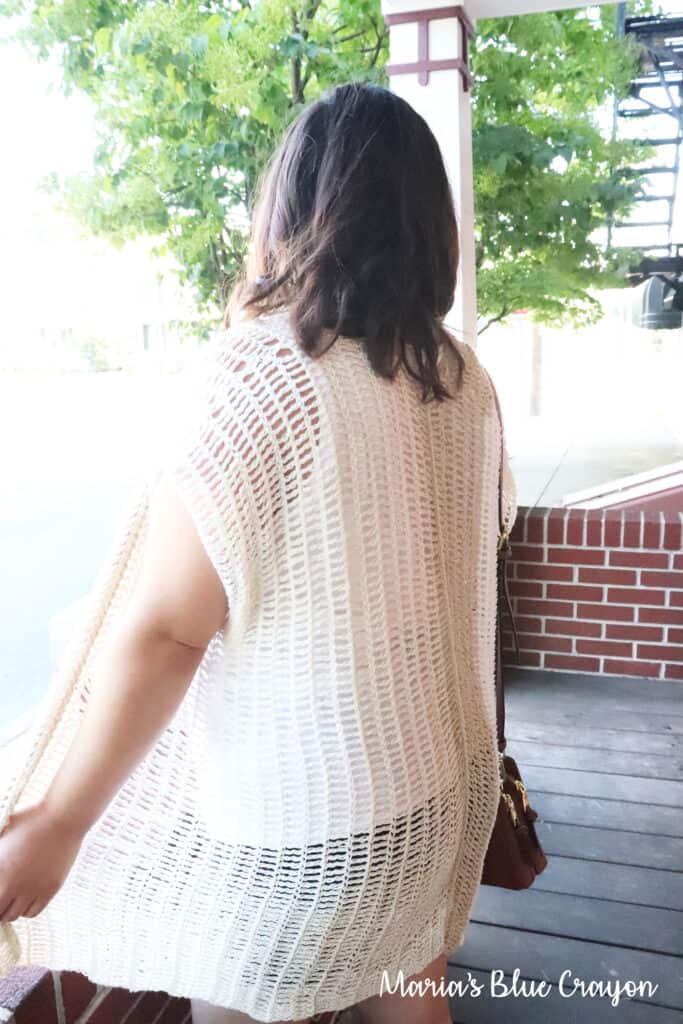
I’ve also included a link to a video on how to seam the top/shoulder edges together. It’s called the “matress stitch“. One of the best ways and one of my favorite way to seam up garments because it doesn’t leave any bulky seam.
If you’re up for an easy mindless project, I definitely recommend giving this pattern a go!
I’ve enjoyed wearing this and having it dress up my otherwise boring wardrobe. Also, that drape is so pretty and effortless. If you’ve ever made a crochet garment before you know having an effortless drape is highly desirable!
- Get the ad-free PDF crochet pattern for the End of Summer Cardigan on Ravelry or Etsy.
- Find the free version of the End of Summer Cardigan pattern right below.
- Be sure to bookmark this page for later!
End of Summer Crochet Cardigan Pattern
Materials
Lion Brand Faye, Category 1, 360 yds/3.5oz
3 (3, 4) skeins
H/5.00mm hook
Tapestry needle
Scissors
Pattern notes
Beginning chain will not count as a stitch.
Sizing
S/M: 32-38” bust
L/XL: 40-46” bust
2XL/3XL: 48-54” bust
Finished dimensions:
Small/Medium: Back Width – 22″, Length 24″, Arm Hole Depth 7″
Large/XLarge: Back Width – 24″, Length – 24″, Arm Hole Depth – 8″
2XL, 3XL: Back Width – 27″, Length – 26″, Arm Hole Depth – 9″
For Petite sizing, start with 84 (84, 92) chains
For Tall sizing, start with 106 (106, 114) chains
Cardigan fits loosely. Keep in mind, after wearing the cardigan it will naturally stretch about 3-4 inches in addition to the length above.
Gauge: 4” x 4” ~ 15 st x 5 rows
Abbreviations (US terms):
Ch = chain, tr = treble crochet, sk = skip, st = stitch
Pattern
Row 1: Ch 94 (94, 102), tr in 4th ch from hook and across, turn (90, 90, 98)
Row 2: Ch 4, tr across, turn (90, 90, 98)
Repeat Row 2 for an additional 12 (13, 15) rows
Next row: Ch 4, tr across, sk last 26 (30, 34) st, ch 30, 34, 38
Next row: Tr in 4th ch from hook, across ch and across previous row (90, 90, 98)
This will make part of one armhole.
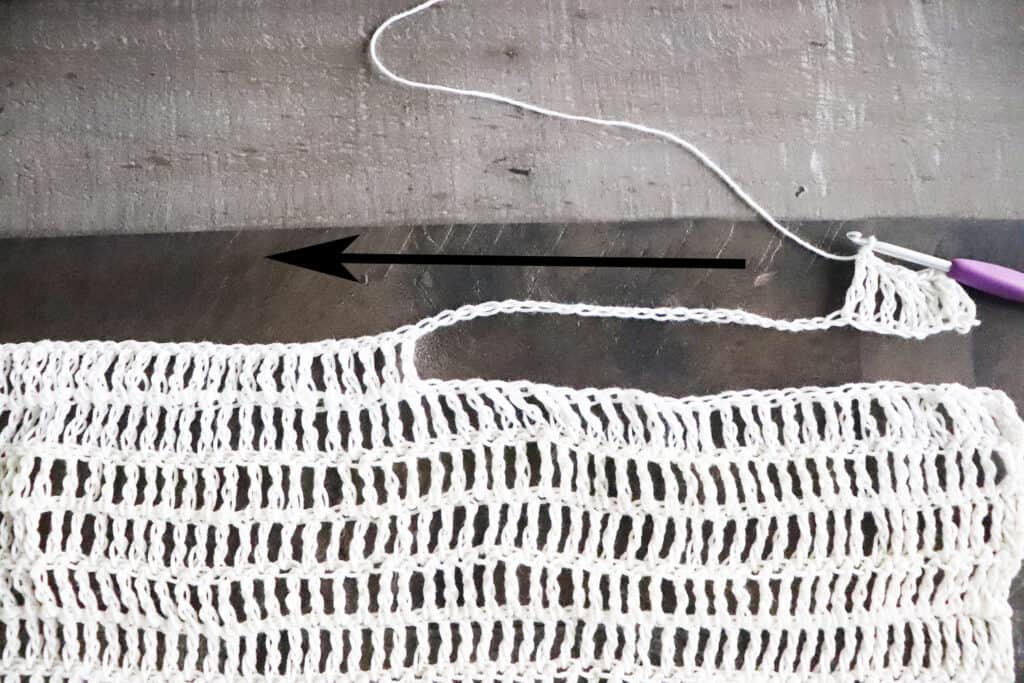
Repeat Row 2 for an additional 28 (30, 34) rows
Next row: Ch 4, tr across, sk last 26 (30, 34) st, ch 30 (34, 38)
Next row: Tr in 4th ch from hook, across ch and across previous row (90, 90, 98)
Repeat Row 2 for an additional 13 (14, 16 rows)
Fasten off and weave in ends.
Assembly
Lay flat. Fold in either side of the panels and seam up the top shoulder edge using the mattress stitch or whip stitch. Click here to see the video on how to do the mattress stitch.


Leave a Reply