
This post may contain affiliate links. For more information, please see our disclosure policy.
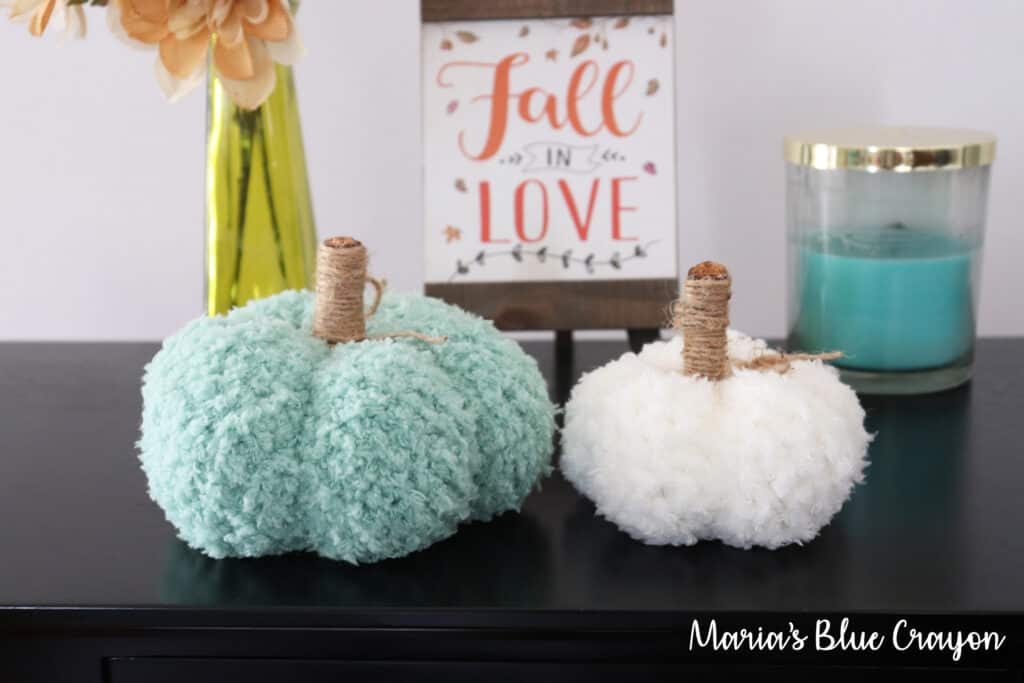
Pumpkins for fall decor? Yes, please! Get started on making your own with the free crochet pumpkin pattern below.
You’ll be surprised how quick and easy these pumpkins come together. You basically just crochet a tube and sew some parts together. Before you know it, you’ll have a whole patch of pumpkins. 😉
- PIN it to your crochet boards for later.
- Save it to your Ravelry.
- Keep scrolling to download the free pattern!
This isn’t my first time around the block when it comes to crocheting pumpkins. I have two other ‘versions’ of pumpkins that I made last year. I made chunky knit pumpkins (crochet AND knit version) and I made Lil’ Dollop Pumpkins that are fun and textured.
If you want to take my advice, make them all! They’re fun to make in different colors and sizes to decorate all over your home. OR to sell at craft fairs and markets. Quick. Easy. Everyone loves decorating for fall. Win-win.
Working with Fuzzy Yarn Easily
Earlier this year, I took advantage of Hobby Lobby’s clearance yarns. I picked up the Yarn Bee Cloud 9, and I knew I had to have it. For what? I wasn’t sure yet, but I bought about 7 skeins of it.
Fast forward a month or so and I realized – this yarn is hard to work with! I should have known. I did subconsciously know, but with yarn this soft I knew I had to make it into something.

Instead of making a sweater I dreamed of cuddling in, I thought why not make a much smaller project with easy stitches so there was no hassle or fuss with this hard to work with yarn?
And so my pumpkins were born. I did a few different things before landing on the right stitch. I tried a really big hook to “see” my stitches, but it was still difficult.
I don’t care if you tell me that “feeling” my stitches will help – it’s just too much of a task. I want to enjoy crocheting and I’m not up for that type of challenge of not seeing my stitches.
So I thought, why don’t I just crochet BETWEEN the stitches? I can see the spaces between my stitches a lot better than I can “feel” the top loops of the stitches I would normally work in to. I have a short video below to show you exactly what I mean by this.
So if you have some fuzzy yarn laying around that you’ve given up on years ago, get it back out and try these pumpkins!
They’re cute, fuzzy, and so squishy! I’m willing to bet anyone who sees them in your home will be asking where you got them. 😉


Crochet Pumpkin Pattern
Materials
Yarn Bee Cloud 9 yarn
Cotton yarn
J/6.00mm hook
Tapestry needle and Scissors
Polyfil/stuffing
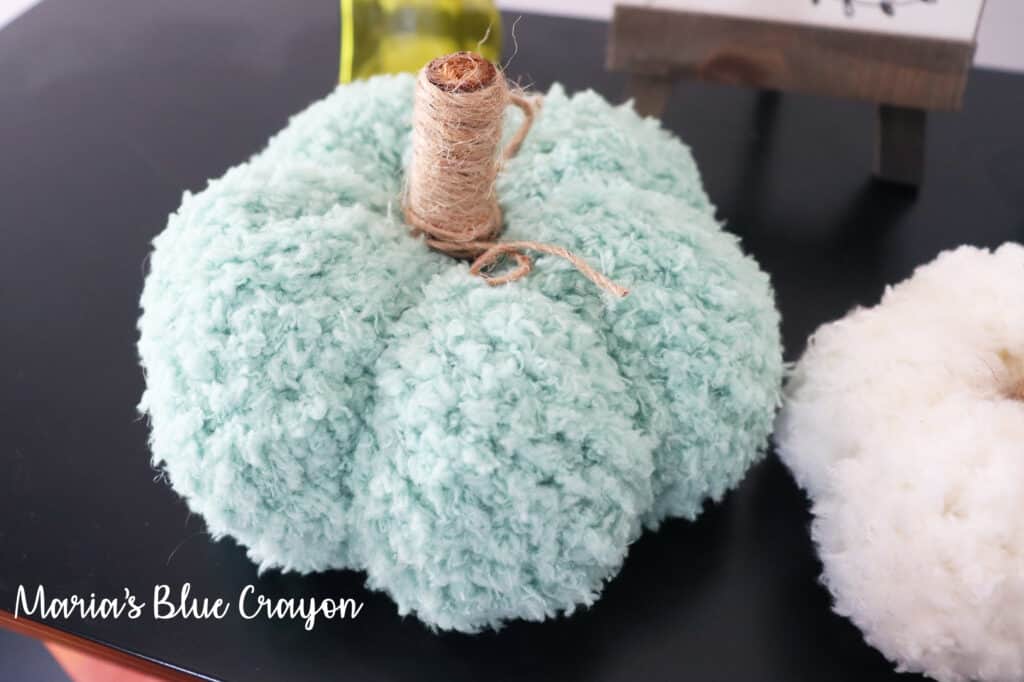
For stem: stick, twine, hot glue gun
Pattern notes
The pumpkin will be made by working in the round then sewn and cinched up at the top and bottom to create the sphere. We will additionally add grooves to the side with cotton yarn and needle.
Crochet loosely for the beginning chain row.
Beginning chain does not count as a stitch.
Half double crochets will be worked in between the half double crochet stitches in the previous row. See the video below for visual instruction. Disable your ad-blocker if you are not able to view the video tutorial below.
Make smaller/bigger pumpkins by making less/more chains in the beginning and making less/more rows.
Assembly instructions are from my Lil’ Dollop Pumpkins pattern, but assembly is the same.
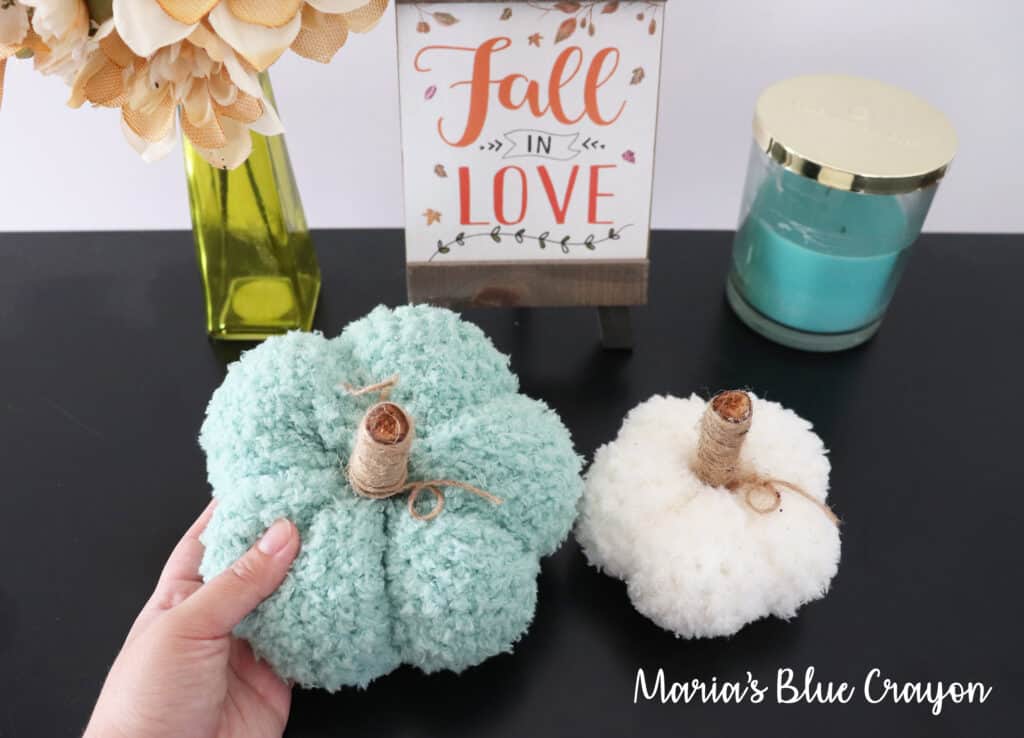
Dimensions:
Bigger pumpkin – 7.5” diameter, 3” height (without stem)
Smaller pumpkin – 4.5” diameter, 2.5” height (without stem)
Abbreviations (US terms):
Ch = chain, hdc = half double crochet, st = stitch
Pattern
Smaller Pumpkin – Using Cloud 9 yarn
Row 1: Ch 30, join to first ch careful not to twist the ch
Row 2: Ch 2, hdc in each st around, join to first hdc
Row 3: Ch 2, hdc in between each stitch around, join to first hdc
Repeat Row 3 until you have a total of 12 rows.
Assembly is the same as my Lil’ Dollop Pumpkins pattern. Learn how to assemble them here.
Bigger Pumpkin – Using Cloud 9 yarn
Row 1: Ch 50, join to first ch careful not to twist the ch
Row 2: Ch 2, hdc in each st around, join to first hdc
Row 3: Ch 2, hdc in between each stitch around, join to first hdc
Repeat Row 3 until you have a total of 16 rows.
Assembly is the same as my Lil’ Dollop Pumpkins pattern. Learn how to assemble them here.
Leave a Reply