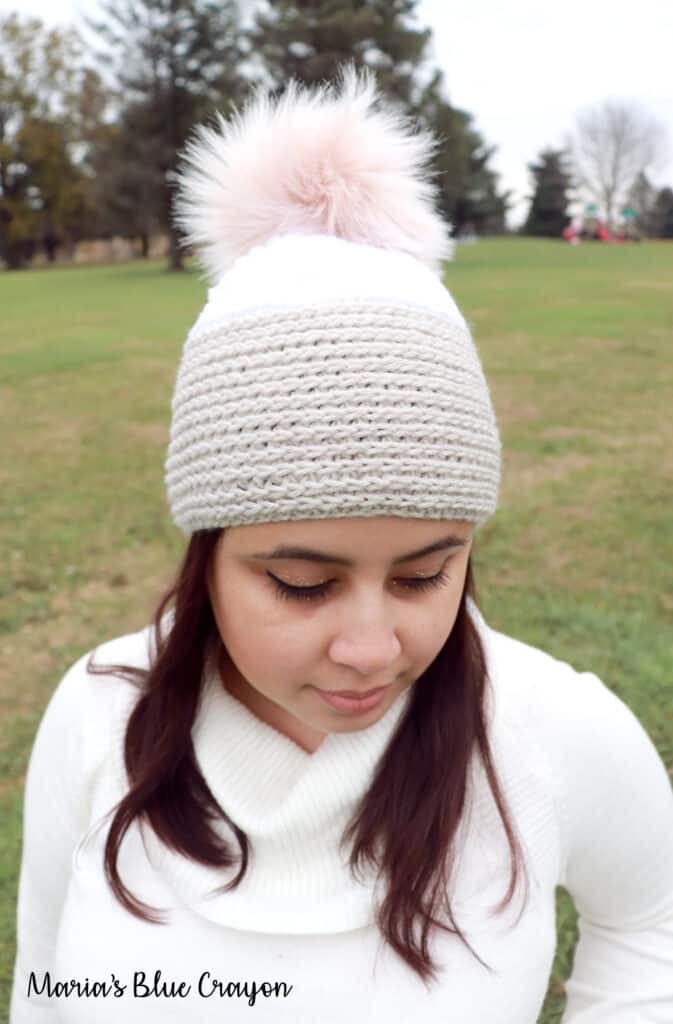
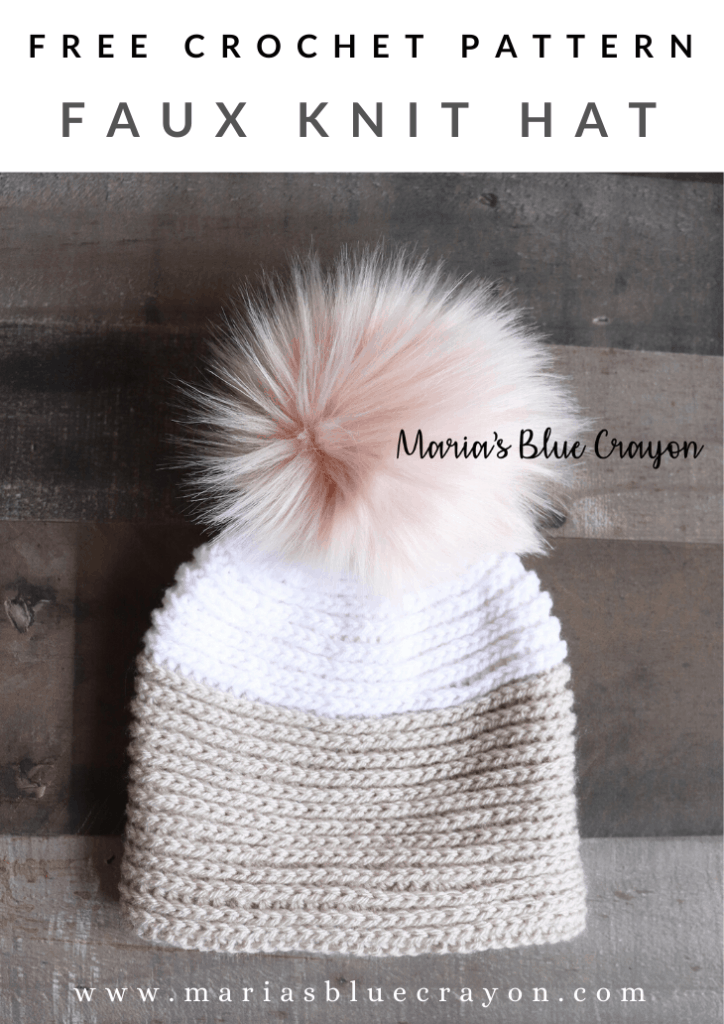
For warm crochet hats, smaller stitches are essential to avoid holes and gaps that otherwise let the cold air in! Below you will find the free pattern for this crochet hat that uses a tighter stitch that looks like knit!
This is a great unisex crochet hat and the pattern also offers a range of sizes from baby to adult.
- Get the ad-free condensed PDF version on Ravelry or Etsy.
- PIN it to your crochet hat boards on Pinterest for later!
- Keep scrolling to find the free pattern for the crochet beanie.
Warm Crochet Hats
Crochet hats and beanies are one of my favorite things to make! When the temperatures start to drop, I pull out my warmest hats which typically are tighter stitch hats without many holes in them.
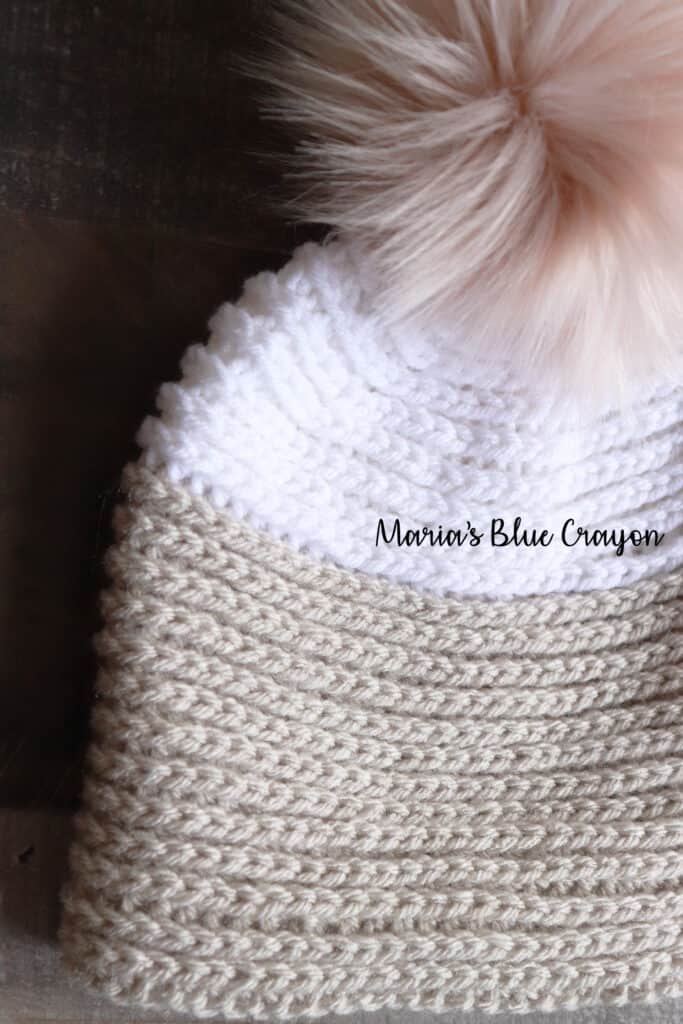
I was playing around with a new stitch I learned, and I knew it would be perfect for a hat for winter! It is fairly thick and surprisingly has no holes! Those two ingredients are great for warm hats.
I find it difficult to find tight stitches that also provide flexibility in crochet. The stitch I used is called the camel stitch, but I refer to it in the pattern as half double crochet in the third loop. It condenses the half double crochet and is surprisingly flexible.
Sizes and Colors
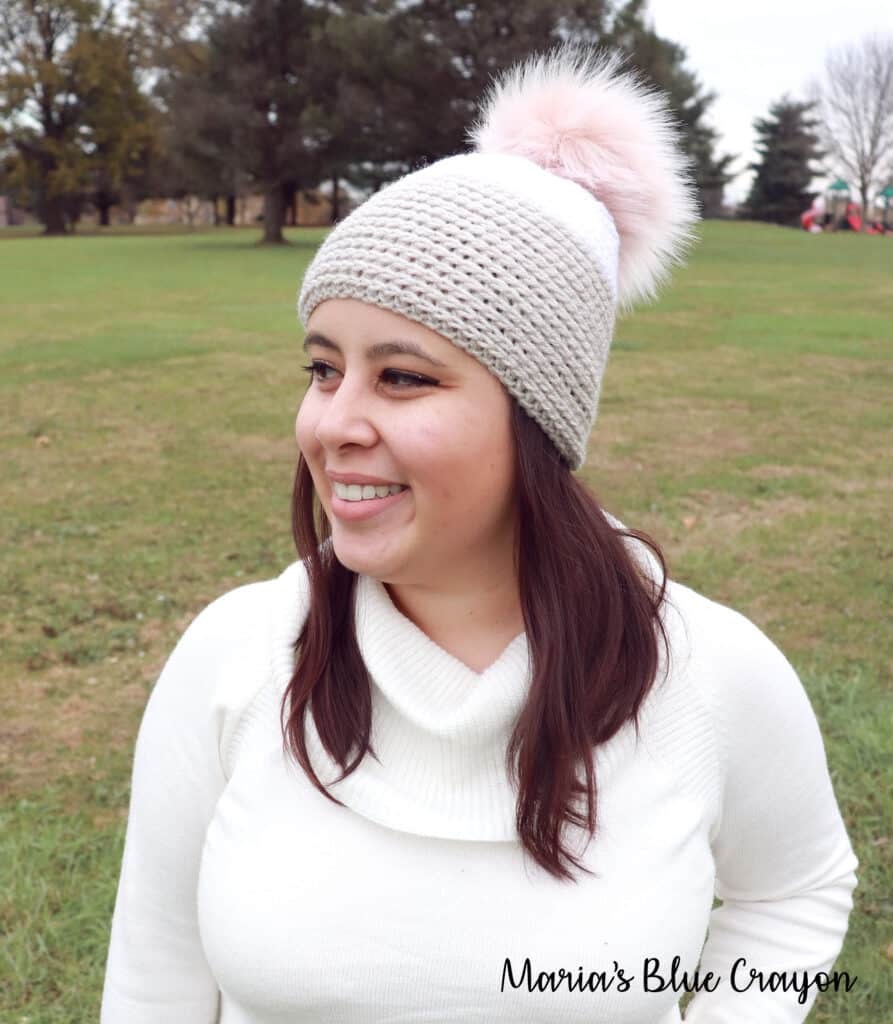
I love that this style of crochet hat is not only warm, but it’s a subtle enough texture that I think it can work as a unisex hat.
I also wrote up the pattern to include all sizes for babies, toddlers, children, and adults! If you’re looking to include crochet hats as gifts this year, this pattern has got you covered.
I used linen and white color yarns for a color block style, but it would look great as a solid as well.
For the little ones, I think bright colors and pastels would make it a fun and colorful accessory.
For young women, classic neutrals such as cream, soft gray, taupe, and even black would compliment any outfit! These colors would easily make this hat an every day, go-to accessory.
For men, I like to stick with the dark and earthy tones like forest green, dark brown, navy blue as well as dark neutrals such as charcoal gray and black. It gives it a masculine feel and softens the textures even more.
- Purchase the ad-free PDF version on Ravelry or Etsy.
- Bookmark it for later!
- Find the free version below.
Faux Knit Crochet Hat Pattern
Materials
Worsted weight yarn/Category 4
(Lion Brand Vanna’s Choice Linen and White)
H/5.00mm hook
Tapestry needle
Measuring Tape
Scissors
Pom Pom (optional)
Pattern notes
The hat is made from the bottom up with some shaping at the top.
Beginning chain should be fairly loose because it will need to fit around the head.
The hat will be made in a spiral fashion so there is no seam when finished.
The entire hat is made with the half double crochets in the third loop only.
When working the decreases at the top of the hat, the decreases will be worked into the third loops only.
*For a color block style, switch yarn color when your hat measures half of the height of the size you are making.
Finished dimensions:
*The finished circumference of the hat will be a few inches less than the head size it is made for. The hat will stretch for a snug fit. Measurements in parentheses after the size is the head circumference that the hat will fit.
Gauge: 4”x4” = 11 stitches x 12 rows in hdc third loop only
Designer crochets somewhat loosely, check your gauge to determine which hook size is needed to make this hat to obtain finished dimensions listed.
Using other yarns may yield different results.
Special Stitches:
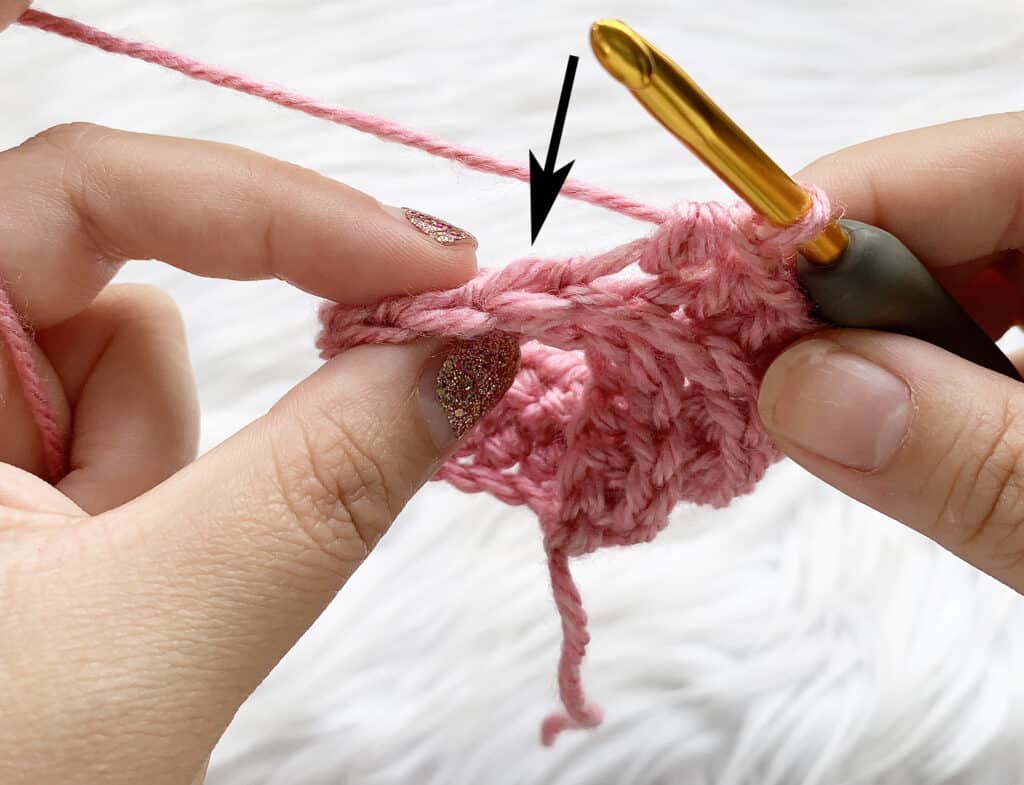
Hdc in third loop only – This stitch is worked just like a regular half double crochet except it is worked into the third loop (behind the top stitch we typically work into).
Abbreviations (US terms):
Ch = chain, hdc = half double crochet, hdc2tog = half double crochet two together, st = stitch(es)
Pattern
Adult Size
Round 1: Ch 65, join to first ch careful not to twist
Round 2: Ch 1, hdc in each st around, place stitch marker in first hdc of the round (65)
Do NOT join to first hdc. We will continue to work in a spiral without joining each round and using a stitch marker to keep track of the first stitch of each round.
Round 3: Hdc in third loop only in each st around (65)
Repeat Round 3 until your hat measures 6” in height.
Decrease Round 1: *Hdc in third loop only in next 5 st, hdc2tog in third loops only, repeat from * around
Decrease Round 2: *Hdc in third loop only in next 4 st, hdc2tog in third loops only, repeat from * around
Decrease Round 3: *Hdc in third loop only in next 3 st, hdc2tog in third loops only, repeat from * around
Decrease Round 4: *Hdc in third loop only in next 2 st, hdc2tog in third loops only, repeat from * around
Decrease Round 5: *Hdc in third loop only in next st, hdc2tog in third loops only, repeat from * around
Decrease Round 6: Hdc2tog in third loops only around, sl st in next 2 st
Fasten off. Sew up hole and weave in ends.
Attach pom pom.
Child Size
Round 1: Ch 60, join to first ch careful not to twist
Round 2: Ch 1, hdc in each st around, place stitch marker in first hdc of the round (60)
Do NOT join to first hdc. We will continue to work in a spiral without joining each round and using a stitch marker to keep track of the first stitch of each round.
Round 3: Hdc in third loop only in each st around (60)
Repeat Round 3 until your hat measures 6” in height.
Decrease Round 1: *Hdc in third loop only in next 4 st, hdc2tog in third loops only, repeat from * around
Decrease Round 2: *Hdc in third loop only in next 3 st, hdc2tog in third loops only, repeat from * around
Decrease Round 3: *Hdc in third loop only in next 2 st, hdc2tog in third loops only, repeat from * around
Decrease Round 4: *Hdc in third loop only in next st, hdc2tog in third loops only, repeat from * around
Decrease Round 5: Hdc2tog in third loops only around, sl st in next 2 st
Fasten off. Sew up hole and weave in ends.
Attach pom pom.
Toddler Size
Round 1: Ch 54, join to first ch careful not to twist
Round 2: Ch 1, hdc in each st around, place stitch marker in first hdc of the round (54)
Do NOT join to first hdc. We will continue to work in a spiral without joining each round and using a stitch marker to keep track of the first stitch of each round.
Round 3: Hdc in third loop only in each st around (54)
Continue Round 3 until your hat measures 5.5” in height.
Decrease Round 1: *Hdc in third loop only in next 4 st, hdc2tog in third loops only, repeat from * around
Decrease Round 2: *Hdc in third loop only in next 3 st, hdc2tog in third loops only, repeat from * around
Decrease Round 3: *Hdc in third loop only in next 2 st, hdc2tog in third loops only, repeat from * around
Decrease Round 4: *Hdc in third loop only in next st, hdc2tog in third loops only, repeat from * around
Decrease Round 5: Hdc2tog in third loops only around, sl st in next 2 st
Fasten off. Sew up hole and weave in ends.
Attach pom pom.
3-6 months
Round 1: Ch 45, join to first ch careful not to twist
Round 2: Ch 1, hdc in each st around, place stitch marker in first hdc of the round (45)
Do NOT join to first hdc. We will continue to work in a spiral without joining each round and using a stitch marker to keep track of the first stitch of each round.
Round 3: Hdc in third loop only in each st around (45)
Continue Round 3 until your hat measures 4.5” in height.
Decrease Round 1: *Hdc in third loop only in next 3 st, hdc2tog in third loops only, repeat from * around
Decrease Round 2: *Hdc in third loop only in next 2 st, hdc2tog in third loops only, repeat from * around
Decrease Round 3: *Hdc in third loop only in next st, hdc2tog in third loops only, repeat from * around
Decrease Round 4: Hdc2tog in third loops only around, sl st in next 2 st
Fasten off. Sew up hole and weave in ends.
Attach pom pom.
0-3 months
Round 1: Ch 40, join to first ch careful not to twist
Round 2: Ch 1, hdc in each st around, place stitch marker in first hdc of the round (40)
Do NOT join to first hdc. We will continue to work in a spiral without joining each round and using a stitch marker to keep track of the first stitch of each round.
Round 3: Hdc in third loop only in each st around (40)
Continue Round 3 until your hat measures 4” in height.
Decrease Round 1: *Hdc in third loop only in next 3 st, hdc2tog in third loops only, repeat from * around
Decrease Round 2: *Hdc in third loop only in next 2 st, hdc2tog in third loops only, repeat from * around
Decrease Round 3: *Hdc in third loop only in next st, hdc2tog in third loops only, repeat from * around
Decrease Round 4: Hdc2tog in third loops only around, sl st in next 2 st
Fasten off. Sew up hole and weave in ends.
Attach pom pom.
More Free Crochet Patterns
- Faux Knit Ear Warmer
- Aspen Scarf (this would be a great scarf to match the faux knit hat or ear warmer!)
- Pop of Color Beanie


Leave a Reply