
This post may contain affiliate links. For more information, please see our disclosure policy.
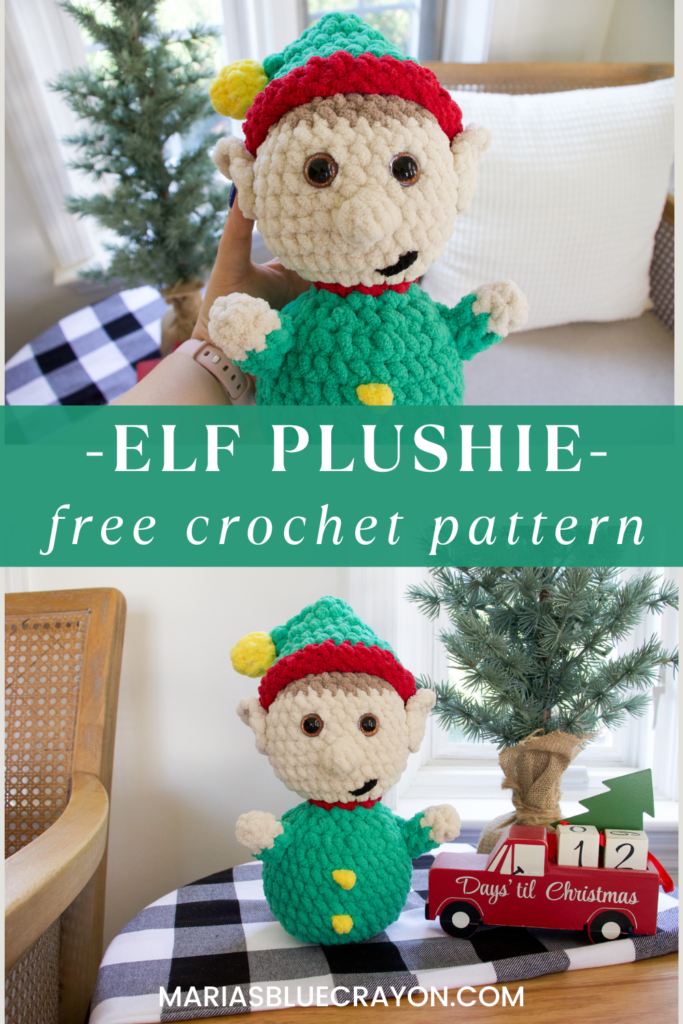
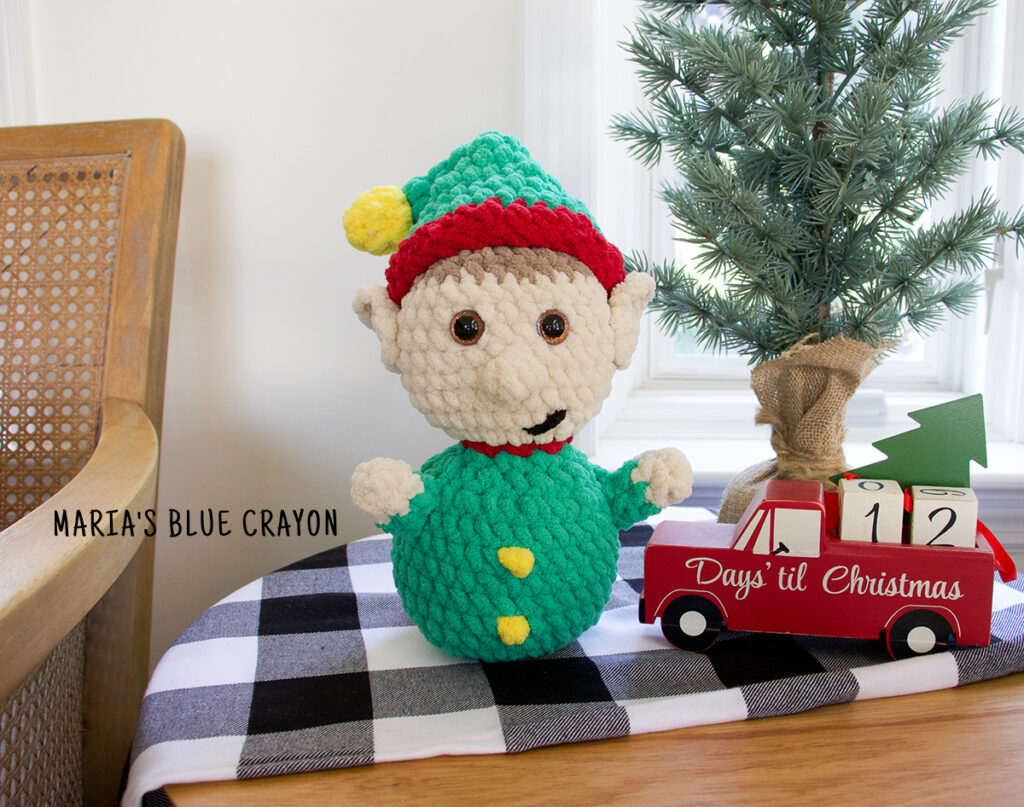
Combine Christmas and crochet with this adorable Elf plushie! View the free crochet pattern and video tutorial for this crochet elf below.
- Purchase the ad-free, printable/download PDF crochet pattern on Etsy or Ravelry.
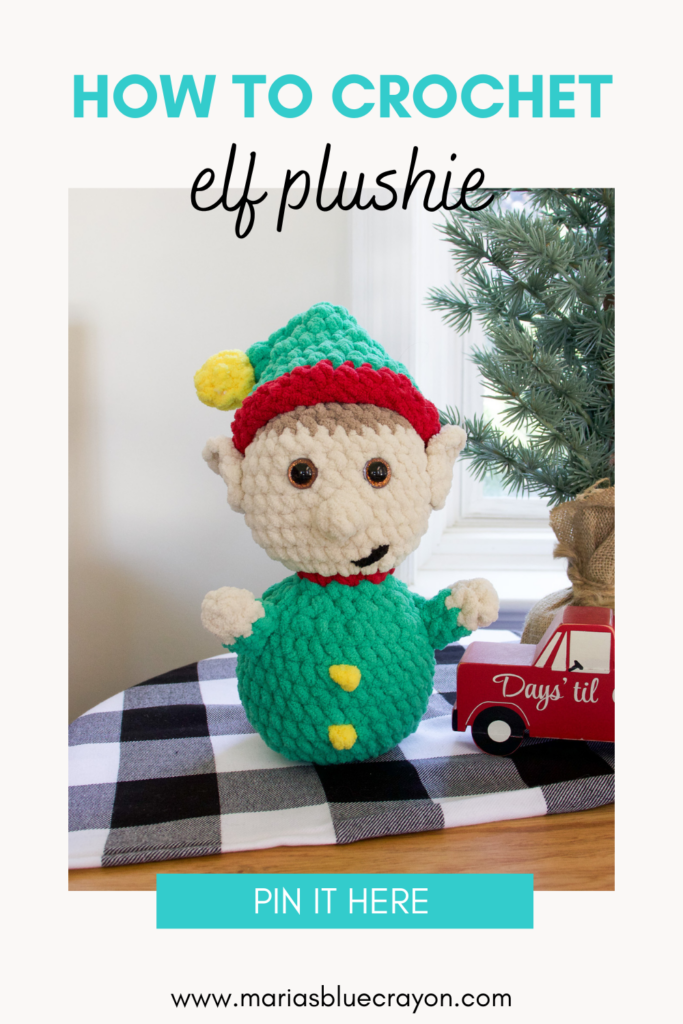
- PIN it to your Pinterest boards.
- View the complete pattern and video tutorial below on my blog supported by ads.
Overview of Crochet Elf Pattern
I find this crochet project to be easy especially with the accompanying video tutorial. I would recommend this for an advanced beginner and beyond.
You will need to know basic stitches: single crochet stitches and half double crochet stitches and also how to decrease these stitches. The decreases are taught in the video tutorial!
Upon that, there will be color changes and the arms will need to be sewn onto the body. Other than that, the elf body and elf head are made all in one piece.
Christmas Crochet Plushie Set
This elf is also part of a bigger collection of amigurumi plushies! The whole set includes the crochet elf as well as Santa Claus, a snowman, and Gingerbread man.
All of the crochet plushies are made the same (more or less) by crocheting the body and head in one piece. They all have round, squishy bodies and unique embellishments and details to bring them to life.
Crochet Elf Video Tutorial
If you are unable to view the video tutorial below, you can also watch it on YouTube.
Free Crochet Elf Pattern
Project Materials
Bernat Blanket Brights in GoGo Green, RaceCar Red, and School Bus Yellow
Bernat Blanket in Almond (This is a beige yarn for the skin, you can use any color for the skin tone.)
Bernat Baby Blanket in Sand (This is for the hair. You can use any color for the hair.)
Small amount of black to embellish mouth – you can use worsted weight yarn
6.5 mm crochet hook
16mm safety eyes – safety eye kit on Amazon here
Polyfil/stuffing
Tapestry needle and scissors
Crochet Pattern Notes
Beginning chain of each round does not count as a stitch.
Elf is worked from the bottom up in one piece except for the hat and arms.
Use invisible decreases for a cleaner finish. Simply work the single crochet two together in the pattern except working only in the front loops.
Finished elf with hat measures 12” tall.
Bobble stitch: *YO, insert hook into st, YO, pull up a loop, YO, pull through two loops, repeat from * three more times in same st, YO, pull through all 5 loops
Video Tutorial on French Knots: https://youtu.be/uLhgwcNow-0?si=3BRjgAuBQQq5tgxa
Abbreviations: (US terms)
Ch = chain, sc = single crochet, sc2tog = single crochet two together, hdc = half double crochet, hdc2tog = half double crochet two together, FLO = front loops only, st = stitch, sl st = slip stitch, YO = yarn over
Crochet Elf Pattern
Elf Body and Head
Use green color yarn.
Round 1: Magic ring, ch 1, 8sc in ring, join to first st (8)
Round 2: Ch 1, 2sc in each st around, join to first st (16)
Round 3: Ch 1, *sc in next st, 2sc in next st, repeat from * around, join to first st (24)
Round 4: Ch 1, *sc in next 2 st, 2sc in next st, repeat from * around, join to first st (32)
Round 5-10: Ch 1, sc in each st around, join to first st (32)
Round 11: Ch 1, *sc in next 2 st, sc2tog over next 2 st, repeat from * around, join to first st (24)
Round 12: Ch 1, *sc in next st, sc2tog over next 2 st, repeat from * around, join to first st (16)
Use tapestry needle and yellow yarn to sew on French knots for buttons on rows 6 and 9 on the opposite side of the seam. View notes above for French knot tutorial.
Stuff body with polyfil.
Round 13: Ch 1, *sc2tog over next 2 st, repeat from * around, join to first st (8)
Change to red color yarn.
Round 14: Ch 1, 2sc in each st around, join to first st (16)
Change to beige color yarn.
Round 15: Ch 1, 2sc in each st around, join to first st (32)
Round 16-17: Ch 1, sc in each st around, join to first st (32)
Round 18: Ch 1, sc in next 16 st, bobble st, sc in remaining st, join to first st (32)
*You want the nose to line up with the buttons. If you need to, make more or less stitches before you make the bobble stitch.
Round 19-22: Ch 1, sc in each st around, join to first st (32)
Attach safety eyes between rows 20-21, about 3 stitches apart.
Use tapestry needle and black yarn to sew on mouth. Use photo as guide.
Change to brown color yarn.
Round 23: Ch 1, *sc in next 2 st, sc2tog over next 2 st, repeat from * around, join to first st (24)
Round 24: Ch 1, sc in each st around, join to first st (24)
Round 25: Ch 1, *sc in next st, sc2tog over next 2 st, repeat from * around, join to first st (16)
Stuff with polyfil. Make sure to stuff the neck extra well so it doesn’t wobble.
Round 26: Ch 1, *sc2tog over next 2 st, repeat from * around, join to first st (8)
Finish stuffing with polyfil.
Fasten off and leave tail for sewing. Use tapestry needle to sew hole closed.
Elf Hat
Use red color yarn.
Round 1: Ch 30, join to first ch
Round 2: Ch 1, hdc in each st around, join to first st (30)
Change to green color yarn.
Round 3-4: Ch 1, hdc in each st around, join to first st (30)
Round 5: Ch 1, *hdc in next 3 st, hdc2tog over next 2 st, repeat from * around, join to first st (24)
Round 6: Ch 1, hdc in each st around, join to first st (24)
Round 7: Ch 1, *hdc in next 2 st, hdc2tog over next 2 st, repeat from * around, join to first st (18)
Round 8: Ch 1, hdc in each st around, join to first st (18)
Round 9: Ch 1, *hdc in next st, hdc2tog over next 2 st, repeat from * around, join to first st (12)
Round 10: Ch 1, hdc in each st around, join to first st (12)
Round 11: Ch 1, *hdc2tog over next 2 st, repeat from * around, join to first st
Fasten off and leave tail for sewing. (6)
Use tapestry needle to sew hole closed but keep yarn tail. Fold hat over to the side and sew tip onto Row 4 so it stays folded over. Weave in ends.
Elf Hat Pom Pom
Use yellow color yarn.
Round 1: Magic ring, ch 1, 5sc in ring, join to first st (5)
Round 2: Ch 1, 2sc in each st around, join to first st (10)
Round 3: Ch 1, *sc2tog over next 2 st, repeat from * around, join to first st (5)
Fasten off and leave tail. Use tapestry needle to close up hole and sew onto tip of hat.
Elf Arms
Use beige color yarn.
Round 1: Magic ring, ch 1, 5sc in ring, join to first st (5)
Round 2: Ch 1, sc in each st around, join to first st (5)
Change to green color yarn.
Round 3-4: Ch 1, sc in each st around, join to first st (5)
Fasten off and leave tail for sewing.
Make two arms.
Sew arms onto side of body on rows 10-12.
Elf Ears
Use beige color yarn.
Round 1: Magic ring, ch 1, 6sc in ring, join to first st
Round 2: Ch 2, dc, ch 2, sl st in next st
Fasten off and leave tail for sewing. Make two ears.
Sew ears onto the side of the head at rows 19 and 20. Only sew on the bottom of the ears, let the pointy part of the ear loose. They will peak out over the hat.
Place hat over the Elf head. It should be a snug fit. Sew onto head. Top of ears should stick out over the hat a little bit.
Leave a Reply