• Skip to primary navigation
  • Skip to main content
  • Skip to primary sidebar

Maria's Blue Crayon

  • Free Crochet Patterns
  • Crochet Tips
  • Printables
  • Privacy Policy
  • About Me/Contact
  • Navigation Menu: Social Icons

You are here: Home / crochet tips / How to Join Granny Squares – Single Crochet Method

How to Join Granny Squares – Single Crochet Method

October 29, 2017 by Maria Weaber 1 Comment

Below you will find a photo tutorial as well as a video tutorial on how to join granny squares. You will find the video at the end of this post.

how to join crochet granny squares together

There are various ways of joining granny squares together and I have done a lot of techniques and methods.  There are methods that involve actually crocheting the pieces together and many methods of sewing them together with a needle and yarn.

My preferred method is crocheting the pieces together as I don’t have to guess how much yarn I will need to sew up x amount of squares. With crocheting the squares together, I will simply work from the ball of yarn I have and snip the yarn when I’m done joining a particular row of squares. No guess work there.

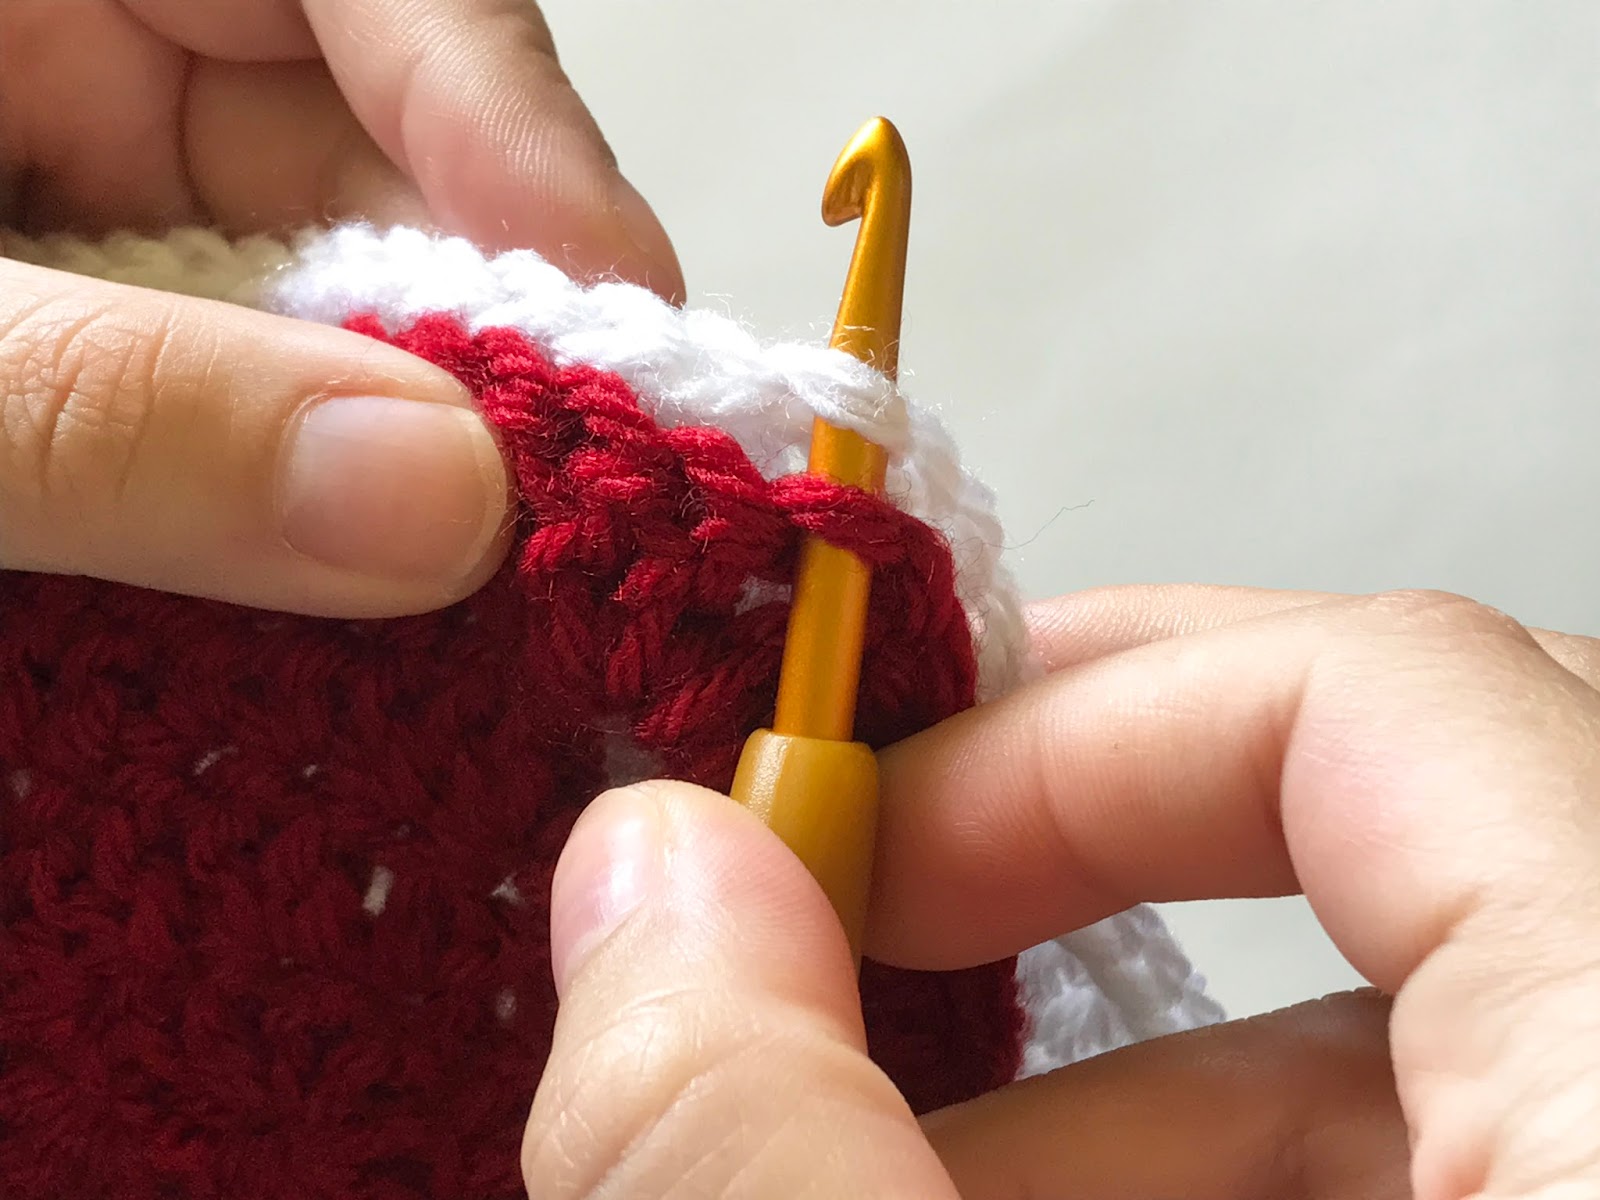
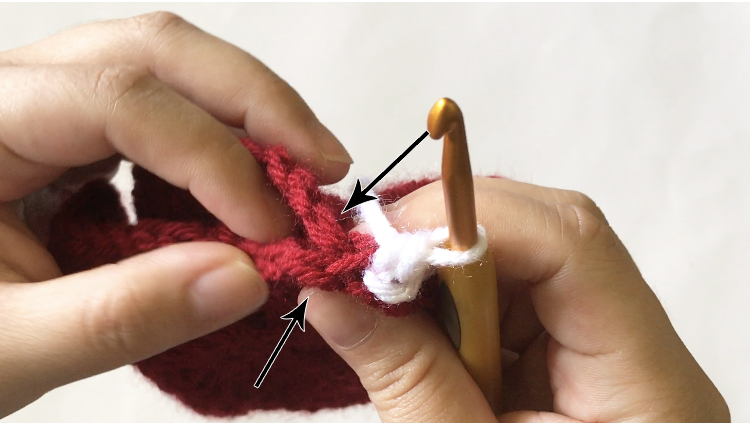
The method I’m going to show you is a bit of a mix between the single crochet method and invisible seam method. The invisible seam method actually involves a yarn needle to complete, but I thought I could combine the single crochet method to make it easier.

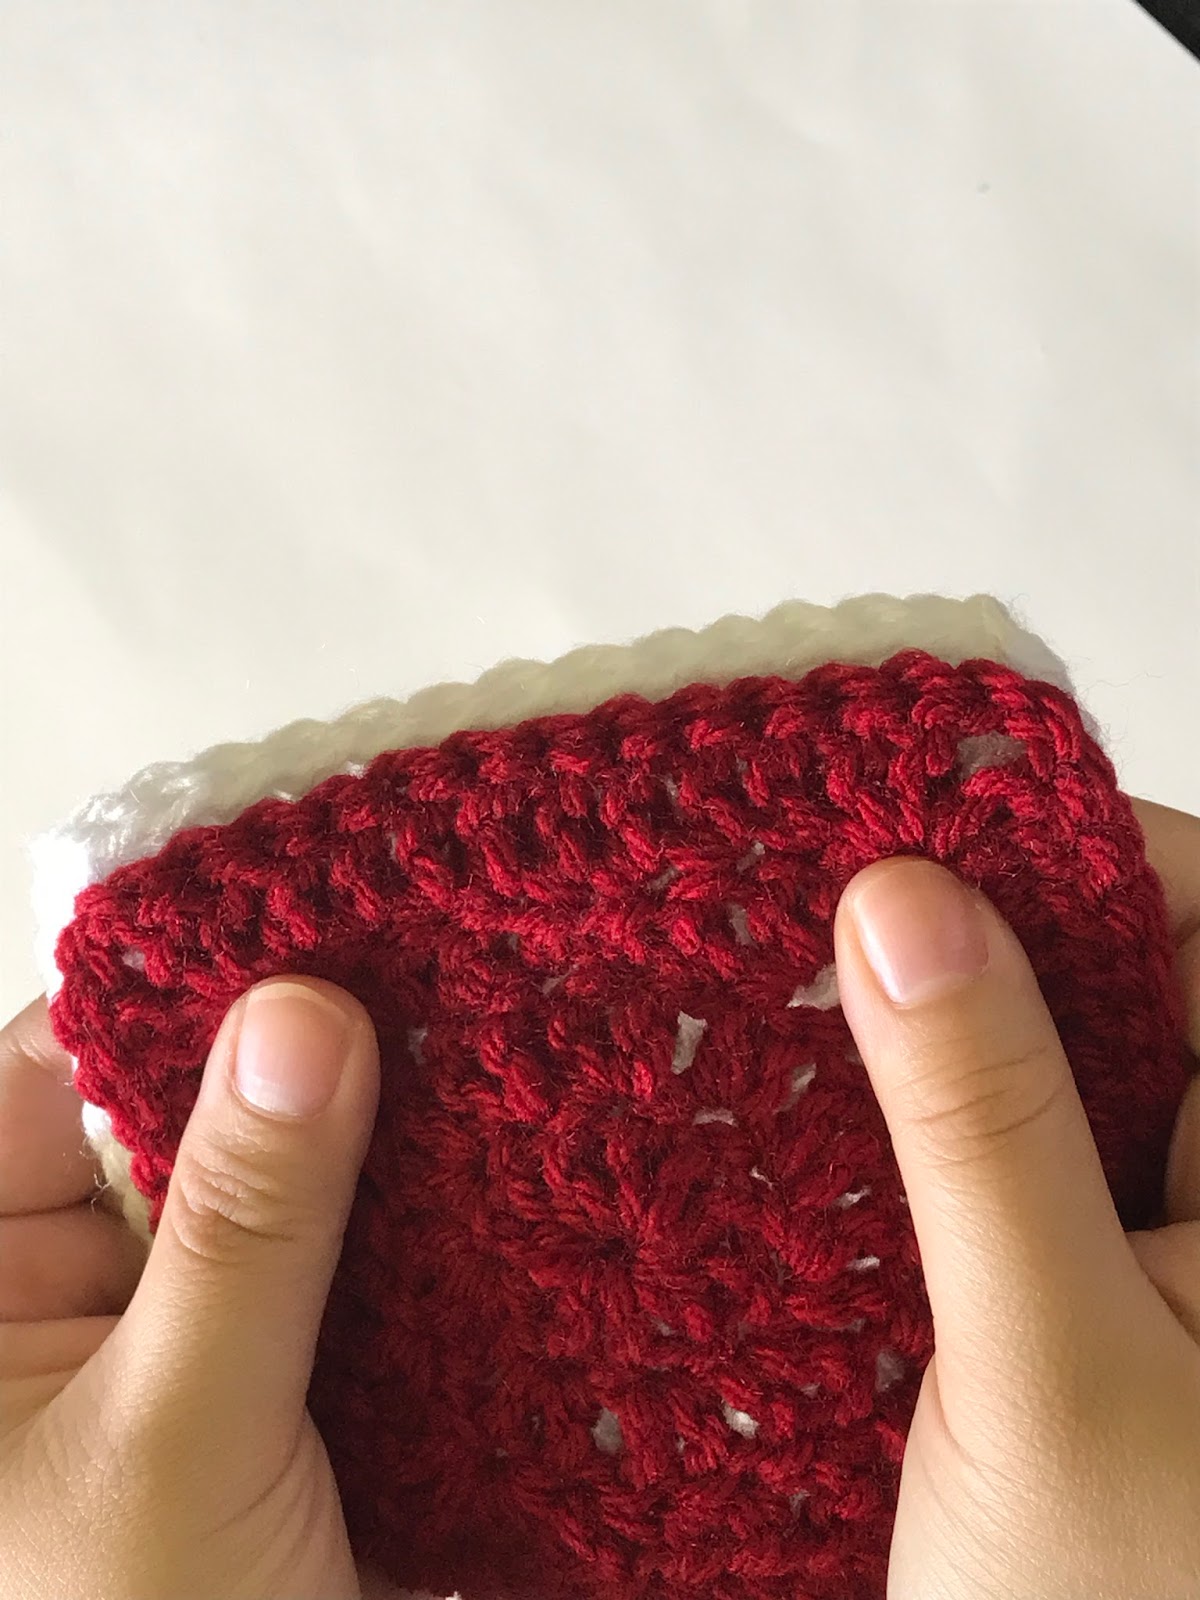
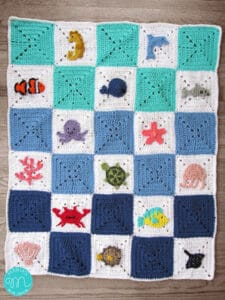
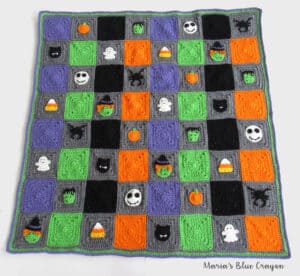
This method makes a ridge along the backside of the squares, but the front of the squares lay very flat and gives it a nice clean look.

To join the squares, use the hook size you used for making the granny squares. If you tend to crochet very loose, you may want to go down a hook size to join.

 
Step 1: Hold two squares together the wrong sides facing out and the right sides facing each other.
 
Step 2: Find the corner chain closest to the side you want to work on first.
 
Step 3: Insert your hook through the chain on each of the squares. Attach yarn, chain up 1, and single crochet into the same space
 
Step 4: Single crochet into outer loops only – continue this all the way across. (This picture may be confusing as both squares are red and previous photos I have one red and one white.)
 
Continue to pick up pairs of squares and join them together, you do not have to fasten off until you finished a whole row of squares you would like to join together. 
 
Ad-blocker must be temporarily disabled to view the video tutorial above.
 
If you enjoy making granny squares, you will love my themed granny square afghans!
Dinosaur Themed Afghan
 
woodland themed crochet blanket
Woodland Themed Afghan
 
ocean themed granny square blanket
Ocean Themed Afghan


Farm Themed Afghan

Llama and Cacti Themed Blanket

Christmas Themed Afghan

halloween themed crochet afghan

Halloween Themed Afghan

Filed Under: crochet, crochet tips Tagged With: tips, video

Previous Post: « Heartland Cardy Cardigan Crochet Pattern (Large/XLarge sizes)
Next Post: WEEK 9 – Christmas Granny Afghan CAL – Joining & Border »

Reader Interactions

Comments

  1. Unknown

    November 1, 2017 at 2:07 pm

    Maybe I'm being dim, but how do you join the other two sides of each square? Can that also be done in strips all the way across, or do you have to start and stop each square?

    Reply

Leave a Reply Cancel reply

Your email address will not be published. Required fields are marked *

Primary Sidebar

Hi, I'm Maria! I'm sharing with you my own free crochet patterns and tutorials, while fulfilling my love for learning and creating with my hands.
I hope you find creativity and inspiration while you're here!

  • Facebook
  • Instagram
  • Pinterest
  • YouTube

Grab Your Free Handy Crochet Cheat Sheet!

Sign up to receive my newsletter full of crochet goodness starting with this handy crochet cheat sheet along with free pattern downloads! Unsubscribe at any time.

Thank you!

Please check your email to confirm subscription.

.

Copyright © 2023 Maria's Blue Crayon on the Foodie Pro Theme