
This post may contain affiliate links. For more information, please see our disclosure policy.
The crochet beanie ornament is a free pattern that you can view right here on my blog for free! See the pattern below.
Day 4 of the 12 Days of Christmas Crochet Patterns Event is this adorable tiny beanie!
This isn’t technically a new pattern for me. I actually designed this pattern for LoveCrafts two years ago. (That is when I also fell in love with their Paintbox Aran yarns.)
Since I did the sweater ornament two days ago, I thought this crochet beanie ornament would be cute to compliment!
Sign up to be on my email list so you don’t miss a single ornament pattern during this 12 Days of Christmas Crochet Ornaments Event.
You can find the running list of all the ornament patterns here in this post as they become available.
- Purchase the ad-free formatted PDF on Ravelry or Etsy.
- PIN it to your crochet boards on Pinterest.
- Bookmark this page so you can come back to it later!
Crochet Beanie Ornament Pattern
Materials
Worsted weight yarn in any color
E/3.50mm hook
1 5/8” Clover Pom-pom maker
Tapestry needle
Scissors
Patern Notes
Pattern is written in US terms.
Chain 1 in the beginning of each round does not count as a stitch.
One hat will be made with two colors: main color and trim color
Dimensions
3” x 3.5” with pom pom
Gauge
4 st x 3 rows in half-double crochet
Pattern
Abbreviations:
Ch = chain, SC = single crochet, HDC = half-double crochet
Pattern
Starting with trim color
Row 1: Ch 4, SC in second ch from hook and across, turn
Row 2-24: Ch 1, SC across, turn

Ch 1 and join to Row 1 by slip stitching across to connect both ends to make the trim
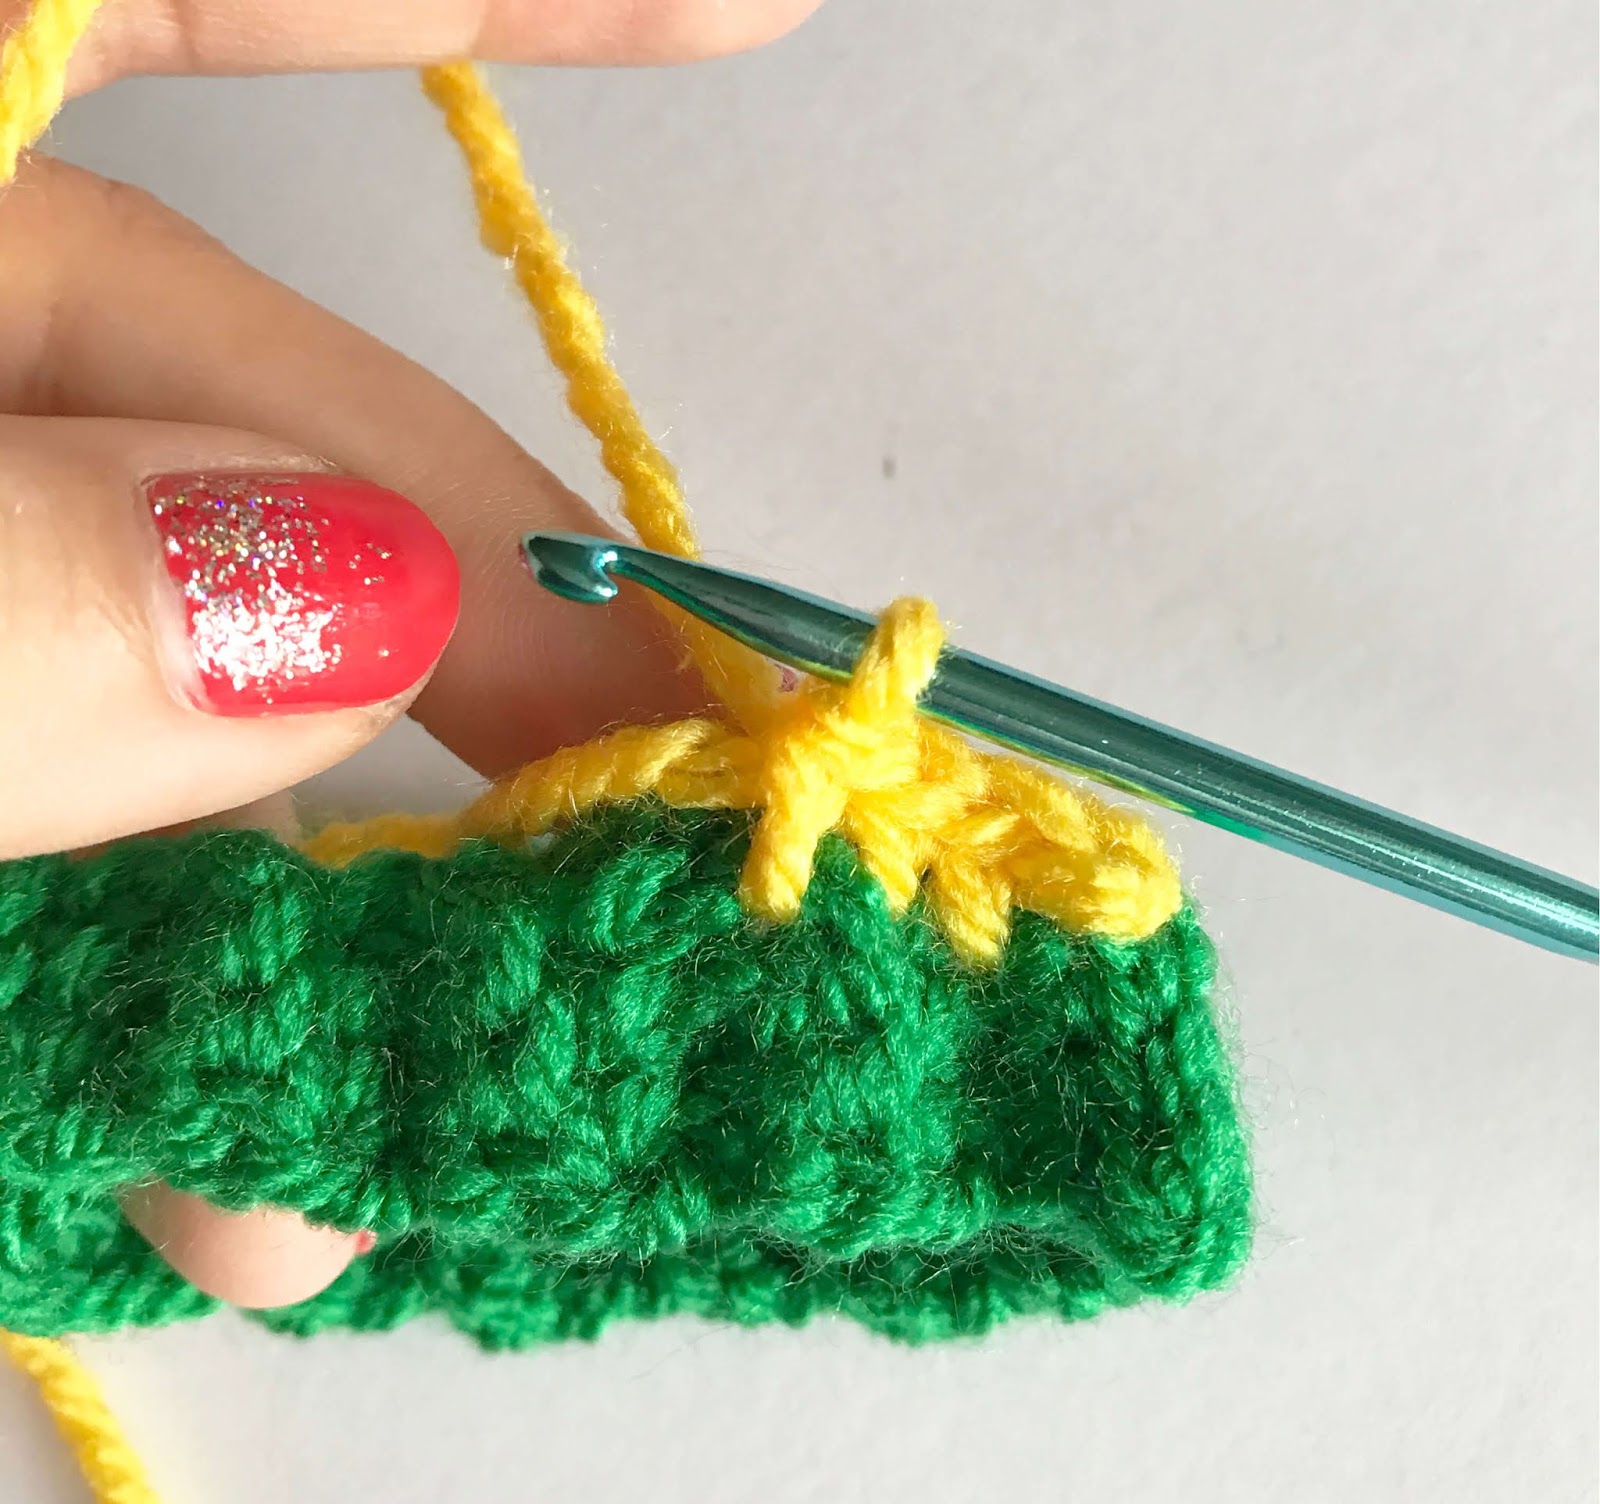
Change yarn to main color. We will begin to work the body of the hat.
Round 1: Ch 1 and SC around the side of the trim, join to first SC
(You should get 24 stitches around if you SC into each row of the side of the trim, it’s not detrimental to get this exact number)
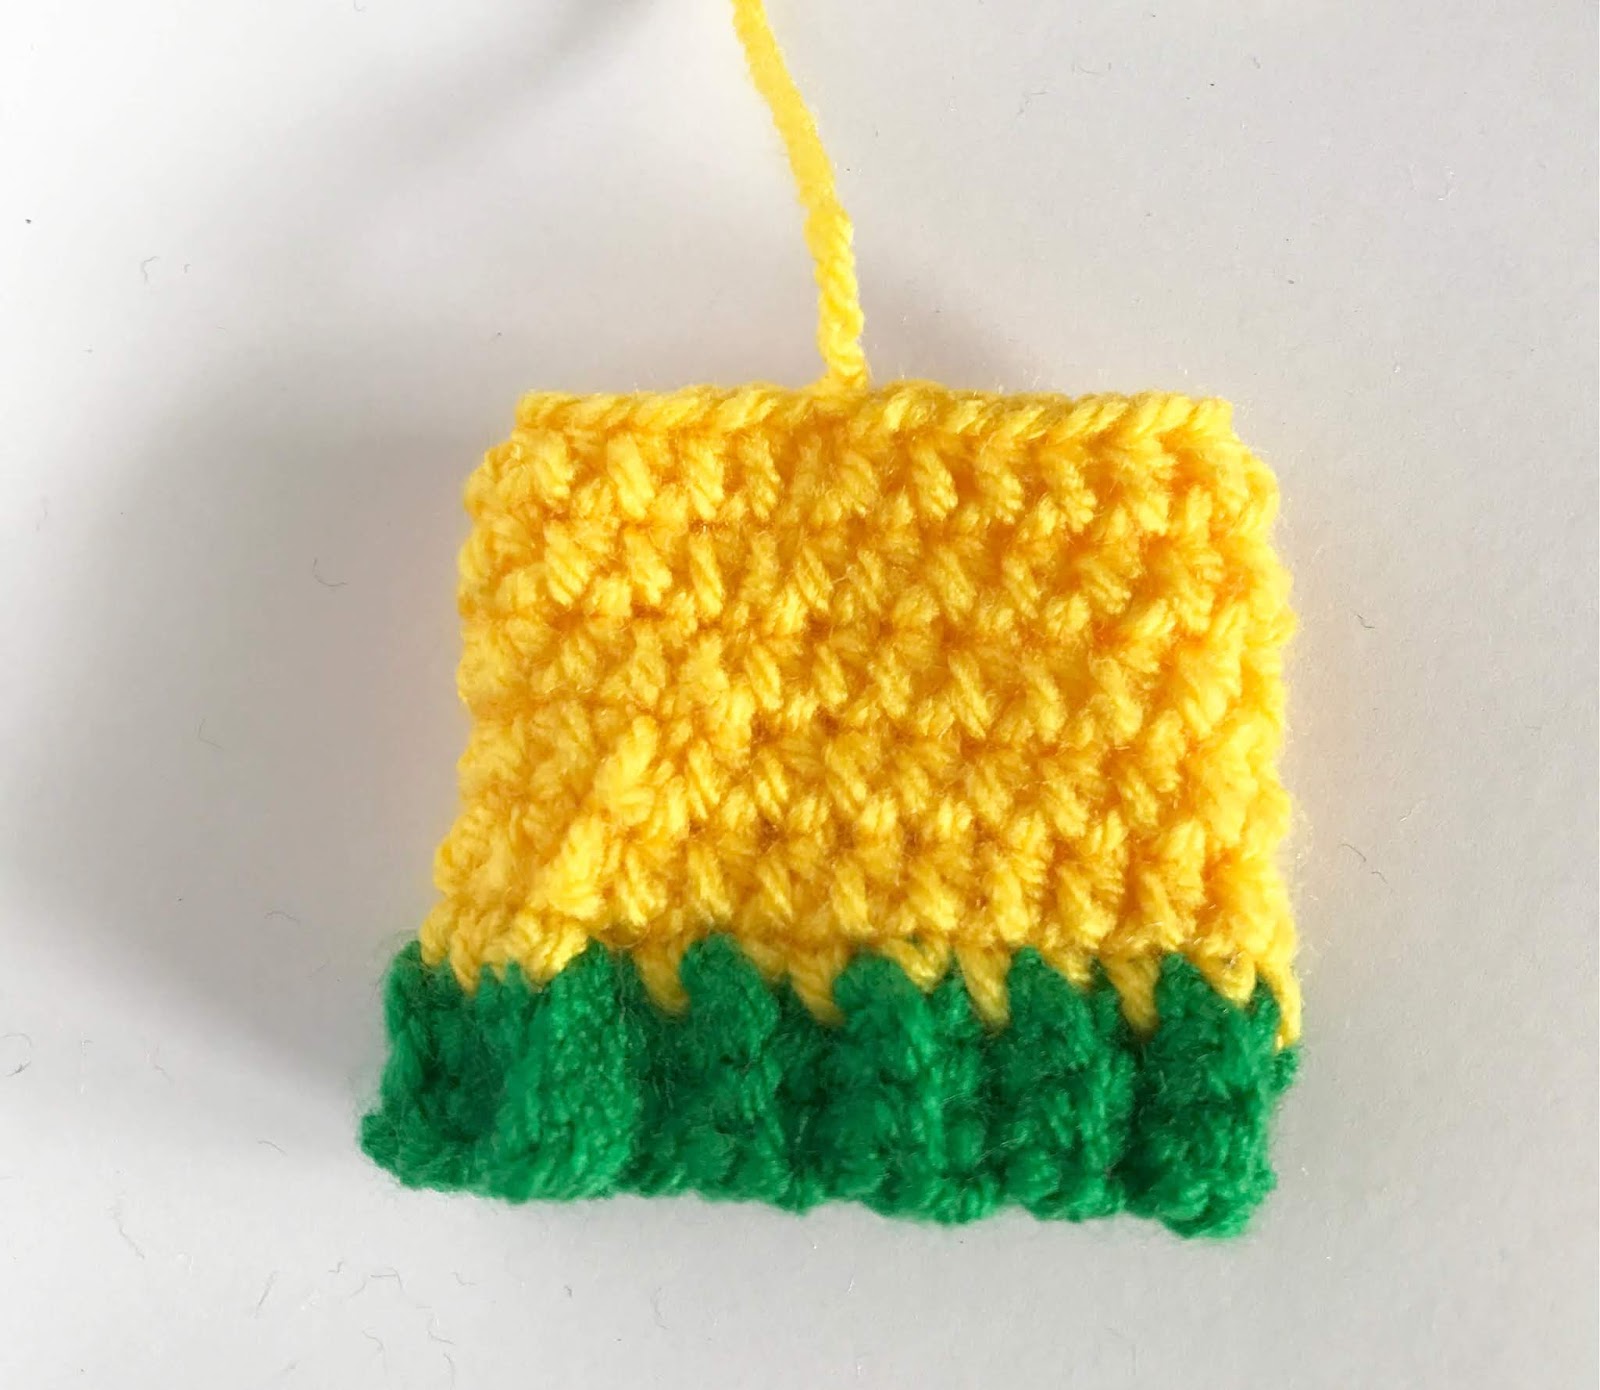
Round 2-5: Ch 1, HDC around, join to first HDC
Fasten off.
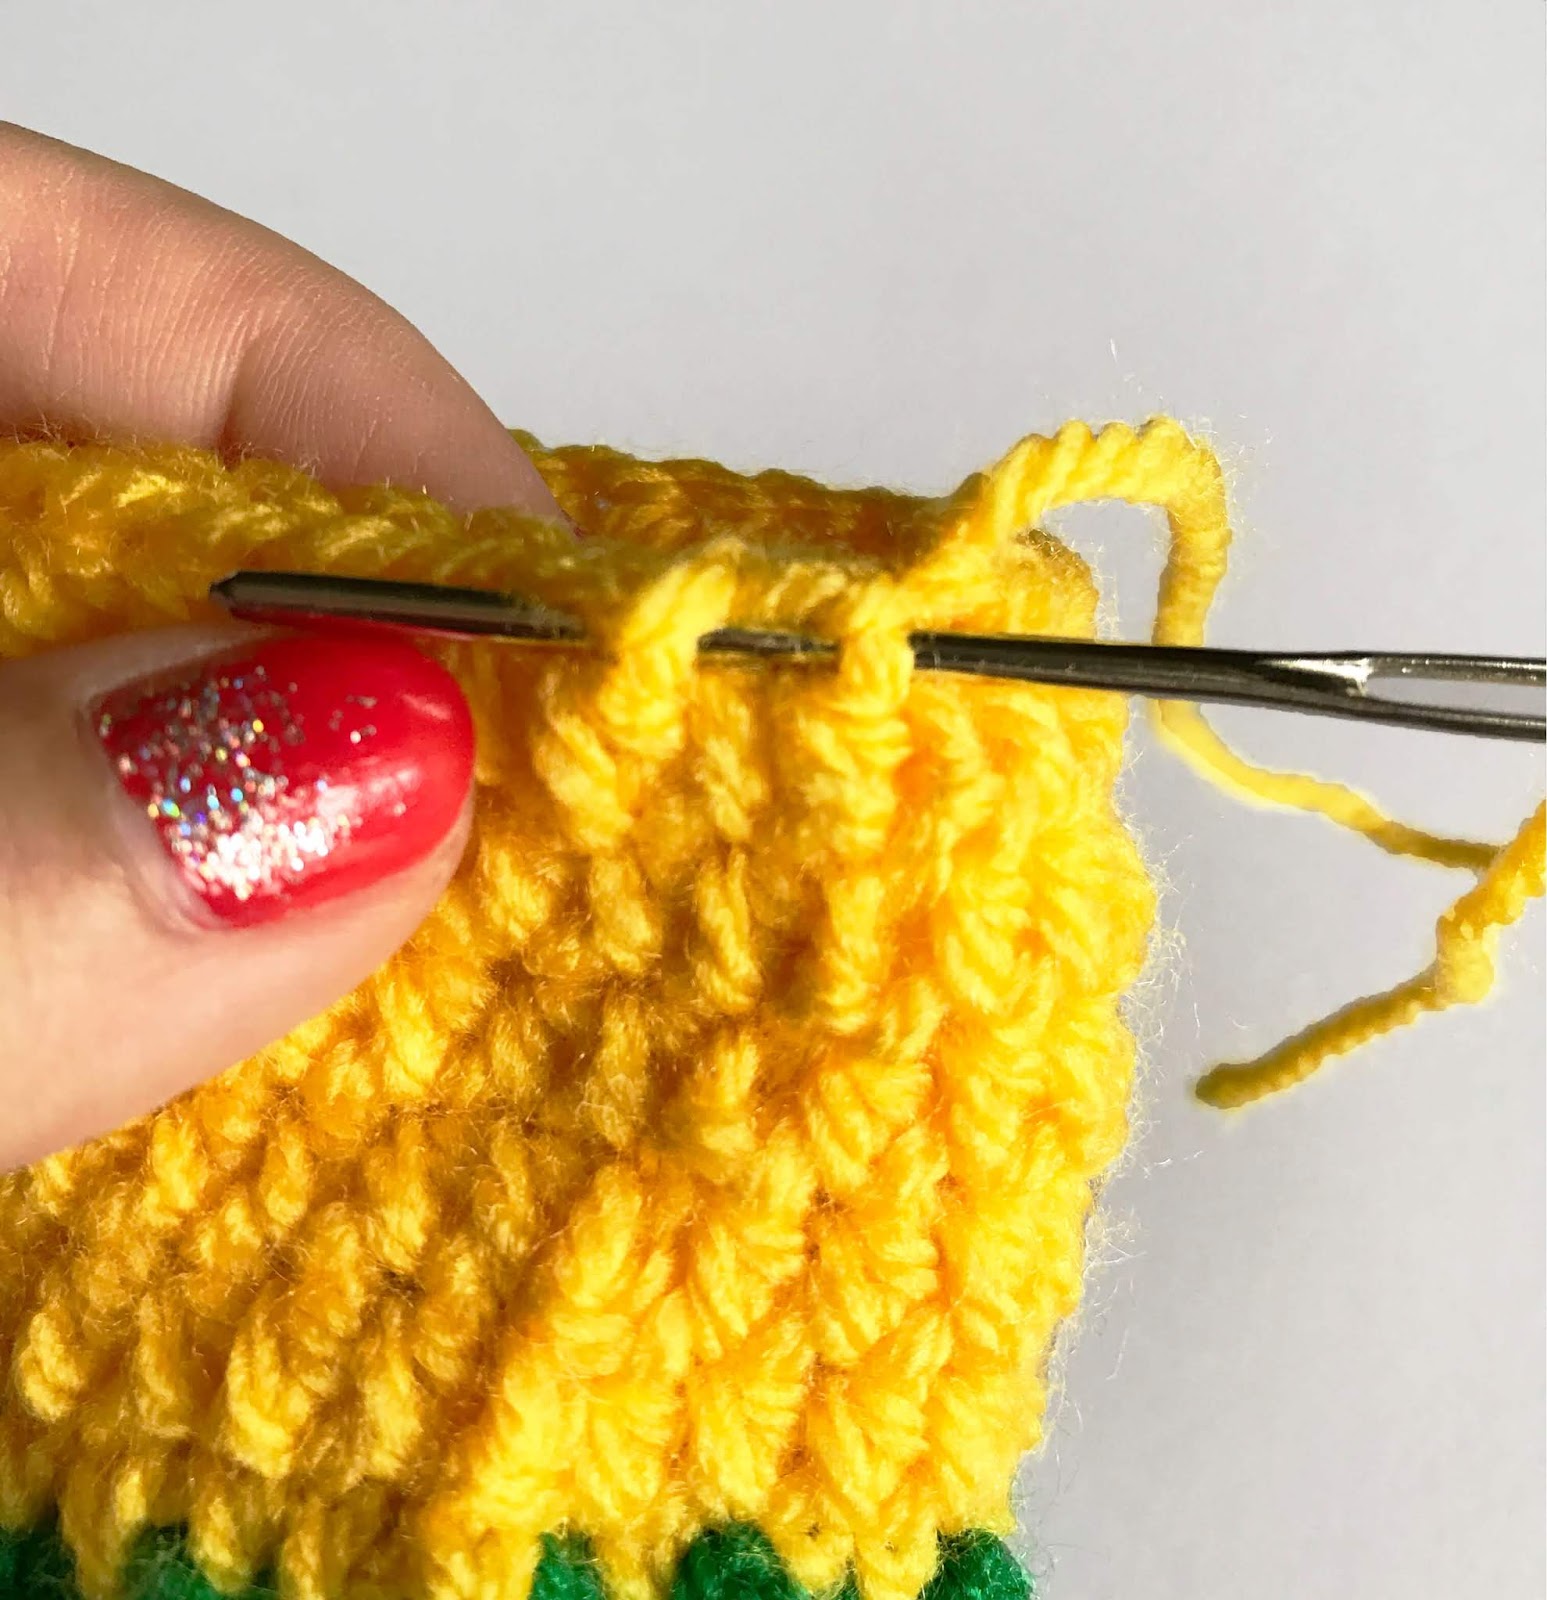
Using a tapestry needle, close up the top of the hat by weaving back and forth through the top loops. Pull tight and secure with a knot.

Make a pom pom using a 1 5/8” pom pom maker. Use an additional piece of yarn to secure the center on the opposite side. One piece of yarn will be used to attach to the top of the hat and the other piece to make the loop to hang as decoration.To make the loop, knot 3-4 times and trim ends to create loop for hanging. For additional security, you can dab a bit of hot glue to the knot.Use additional yarn tails on other side to attach to top of hat.
Leave a Reply