
This post may contain affiliate links. For more information, please see our disclosure policy.
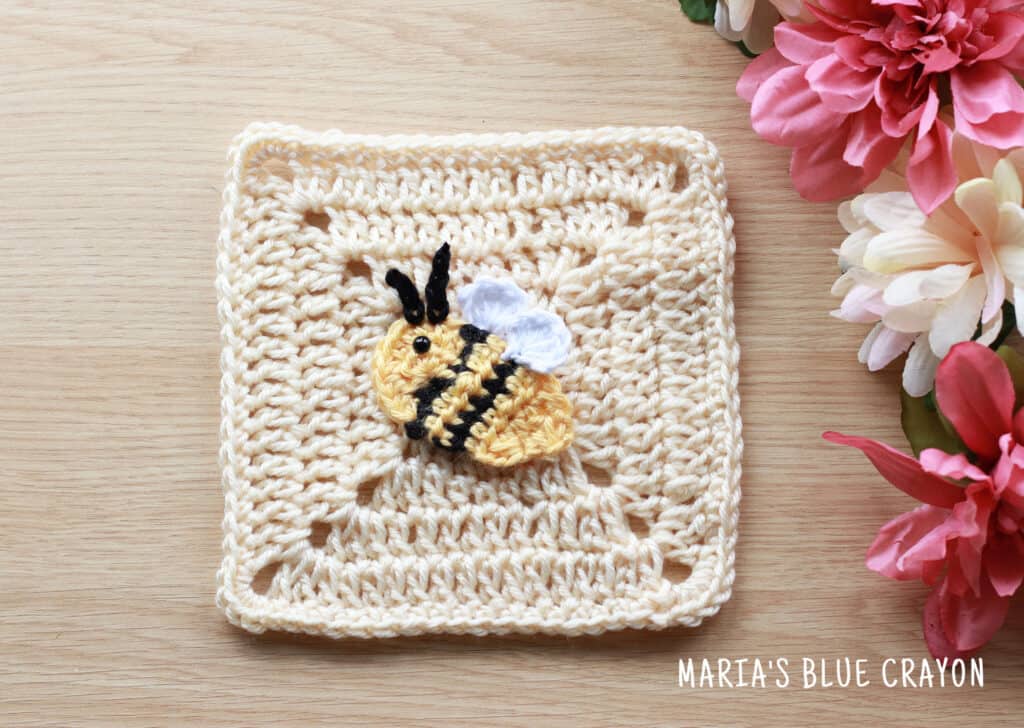
This bumble bee crochet applique is one of the many spring themed appliques that I made for my spring blanket! Find the written pattern and handy video tutorial below.
How to Attach Appliques
Crochet appliques can be attached a few different ways. Each of the following ways is sure to secure the applique onto your piece of crochet effectively.
- Sew on with yarn and tapestry needle using a whip stitch. Stitch the applique onto the surface/top loops of the crochet piece to avoid seams on the back. Watch the video here on how to achieve this.
- Use clear thread to sew onto crochet a piece. This will allow you to use a running stitch without any noticeable seams.
- If you are not worried about the back of your crochet piece having seams, then you can simply use a running stitch to sew on your appliques with yarn and tapestry needle. Adding a backing to your piece may be a reason why you are not worried about seams shown on the back of the crochet piece.
Will the Safety Eyes Poke?
I have made several blankets in this manner with the safety eyes and I have never had issues using my blankets.
To be cautious, you can simply melt down the backs of the safety eyes using an iron (carefully!) or snip down the backs with a wire cutter or other tool.
You can also opt to use black yarn and a tapestry needle if you are making the applique that will be on something used by an infant.
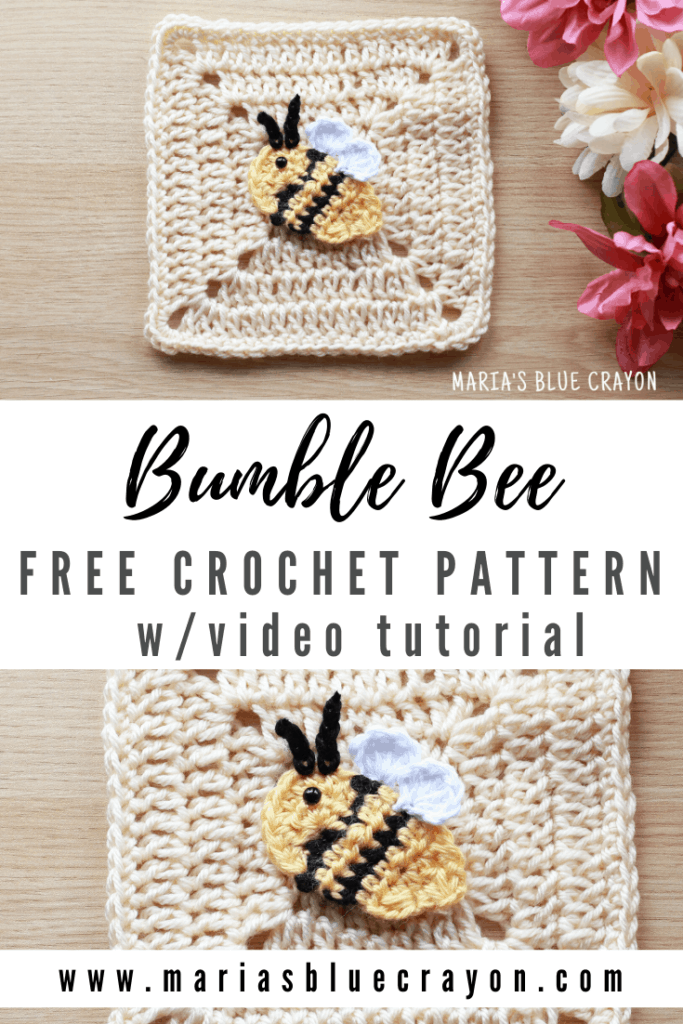
Crochet Bumble Bee Applique Pattern
Temporarily disable your ad-blocker if you are not able to view the video below this message.
Materials
Worsted weight yarn in black, yellow, and white
Hook: F/3.75mm
6mm safety eye
Notes: Beginning chain does not count as a stitch.
Abbreviations (US terms):
Ch = chain, sc = single crochet, hdc = half double crochet, hdc2tog = half double crochet two together, hdc3tog = half double crochet three together, dc = double crochet, st = stitch, sp = space, sl st = slip stitch
Pattern
Body of Bee
Use yellow yarn.
Row 1: Magic ring, ch 1, 5hdc in magic ring, pull loose end tight to make a half circle, turn
Row 2: Ch 1, 2hdc in each st across (10)
Change to black. Work on flat side of half circle.
Row 3: Ch 1, work 6sc evenly across, turn
Change to yellow
Row 4: Ch 1, hdc across, turn (6)
Change to black
Row 5: Ch 1, sc across, turn (6)
Change to yellow
Row 6: Ch 1, hdc across, turn (6)
Row 7: Ch 1, hdc2tog, hdc in next 2 st, hdc2tog, turn (3)
Row 8: Ch 1, hdc3tog
Fasten off.
Wings
Use white yarn.
Magic ring, ch 2, 4dc in ring, ch 2, sl st into ring, pull loose yarn tail tight.
Fasten off. Make two wings.
Antennae
Attach black yarn to head of bee one st over from black stripe. Chain 5. Fasten off.
Attach black yarn to the left of first antennae made. Chain 5. Fasten off.
Eye
Attach 6mm safety eyes using photo as a guide.
Granny Square Pattern
Temporarily disable your ad-blocker if you are not able to view the video below this message.
The video of the granny square is slightly different from the pattern below but will still produce a perfect square. Following the Spring Blanket, make 5 rounds.
J/6.00mm hook
Tapestry needle
Scissors
Notes:
Beginning chain does not count as a stitch UNLESS otherwise stated.
Granny square will start with a circle and form into a square.
Finished square measures roughly 5.5” when using Knit Picks Brava Worsted.
Written Pattern
Round 1: Magic ring, ch 2, 12 dc in ring, join to first dc (12)
Round 2: Ch 2, 2dc in each st around, join to first dc (24)
Round 3: Ch 3 (counts as stitch), (dc, ch 2, 2dc) in same st as ch 3, dc in next st, hdc in next st, sc in next st, hdc in next st, dc in next st, *(2dc, ch 2, 2dc) all in next st, dc in next st, hdc in next st, sc in next st, hdc in next st, dc in next st, repeat from * around, join to beginning ch 3
Round 4: Sl st to ch 2 space from previous row, Ch 3 (counts as st) (dc, ch 2, 2dc) all in same ch 2 space, dc across, *(2dc, ch 2, 2dc) all in ch 2 space from previous row, dc across, repeat from * around, join to beginning ch 3
Round 5: Repeat Round 4
Fasten off and weave in ends.
If you are looking to get back to the main post of the Spring Blanket, click here.
Leave a Reply