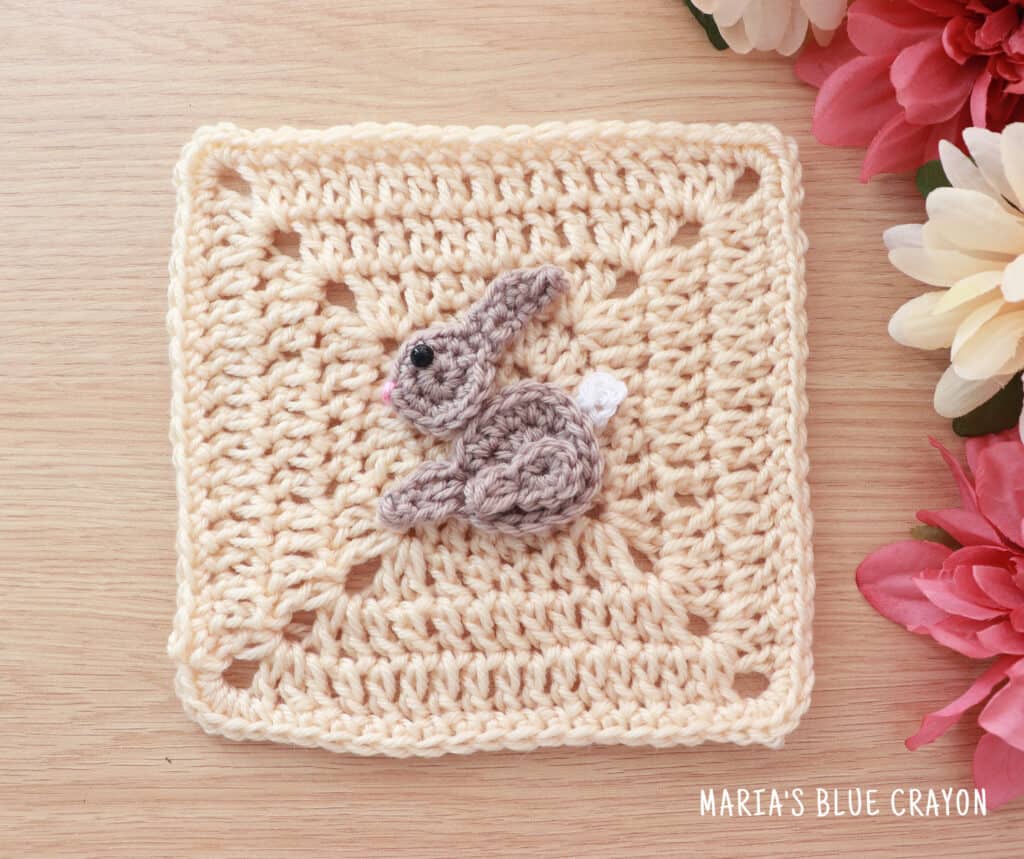
This crochet bunny applique is one of several spring themed appliques for the Spring Blanket.
View the free written pattern as well as the video tutorial below. The granny square pattern is also included after the applique pattern.

This bunny is made up of few different parts and then sewn together at the end. The applique gives a side view of a bunny laying down.
The safety eye attached to the head of the bunny can be easily swapped for a sewn on french knot using black yarn. This would be a good option if the applique is going to be attached to an item that is given to a baby.
I do not have issues with the safety eye poking through the back, but you can also clip the excess or melt down the back with an iron carefully.

Crochet Bunny Applique Pattern
Temporarily disable your ad-blocker if you are unable to view the video below this message.
Materials
Worsted weight yarn in light brown, white, and pink
6mm safety eyes (or black yarn)
F/3.75mm hook
Tapestry needle
Scissors
Note
Beginning chain will not count as a stitch.
Abbreviations (US terms)
Ch = chain, sc = single crochet, hdc = half double crochet, dc = double crochet, sc2tog = single crochet two together, st = stitch
Pattern
Head
Use light brown yarn.
Round 1: Magic ring, ch 1, 8sc in ring, join to first sc (8)
Round 2: Ch 1, 2sc in each st around, join to first sc (16)
We will begin to work in rows for the bunny ear.
Row 3: Ch 1, sc in next 2 st, turn (2)
Row 4-6: Ch 1, sc across, turn (2)
Row 7: Ch 1, sc2tog
Fasten off.
Add safety eye and use pink yarn and tapestry needle to embellish nose. Use photo as a guide.
Body
Use light brown yarn.
Round 1: Magic ring, ch 1, 10hdc into ring, join to first hdc (10)
Round 2: Ch 1, 2hdc in each st around, join to first hdc (20)
We will begin to work in rows for the bunny foot.
Row 3: Ch 2, dc in next 2 st, turn (2)
Row 4: Ch 1, sc2tog
Fasten off.
Back Leg
Use light brown yarn.
Round 1: Magic ring, ch 1, 8sc in ring, join to first sc (8)
Round 2: Ch 1, 2hdc in same st
Fasten off.
Tail
Use white yarn.
Ch 3, join to first ch
Fasten off.
Assembly
Use photo as a guide to assemble. Sew back leg onto body. Sew head onto body. Sew tail onto body.
Crochet Granny Square Pattern
J/6.00mm hook
Tapestry needle
Scissors
Notes:
Beginning chain does not count as a stitch UNLESS otherwise stated.
Granny square will start with a circle and form into a square.
Finished square measures roughly 5.5” when using Knit Picks Brava Worsted.
Round 1: Magic ring, ch 2, 12 dc in ring, join to first dc (12)
Round 2: Ch 2, 2dc in each st around, join to first dc (24)
Round 3: Ch 3 (counts as stitch), (dc, ch 2, 2dc) in same st as ch 3, dc in next st, hdc in next st, sc in next st, hdc in next st, dc in next st, *(2dc, ch 2, 2dc) all in next st, dc in next st, hdc in next st, sc in next st, hdc in next st, dc in next st, repeat from * around, join to beginning ch 3
Round 4: Sl st to ch 2 space from previous row, Ch 3 (counts as st) (dc, ch 2, 2dc) all in same ch 2 space, dc across, *(2dc, ch 2, 2dc) all in ch 2 space from previous row, dc across, repeat from * around, join to beginning ch 3
Round 5: Repeat Round 4
Fasten off and weave in ends.

I noticed that the granny squares in the photos have a sc border yet its not in the written pattern? My question is are the squares to have a border?