
This post may contain affiliate links. For more information, please see our disclosure policy.
If you’re not sure what to do with the beautiful Caron Cakes you picked up at the store, try this simple and easy granny square blanket. No matter how the color pools for the specific Caron Cake that you got, it’s sure to come together beautifully with this crochet project.
This Crochet Blanket Project if Great if You…
- are a beginner or seasoned crocheter
- want a simple, easy project to work on mindlessly
- have Caron Cakes you want to use but not sure what to make with them
- love the color way of your Caron Cakes but you can’t find the right stitch to make it look good
- want to create a colorful blanket without the hassle of putting colors together and/or changing colors within your project
- want a timeless crochet blanket to add to your home for a touch of cozy and whimsy feel
- want a granny square crochet look without joining multiple small squares together at the end
Caron Cakes Yarn
I’ve always been a huge fan of Caron Cakes. If you scroll way back to the beginning of my blog, you will see that I’ve been using them for almost a decade since they came out. Since then, they’ve come out with multiple lines of Caron Cakes along with various fibers and yarn weights.
Here are some of my free crochet patterns using Caron Cakes:
I love the creative color combinations they come up with but one of my latest issues with the yarn is how choppy the color changes can be. Looking at the free pattern on the label of the cake typically gives you a good idea of how the yarn will work up. Keep in mind, the pattern may be in knit or crochet – this does make a difference in how the finished project will look and how the colors pool.
For the Caron Upside Down Cakes, I could tell the colors would not flow into the next but I really fell in love with this Peanut Brittle color way so I went ahead and (impulsively) picked some up anyway.
I tried several different stitches and they way the colors blocked, it looked choppy and more like a scrap blanket. I love a good scrap blanket but if I’m going to be paying $14+ per cake, I don’t want it to look like one.
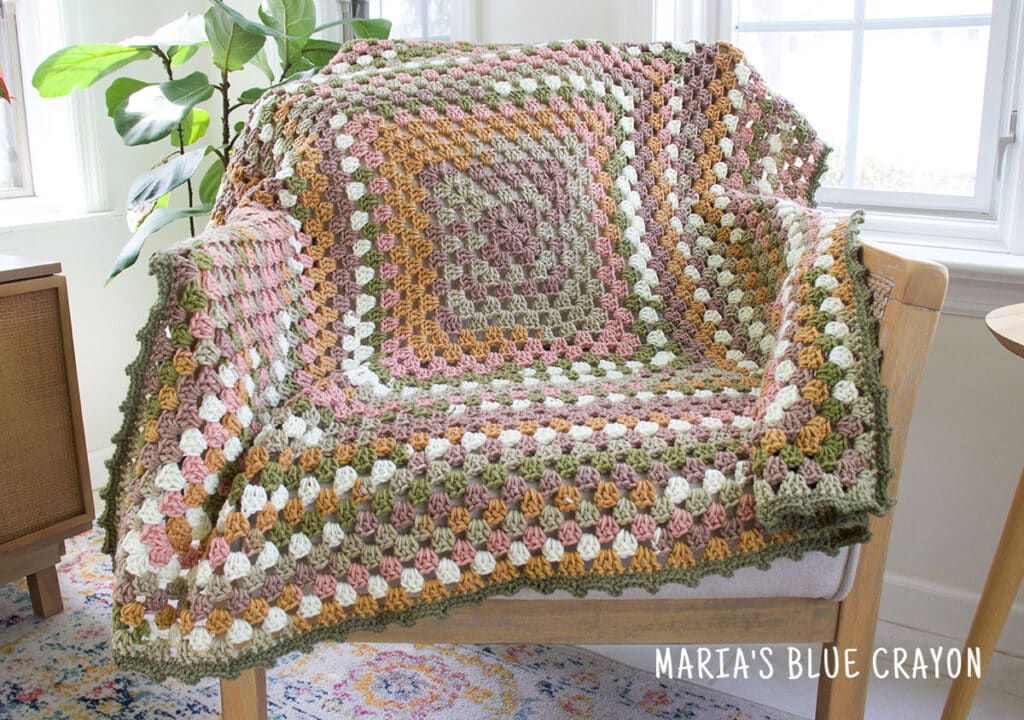
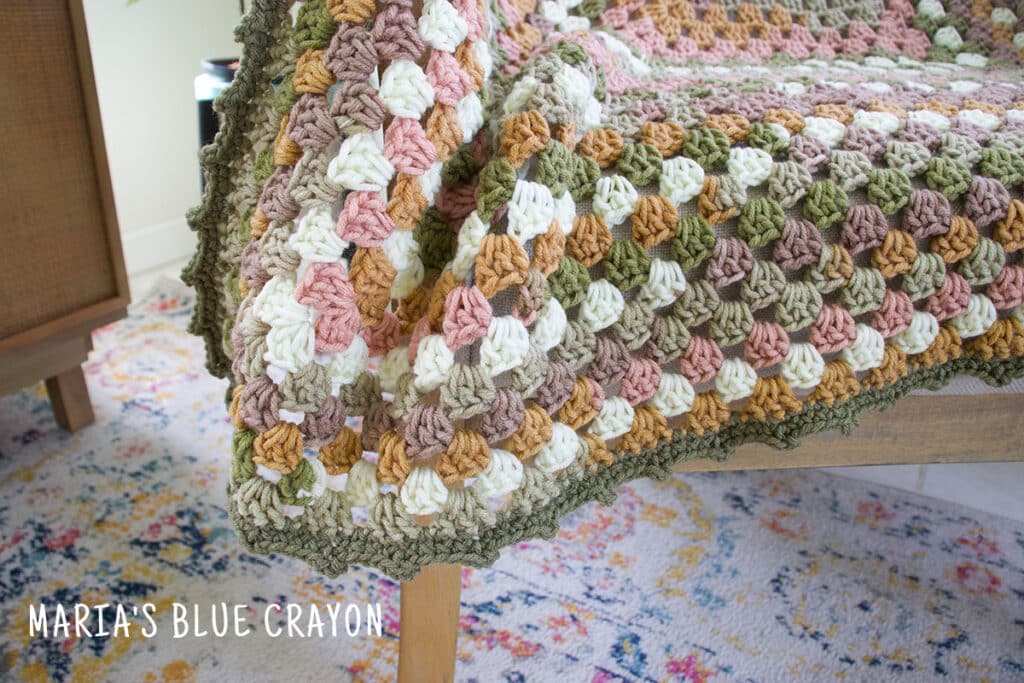
I settled on a continuous granny square blanket and I think it turned out gorgeous! I love how the colors work together and it has more of a variegated effect vs a very choppy scrap blanket.
Crochet Blanket Pattern Overview
This crochet blanket uses acrylic, medium 4 weight yarn with a 6.5mm crochet hook. I used 3 Caron Upside Down Cakes (403 yds/ skein) for the blanket and Big Twist for the border.
Working in rounds, you will create a granny square and continue to grow each round for a square blanket. It is ultimately a large, continuous granny square.
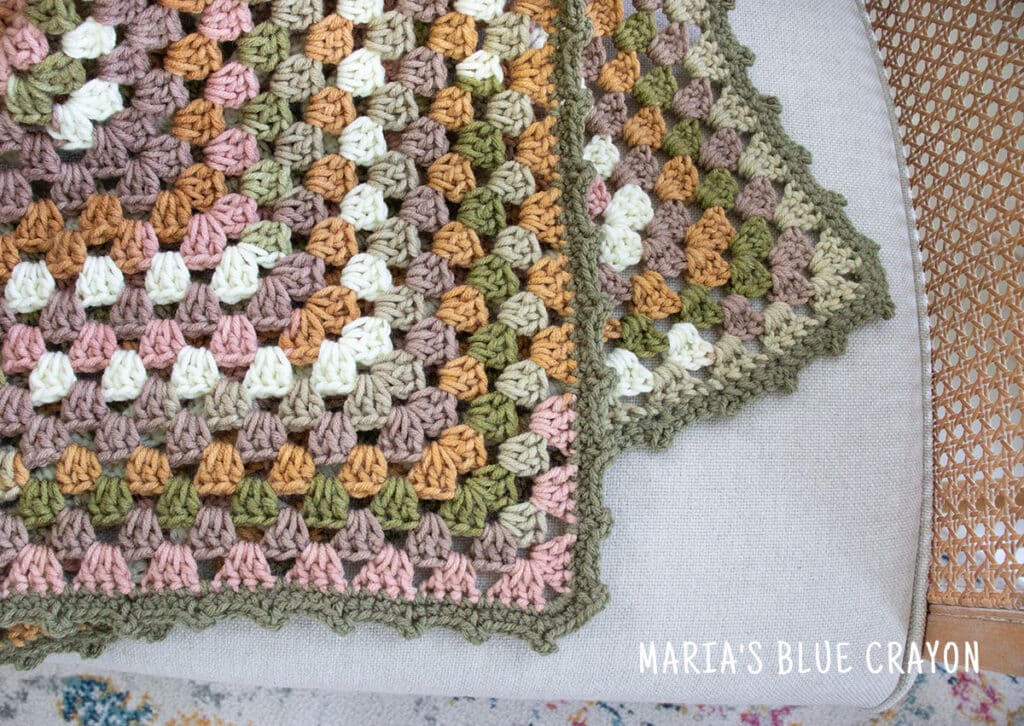
For the border, I used a solid color of the same weight yarn. I used single crochets and picot stitches for a two round border.
Both a video tutorial and a written crochet pattern are provided below.
Crochet Granny Square Blanket Video Tutorial
If you are unable to view the video below, you can also view it here on my youtube channel.
Crochet Granny Square Blanket Pattern
Materials
3 Caron Upside Down Cakes, 1 skein Big Twist in Olive Drab
6.5 mm crochet hook
Scissors
Tapestry needle
Pattern Notes
Finished dimensions are 44″ x 44″, but you can make different blanket sizes by simply adding or omitting the number of rounds until you have the desired size.
Special Stitch
Picot stitch: (sc, ch 3, sc) all in the same st
Abbreviations (US terms):
Ch = chain, sc = single crochet, dc = double crochet, sl st = slip stitch, st(es) = stitch(es), sp(es) = space(s)
Pattern
Row 1: Magic ring, work the following into the magic ring: ch 3, 2dc, ch 2, *3dc, ch 2 repeat from * two more times, join to top of beginning ch 3, sl st into next 2 st, sl st into ch 2 sp
Row 2: (Ch 3, 2dc, ch 2, 3dc) in ch 2 sp, *ch 1, (3dc, ch 2, 3dc) into next ch 2 sp, repeat from * two more times, ch 1, join to top of beginning ch 3, sl st into next 2 st, sl st into ch 2 sp
Row 3: (Ch 3, 2dc, ch 2, 3dc) in ch 2 sp, *ch 1, 3dc in next ch 1 sp, ch 1, (3dc, ch 2, 3dc) into next ch 2 sp, repeat from * two more times, ch 1, 3dc in next ch 1 sp, ch 1, join to top of beginning ch 3, sl st into next 2 st, sl st into ch 2 sp
Row 4: (Ch 3, 2dc, ch 2, 3dc) in ch 2 sp, *ch 1, (3dc, ch 1) in each ch 1 sp across, (3dc, ch 2, 3dc) into next ch 2 sp, repeat from * two more times, ch 1, (3dc, ch 1) in each ch 1 sp across, join to top of beginning ch 3, sl st into next 2 st, sl st into ch 2 sp
Repeat Round 4 until you have a total of 32 rounds. Fasten off.
Border
Use olive color yarn. Attach yarn into the corner ch-2 sp.
Round 1: Ch 1, *4sc in corner sp, sc in each st and sp across, repeat from * around, join to first st
(You will crochet into each dc of each cluster and then into the ch 1 sp)
Round 2: Ch 1, *picot st, sc in next 3 st, repeat from * around, join to first st
Fasten off and weave in ends.
What’s Next?
Try out these popular free crochet blanket patterns!
Leave a Reply