This post may contain affiliate links. For more information, please see our disclosure policy.
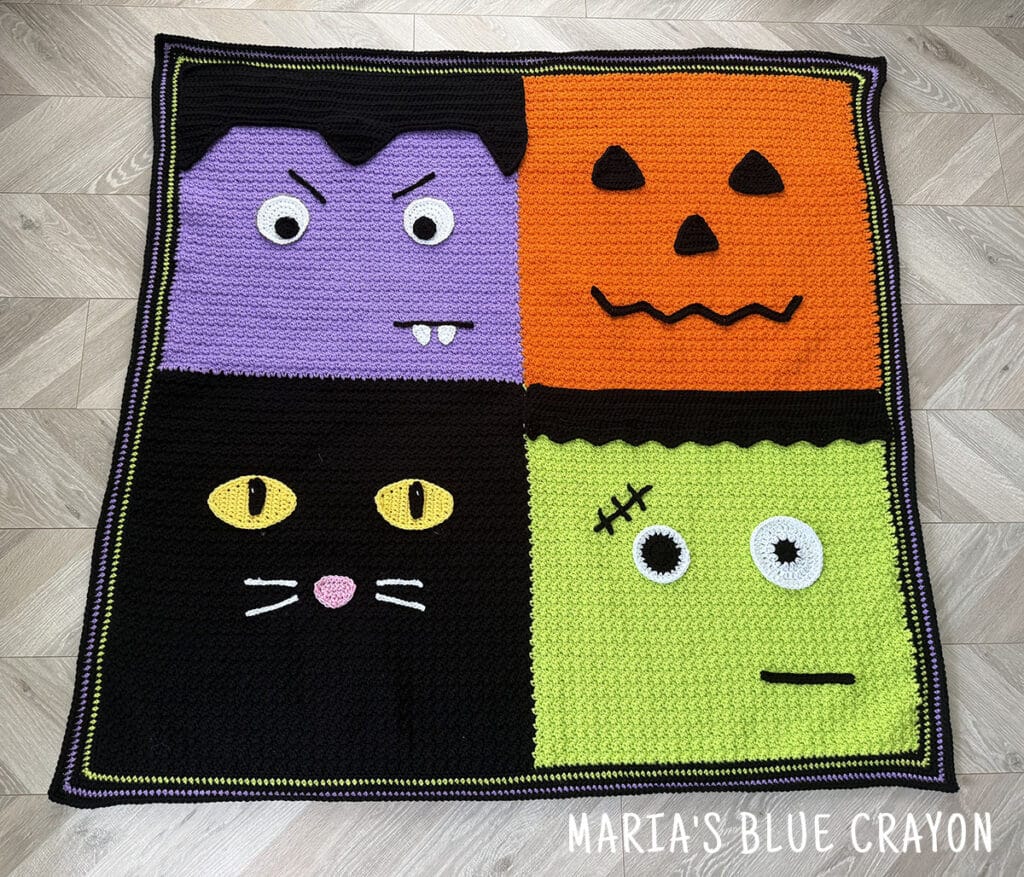
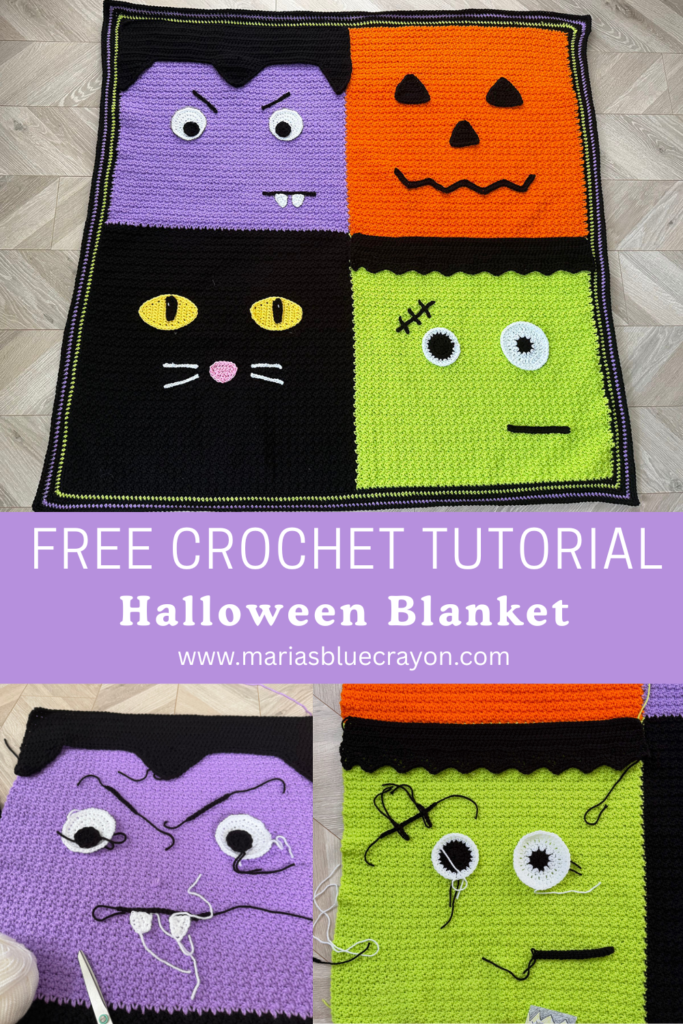
This spooky, fun Halloween blanket uses basic crochet stitches that is perfect for all crochet levels. Follow the free written crochet pattern to make your own! A video tutorial is also included for the entire blanket.
This Halloween Blanket matches the Halloween crochet pillows I made years ago. Make sure to check them out to create a whole set! I have a Pumpkin pillow, Black Cat pillow, Frankenstein pillow, and Ghost pillow.
Halloween Blanket Crochet Pattern Overview
This blanket is so simple to make but definitely packs a punch! It’s spooky, fun, and so cute!
The base of the blanket uses the griddle stitch with worsted weight yarn and a 6.00 mm hook. I got all of my yarn from Michael’s – Loops & Threads and Big Twist. I did use two different brands but you can use all of one brand if you’d prefer. They are both worsted weight, acrylic yarns.
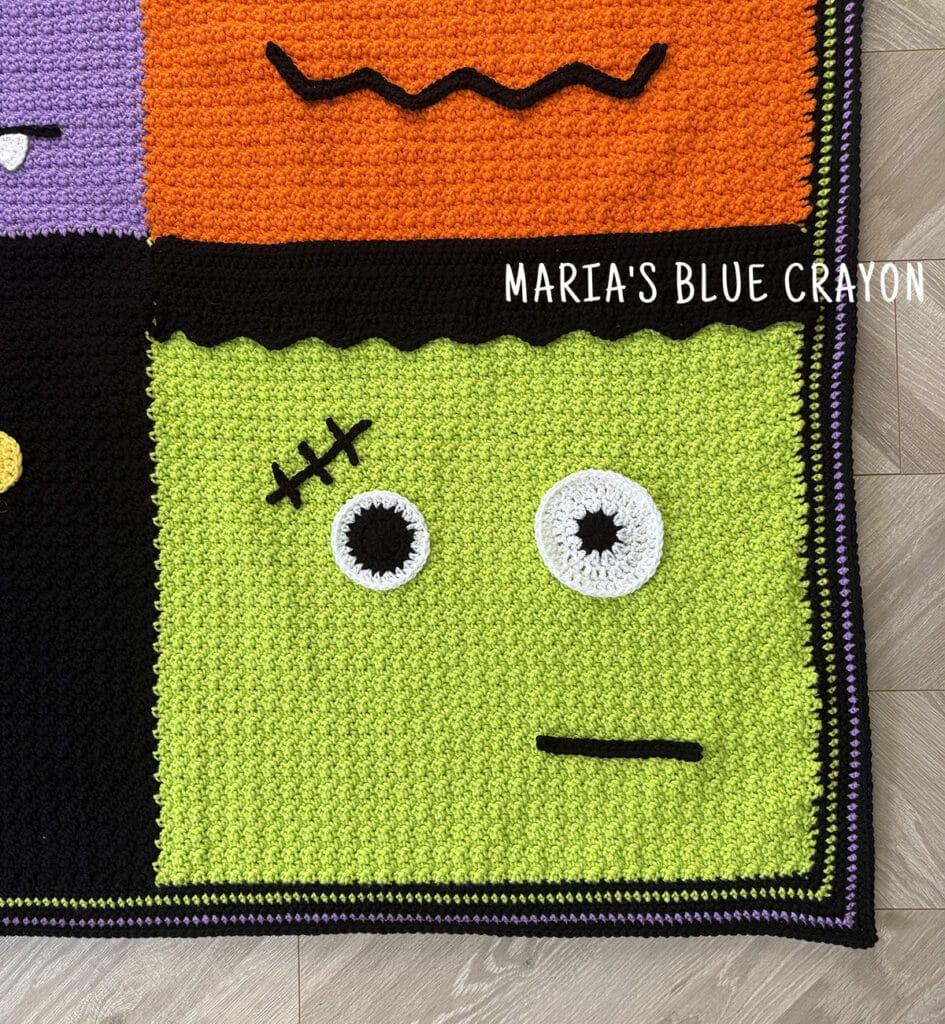
For the faces on the blanket, I crocheted them separately then attached them once the blanket was complete. I used hot glue but I definitely recommend either a fabric glue or to sew them on with yarn. Sewing them on can be achieved with this tutorial I have – it allows you to have a clean backing without having to cover the back of the blanket up.
That’s it! The base of the blanket took the longest but it is a mindless stitch of alternating single and double crochets along with simple color changes in between to make the four different colored squares.
Video Tutorial for Crochet Halloween Blanket
You can watch the video tutorial on how to make this crochet Halloween blanket on Youtube. Be sure to subscribe while you’re there!
Free Crochet Halloween Blanket Pattern
Materials
Loops in Threads in Orange (2 skeins each) and Black (3 skeins)
Big Twist in Lilac and Slime (2 skeins each)
Small amount of worsted weight yarn in yellow and pink
6.00mm/J crochet hook
Tapestry needle
Fabric glue (optional)
Pattern Notes
The blanket will be made by changing colors within the row so it is all made in one piece. I have a video tutorial on how to do this from another blanket I’ve made: https://youtu.be/e4dnNnE_cOU?si=ZDc1ghh91StetUqa
Embellishments for the faces of the blanket were glued on. You can chose to sew these on as well for it to be more secure.
For a clean backing, follow this tutorial for sewing: https://youtu.be/CRpGMPp0ALc?si=vYoIeIE1TdOWnuVU
Beginning chain of each row in the main blanket does not count as a stitch.
Numbers in parentheses in the pattern are the number of stitches for that row.
Dimensions: 54″ x 54″
Gauge: 4” x 4” ~ 11 st x 10 rows using the griddle st (alternating sc and dc)
Abbreviations: (US terms)
Ch = chain, sc = single crochet, hdc = half double crochet, dc = double crochet, tr = treble, sc2tog = single crochet two together, sc3tog = single crochet three together, hdc2tog = half double crochet two together, hdc3tog = half double crochet three together, st = stitch, sl st = slip stitch, sk = skip
Blanket Pattern
Start with Slime/lime green color.
Row 1: Ch 68, change to black yarn, ch 70, dc into 3rd ch from hook, sc in next st, *dc in next st, sc in next st, repeat from * across until you get back to the slime/lime green yarn, change back to slime/lime green yarn, *dc in next st, sc in next st, repeat from * across the row, turn
Row 2: Ch 2, dc in first st, sc in next st, *dc in next st, sc in next st, repeat from * across until you get to black, change to black yarn, repeat from * across
Row 3: Ch 2, dc in first st, sc in next st, *dc in next st, sc in next st, repeat from * across until you get to lime green yarn, change to lime green yarn, repeat from * across
Repeat Row 2-3 until you have a total of 63 Rows.
Change yarn colors to orange and lilac (orange on top of the lime green yarn and lilac on top of the black yarn).
Repeat Row 2-3 with the orange and lilac colors until you have a total of 63 rows. Fasten off and weave in ends.
Border
Use black yarn. Attach to corner of blanket.
Row 1: Ch 1, sc evenly around, make 3 sc in each corner, join to first st
Row 2: Ch 1, sc around, make 3sc in each corner, join to first st
Change to lime green yarn.
Repeat Row 2.
Change to black yarn.
Repeat Row 2 two times.
Change to lilac purple yarn.
Repeat Row 2.
Change to black yarn.
Repeat Row 2 two times.
Vampire Face
Hair Line
Use black yarn.
Row 1: Ch 69, hdc in 2nd ch from hook and in each ch across, turn (68)
Row 2-10: Ch 1, hdc in each st across, turn (68)
Row 11: Ch 1, hdc in next 10 st, turn (10)
Row 12: Ch 1, hdc2tog over first 2 st, hdc in remaining st, turn (9)
Row 13: Ch 1, hdc in next 7 st, hdc2tog over last 2 st, turn (8)
Row 14: Ch 1, hdc2tog over first 2 st, hdc in remaining st (7)
Row 15: Ch 1, hdc in next 5 st, hdc2tog over last 2 st, turn (6)
Row 16: Ch 1, hdc2tog over first 2 st, hdc in remaining st, turn (5)
Row 17: Ch 1, hdc in next 3 st, hdc2tog over last 2 st, turn (4)
Row 18: Ch 1, hdc2tog over first 2 st, hdc in remaining st (3)
Row 19: Ch 1, hdc in first st, hdc2tog over last 2 st (2)
Row 20: Ch 1, hdc2tog, fasten off. (1)
Attach black yarn 16 st away from the first hairline point to work on the middle point of the hairline.
Row 1: Ch 1, hdc in next 15 st, turn (15)
Row 2: Ch 1, hdc2tog over first 2 st, hdc in next 11 st, hdc2tog over last 2 st, turn (13)
Row 3: Ch 1, hdc2tog over first 2 st, hdc in next 9 st, hdc2tog over last 2 st, turn (11)
Row 4: Ch 1, hdc2tog over first 2 st, hdc in next 7 st, hdc2tog over last 2 st, turn (9)
Row 5: Ch 1, hdc2tog over first 2 st, hdc in next 5 st, hdc2tog over last 2 st, turn (7)
Row 6: Ch 1, hdc2tog over first 2 st, hdc in next 3 st, hdc2tog over last 2 st, turn (5)
Row 7: Ch 1, hdc2tog over first 2 st, hdc in next st, hdc2tog over last 2 st, turn (3)
Row 8: Ch 1, hdc3tog, fasten off (1)
Attach black yarn 17 st away from middle hair point to work on last point of hairline.
Row 1: Ch 1, hdc in next 10 st, turn (10)
Row 2: Ch 1, hdc in next 8 st, hdc2tog over last 2 st, turn (9)
Row 3: Ch 1, hdc2tog over first 2 st, hdc in remaining st, turn (8)
Row 4: Ch 1, hdc in next 6 st, hdc2tog over last 2 st, turn (7)
Row 5: Ch 1, hdc2tog over first 2 st, hdc in remaining st, turn (6)
Row 6: Ch 1, hdc in next 4 st, hdc2tog over last 2 st, turn (5)
Row 7: Ch 1, hdc2tog over first 2 st, hdc in remaining st, turn (4)
Row 8: Ch 1, hdc in next 2 st, hdc2tog over last 2 st, turn (3)
Row 9: Ch 1, hdc2tog over first 2 st, hdc in remaining st, turn (2)
Row 10: Ch 1, hdc2tog, turn (1)
Row 11: Ch 1, sc across the entire hairline, fasten off
Eyes
Use white yarn.
Round 1: Magic ring, ch 1, 10 hdc in ring, join to first st (10)
Round 2: Ch 1, 2hdc in each st around, join to first st (20)
Round 3: Ch 1, hdc in first st, 2hdc in next st, *hdc in next st, 2hdc in next st, repeat from * around, join to first st (30)
Round 4: Ch 1, sc in first 2 st, 2sc in next st, *sc in next 2 st, 2sc in next st, repeat from * around, join to first st (40)
Fasten off. Make two eyes.
Use black yarn.
Round 1: Magic ring, ch 2, 10 dc in ring, join to first st
Fasten off. Make two and attach to white of the eyes.
Eyebrows
Use black yarn.
Row 1: Ch 13, fasten off.
Make two.
Mouth
Use black yarn.
Row 1: Ch 20, fasten off.
Teeth
Use white yarn.
Row 1: Ch 6, sc in 2nd ch from hook and in each ch across, turn
Row 2: Ch 1, sc2tog over first 2 st, sc in next st, sc2tog over last 2 st, turn
Row 3: Ch 1, sc3tog
Fasten off. Make two.
Pumpkin Face
Use black yarn.
Eyes
Row 1: Ch 11, hdc in 2nd ch from hook and in each ch across, turn (10)
Row 2: Ch 1, hdc2tog over first 2 st, hdc in next 6 st, hdc2tog over last 2 st, turn (8)
Row 3: Ch 1, hdc2tog over first 2 st, hdc in next 4 st, hdc2tog over last 2 st, turn (6)
Row 4: Ch 1, hdc2tog over first 2 st, hdc in next 2 st, hdc2tog over last 2 st, turn (4)
Row 5: Ch 1, hdc2tog over first 2 st, hdc2tog over last 2 st, turn (2)
Row 6: Ch 1, hdc2tog (2)
Row 7: Ch 1, sc around the triangle, make 3sc in each corner, fasten off
Make two eyes.
Nose
Row 1: Ch 9, sc in 2nd ch from hook and in each ch across, turn (8)
Row 2: Ch 1, sc2tog over first 2 st, sc in next 4 st, sc2tog over last 2 st, turn (6)
Row 3: Ch 1, sc in each st across, turn (6)
Row 4: Ch 1, sc2tog over first 2 st, sc in next 2 st, sc2tog over last 2 st, turn (4)
Row 5: Ch 1, sc in each st across, turn (4)
Row 6: Ch 1, sc2tog over first 2 st, sc2tog over last 2 st, turn (2)
Row 7: Ch 1, sc2tog (1)
Row 8: Ch 1, sc around the triangle, make 3sc in each corner, fasten off
Mouth
Row 1: Ch 62, sc in 2nd ch from hook and in next 5 st, *3sc in next st, sc in next 6 st, sc3tog over next 3 st, sc in next 6 st, repeat from * across, fasten off
Cat Face
Eyes
Use yellow yarn.
Row 1: Ch 3, sc into 2nd ch from hook and in next st, turn (2)
Row 2: Ch 1, 2sc in each st across, turn (4)
Row 3: Ch 1, 2sc in first st, sc in next 2 st, 2sc in last st, turn (6)
Row 4: Ch 1, sc in each st across, turn (6)
Row 5: Ch 1, 2sc in first st, sc in next 4 st, 2sc in last st, turn (8)
Row 6: Ch 1, sc in each st across, turn (8)
Row 7: Ch 1, 2sc in first st, sc in next 6 st, 2sc in last st, turn (10)
Row 8-12: Ch 1, sc in each st across, turn (10)
Row 13: Ch 1, sc2tog over first 2 st, sc in next 6 st, sc2tog over last 2 st, turn (8)
Row 14: Ch 1, sc in each st across, turn (8)
Row 15: Ch 1, sc2tog over first 2 st, sc in next 4 st, sc2tog over last 2 st, turn (6)
Row 16: Ch 1, sc in each st across, turn (6)
Row 17: Ch 1, sc2tog over first 2 st, sc in next 2 st, sc2tog over last 2 st, turn (4)
Row 18: Ch 1, sc2tog over first 2 st, sc2tog over last 2 st (2)
Row 19: Ch 1, sc around the eye, fasten off.
Make two eyes.
Use black yarn.
Row 1: Ch 8, hdc in 2nd ch from hook, hdc in next ch, dc in next 3 ch, hdc in last 2 ch, fasten off.
Use white yarn and tapestry needle to sew on white highlight on the black part of the eye.
Attach black part of the eye to the yellow eye.
Nose
Use pink yarn.
Row 1: Ch 7, hdc in 2nd ch from hook and in each st across, turn (6)
Row 2: Ch 1, hdc2tog over first 2 st, hdc in next 2 st, hdc2tog over last 2 st, turn (4)
Row 3: Ch 1, hdc2tog over first 2 st, hdc2tog over last 2 st, ch 1, sc around nose, fasten off.
Whiskers
Use white yarn.
Row 1: Ch 12, fasten off
Make 4 whiskers.
Frankenstein Face
Hair Line
Use black yarn.
Row 1: Ch 69, hdc in 2nd ch from hook and in each ch across, turn
Row 2-5: Ch 1, hdc in each st across, turn
Row 6: Ch 3, tr in first st, dc in next st, *sc in next st, hdc in next st, dc in next st, tr in next st, dc in next st, hdc in next st, sc in next st, repeat from * until last 3 st, hdc in next st, dc in next st, tr in last st, turn
Row 7: Ch 3, tr in first st, dc in next st, hdc in next st, *sc in next st, hdc in next st, dc in next st, tr in next st, dc in next st, hdc in next st, sc in next st, repeat from * until last 2 st, dc in next st, tr in last st, turn
Row 8: Ch 1, sc in next 5 st, 3sc in next st, *sc in next 6 st, 3sc in next st, repeat from * across, sc in remaining st, fasten off
Small Eye
Use black yarn.
Round 1: Magic ring, ch 2, 10dc in ring, join to first st (10)
Round 2: Ch 1, 2hdc in each st around, join to first st (20)
Change to white yarn.
Round 3: Ch 2, dc in first st, 2dc in next st, *dc in next st, 2dc in next st, repeat from * around, join to first st, fasten off (30)
Big Eye
Use black yarn.
Round 1: Magic ring, ch 2, 10dc in the ring, join to first st (10)
Change to white yarn.
Round 2: Ch 2, 2dc in each st around, join to first st (20)
Round 3: Ch 2, dc in first st, 2dc in next st, *dc in next st, 2dc in next st, repeat from * around, join to first st (30)
Round 4: Ch 2, dc in first 2 st, 2dc in next st, *dc in next 2 st, 2dc in next st, repeat from * around, join to first st, fasten off (40)
Mouth
Use black yarn.
Row 1: Ch 20, sc in 2nd ch from hook and in each ch across, fasten off
Stitches
Use black yarn.
Horizontal Stitch: Ch 18, fasten off
Vertical Stitches: Ch 8, fasten off. Make 3
Weave in ends as needed. Sew or glue on all embellishments using the photo as a guide.
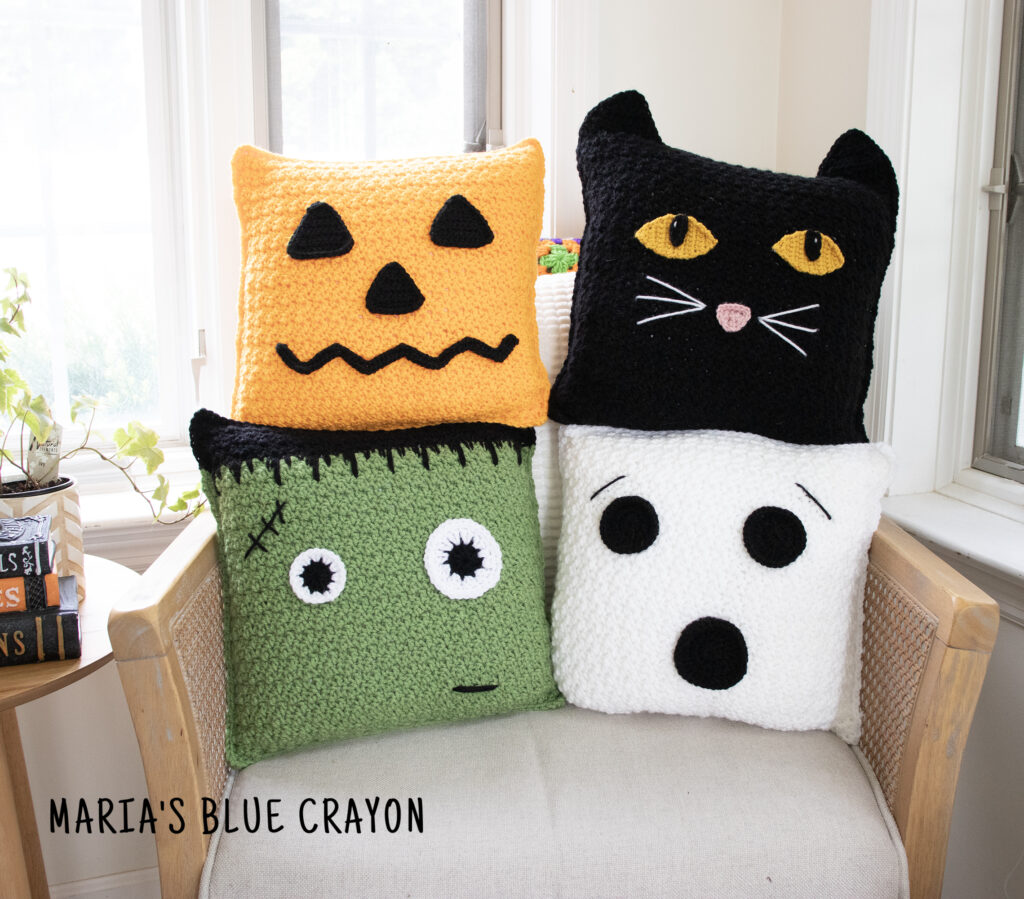
Make it a set with these Halloween Crochet Pillows
Use these free crochet patterns to make matching pillows for this blanket:
- Crochet Pumpkin Pillow Pattern
- Crochet Frankenstein Pillow Pattern
- Crochet Ghost Pillow Pattern
- Crochet Black Cat Pillow Pattern
More Free Patterns
- Halloween Granny Square Afghan Pattern
- Pumpkin Crochet Blanket
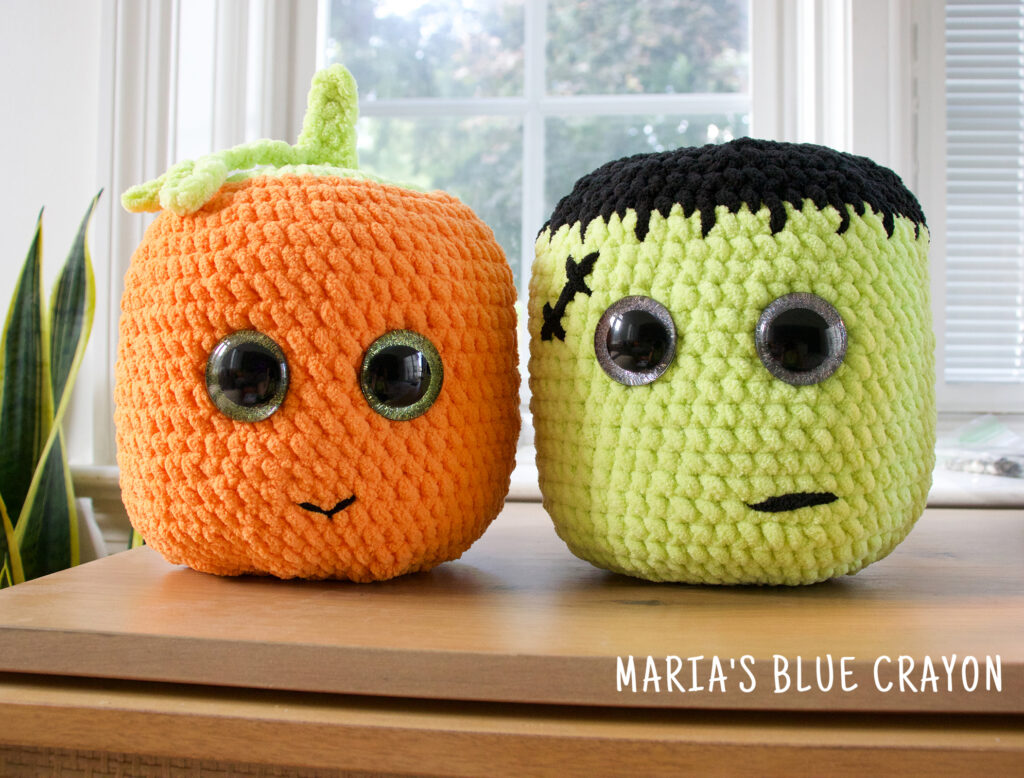
- Pumpkin Plushie
- Frankenstein Plushie
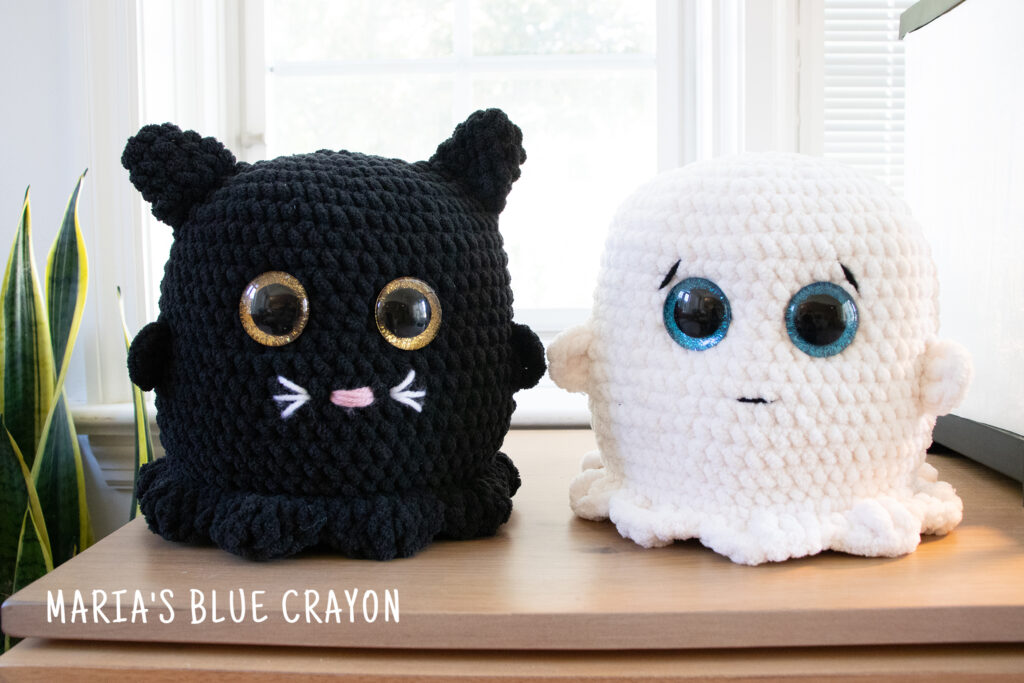
- Ghost Plushie
- Black Cat Plushie
Leave a Reply